Screening & Monitoring
Upload Entities
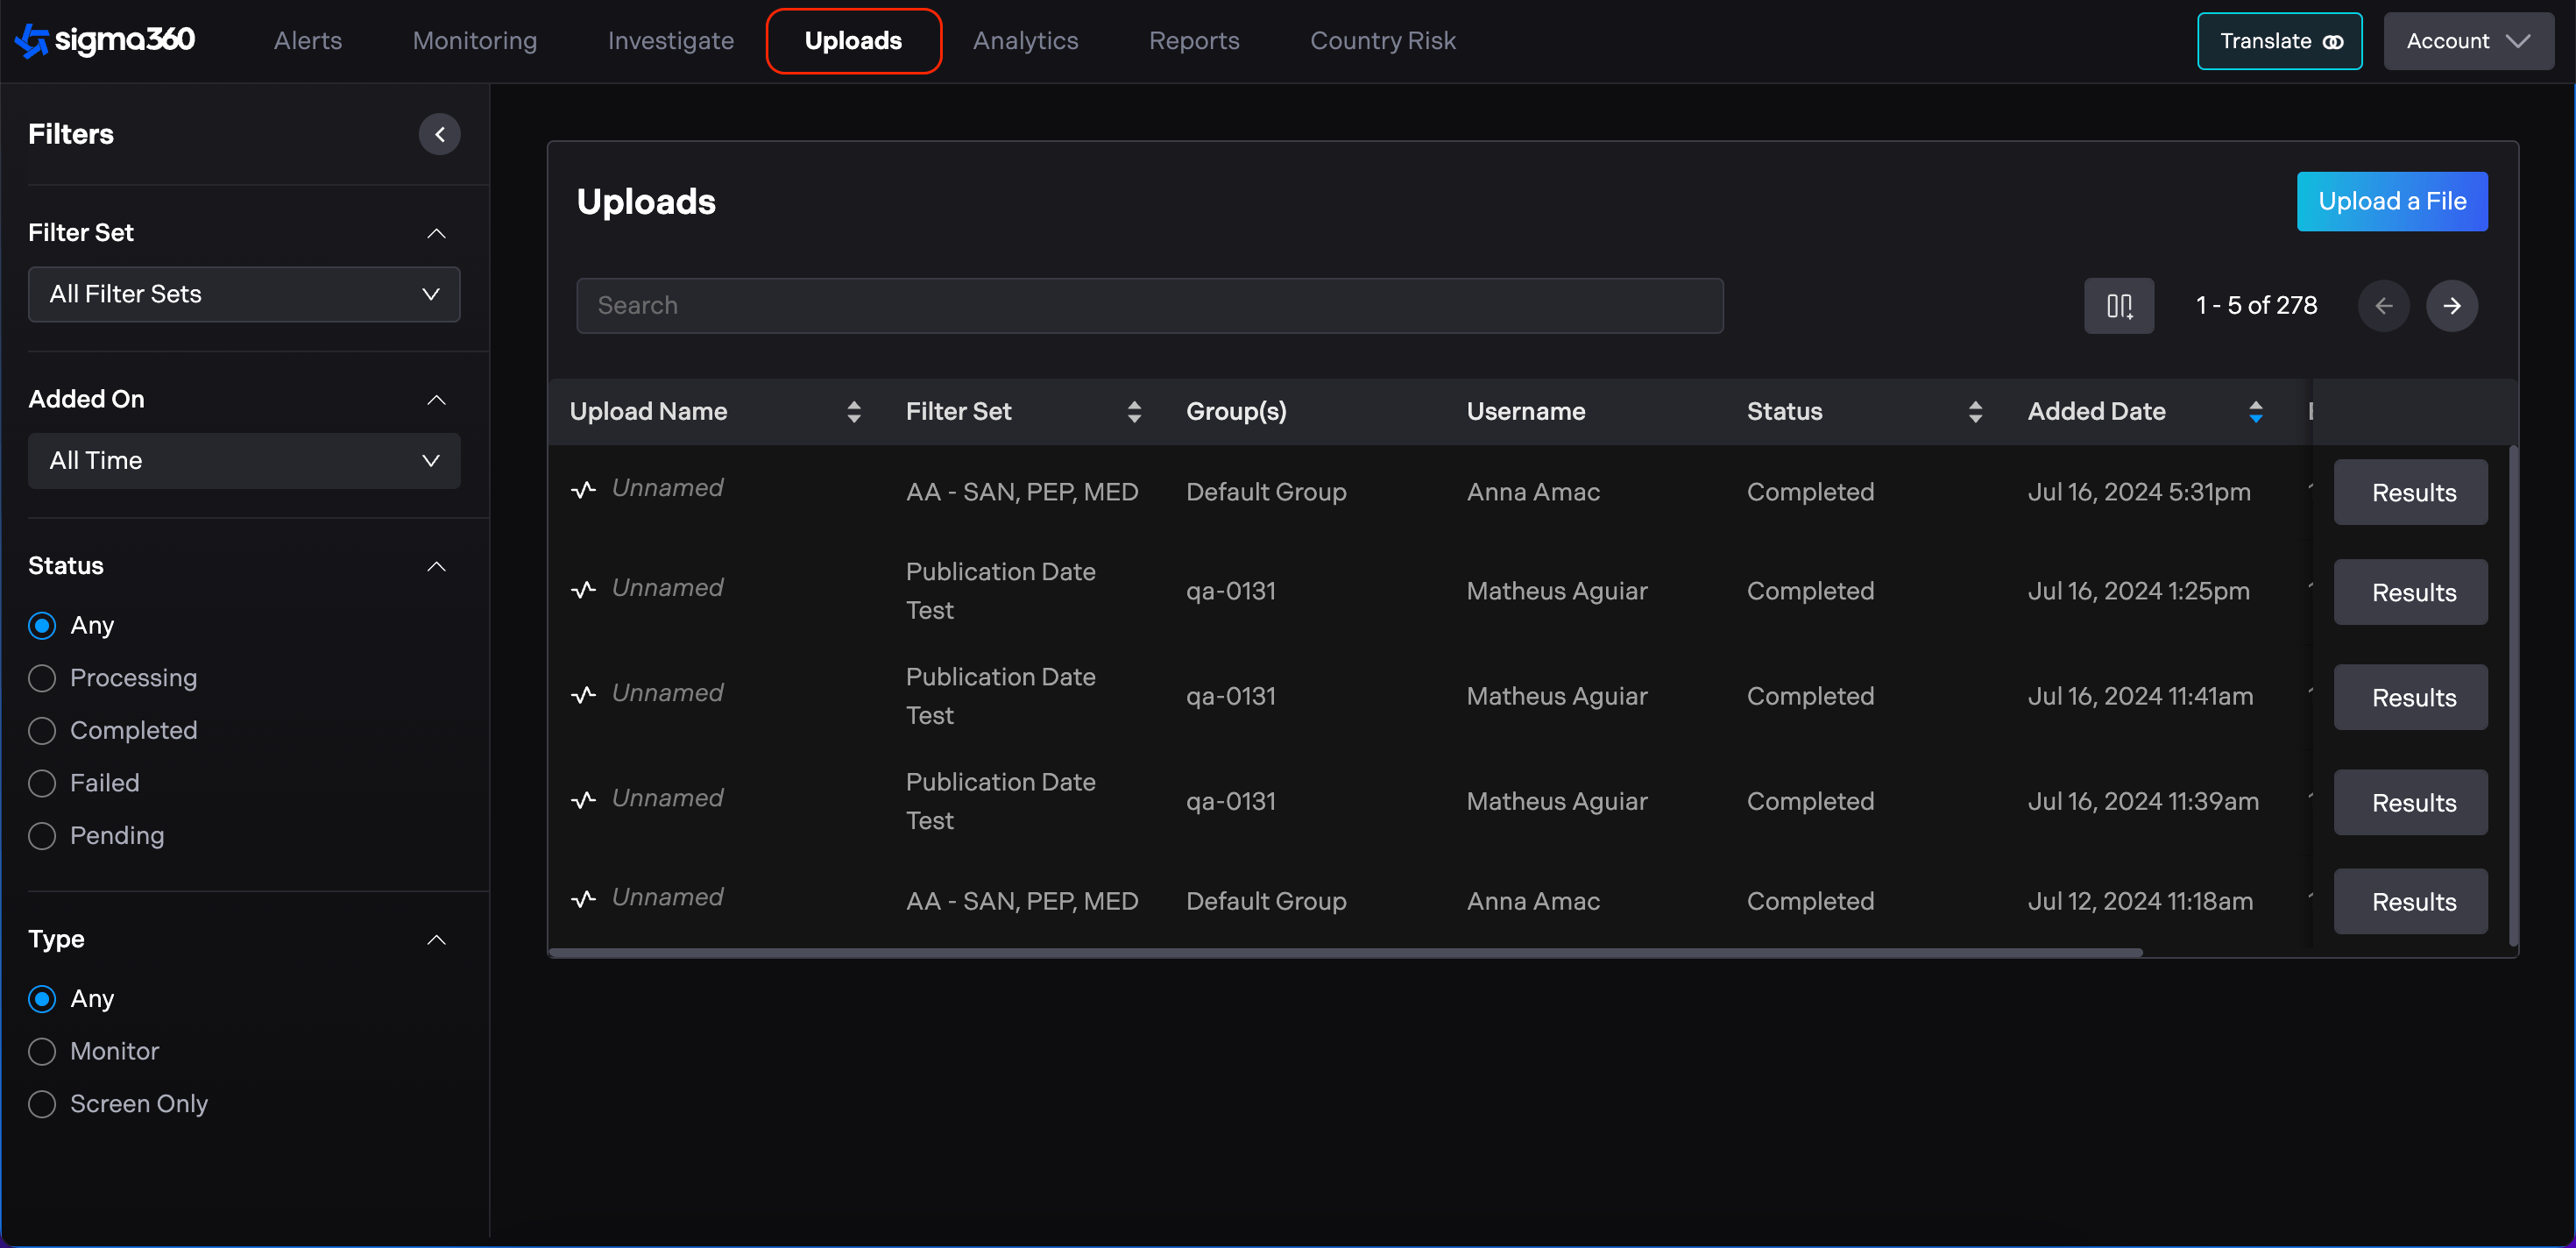
The Upload page is designed for uploading lists of entities (e.g., individuals, organizations) to monitor them for potential risks or for one-off, large-scale screening operations with a one-time data export. Users can add entities via bulk upload for either Screening, Monitoring or Archiving purposes.
The Uploads page is located in the top navigation menu.
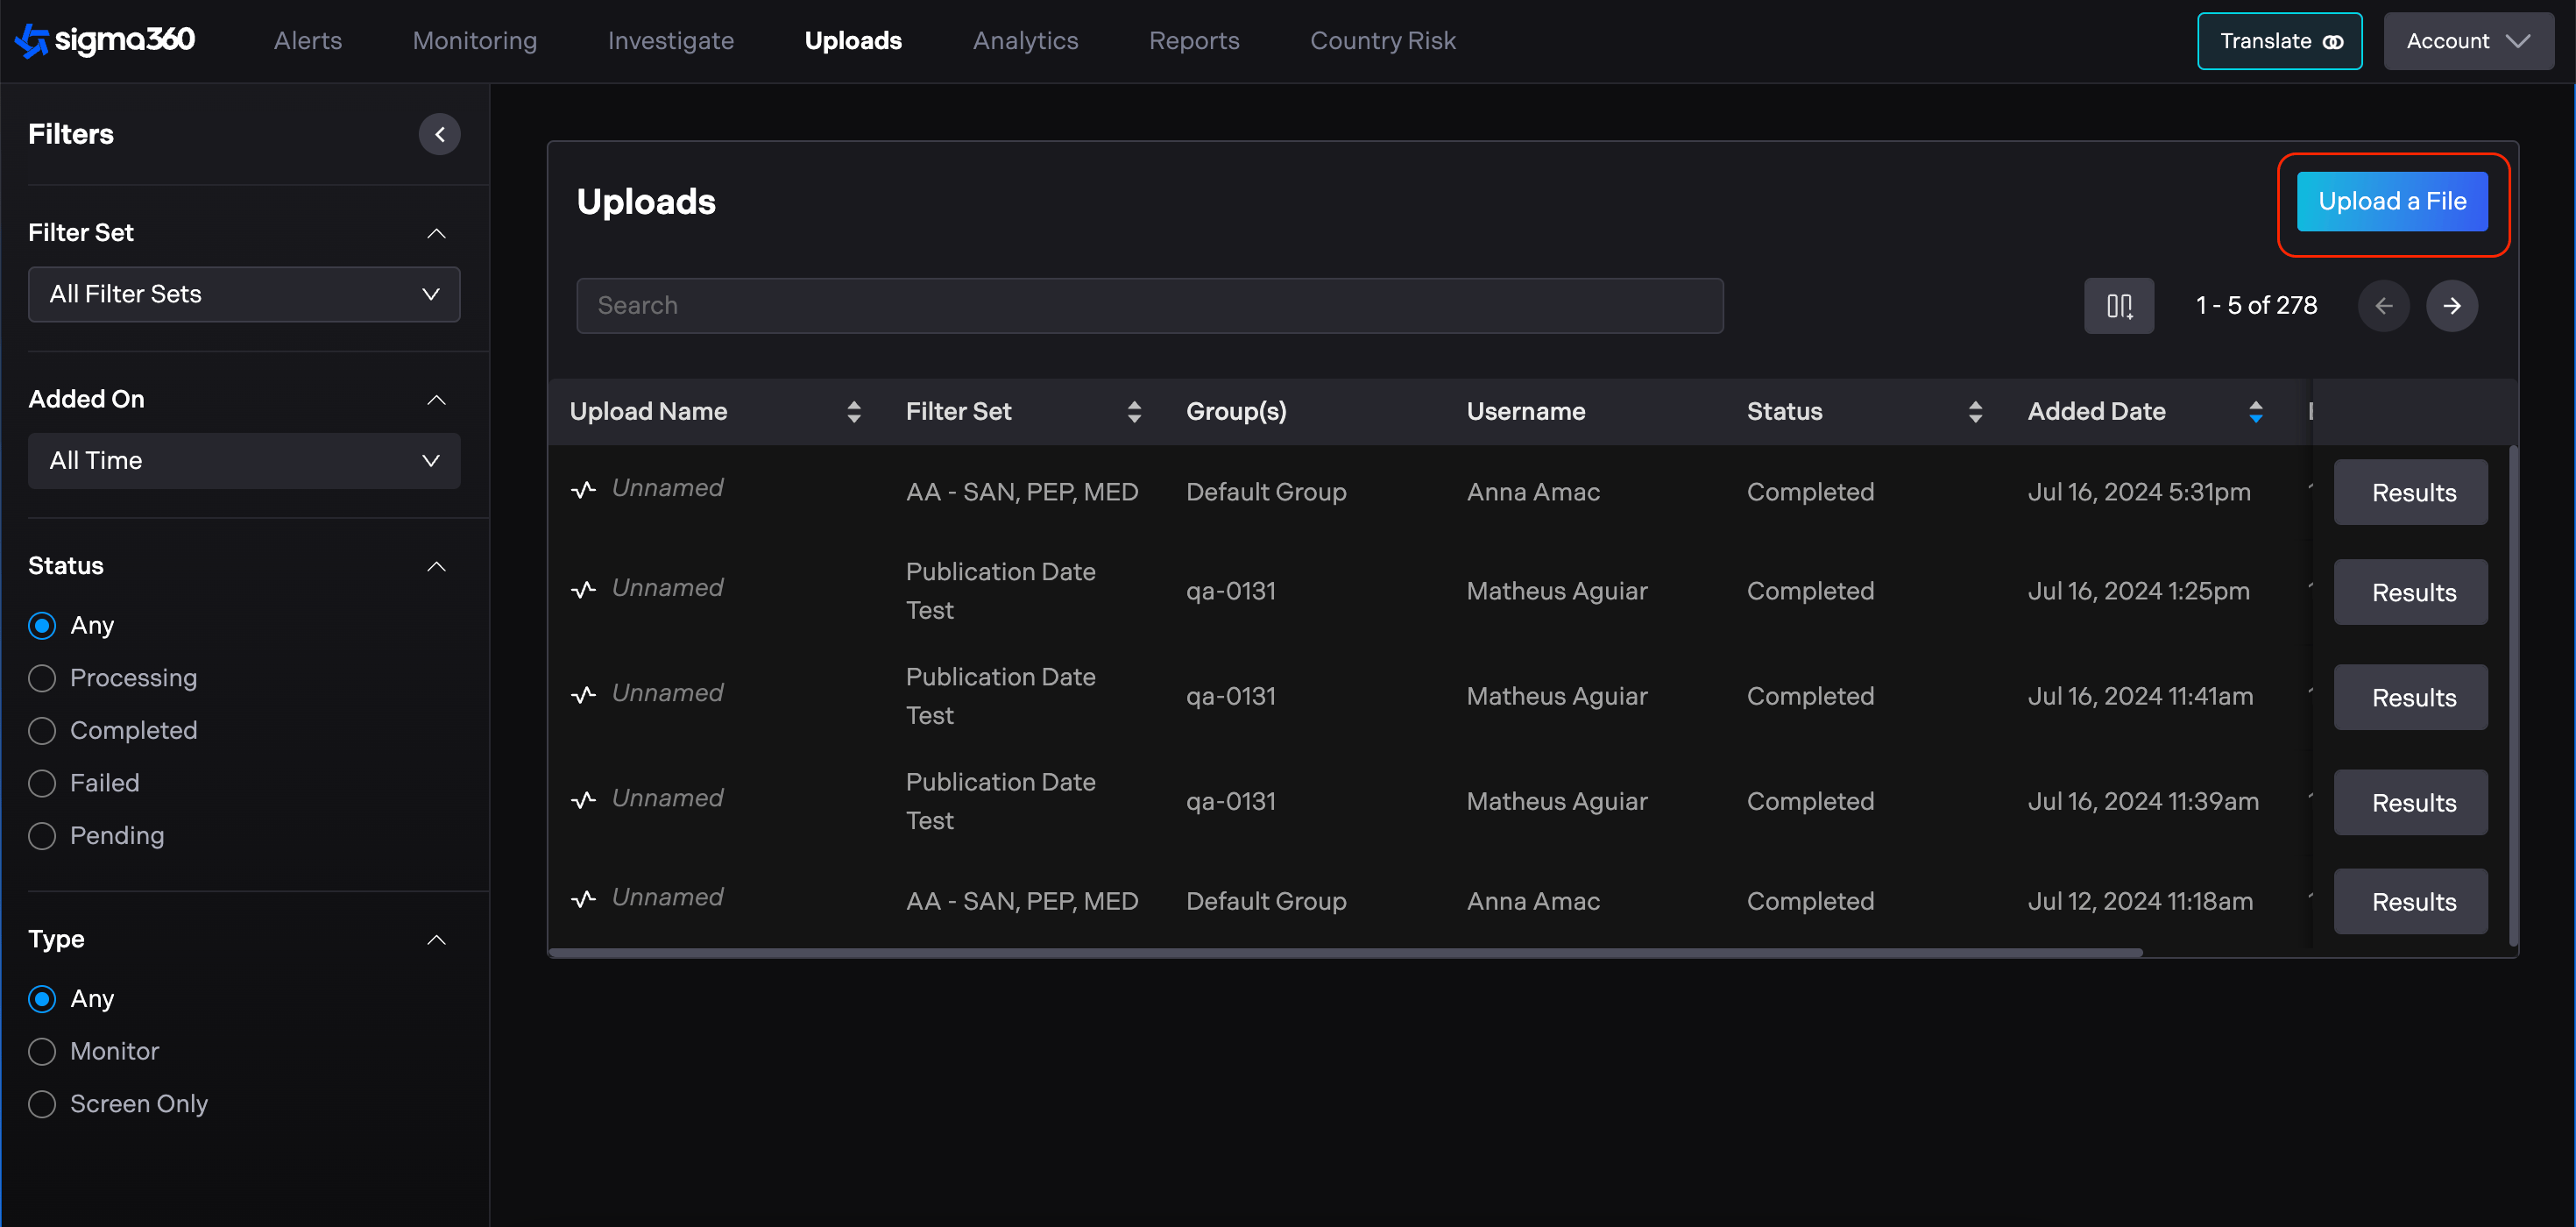
To initiate a new upload, the user should click on the "Upload a File" button.
User will be presented with three options:
-
Monitor Entities
-
Screen Entities
-
Batch Archive
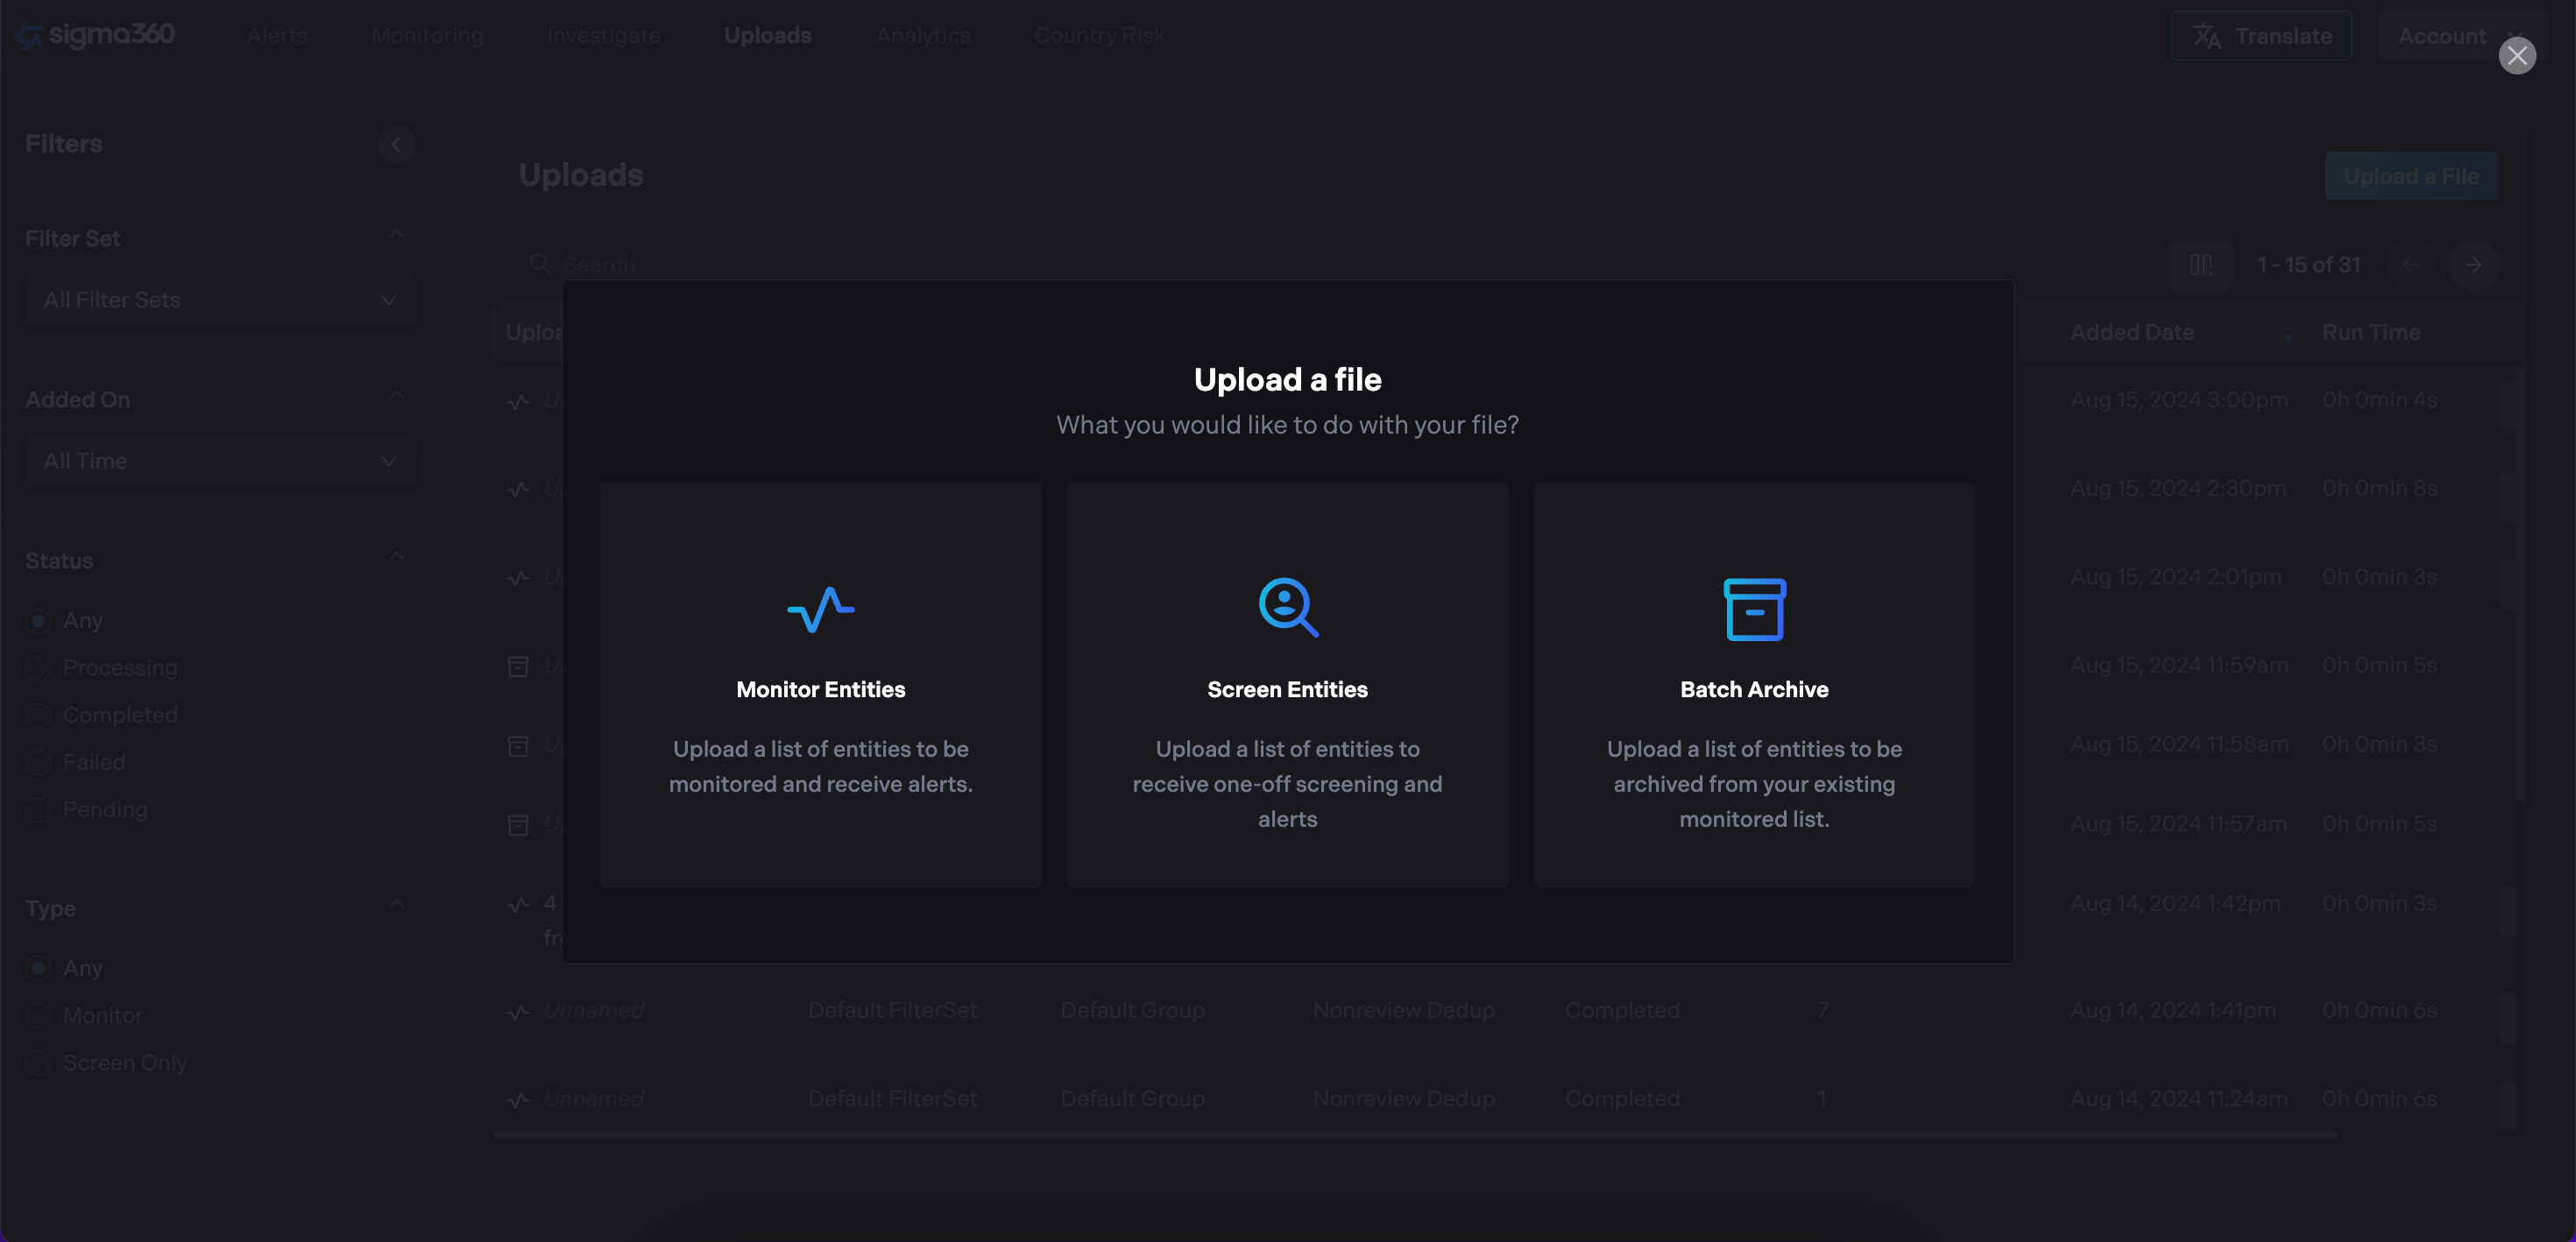
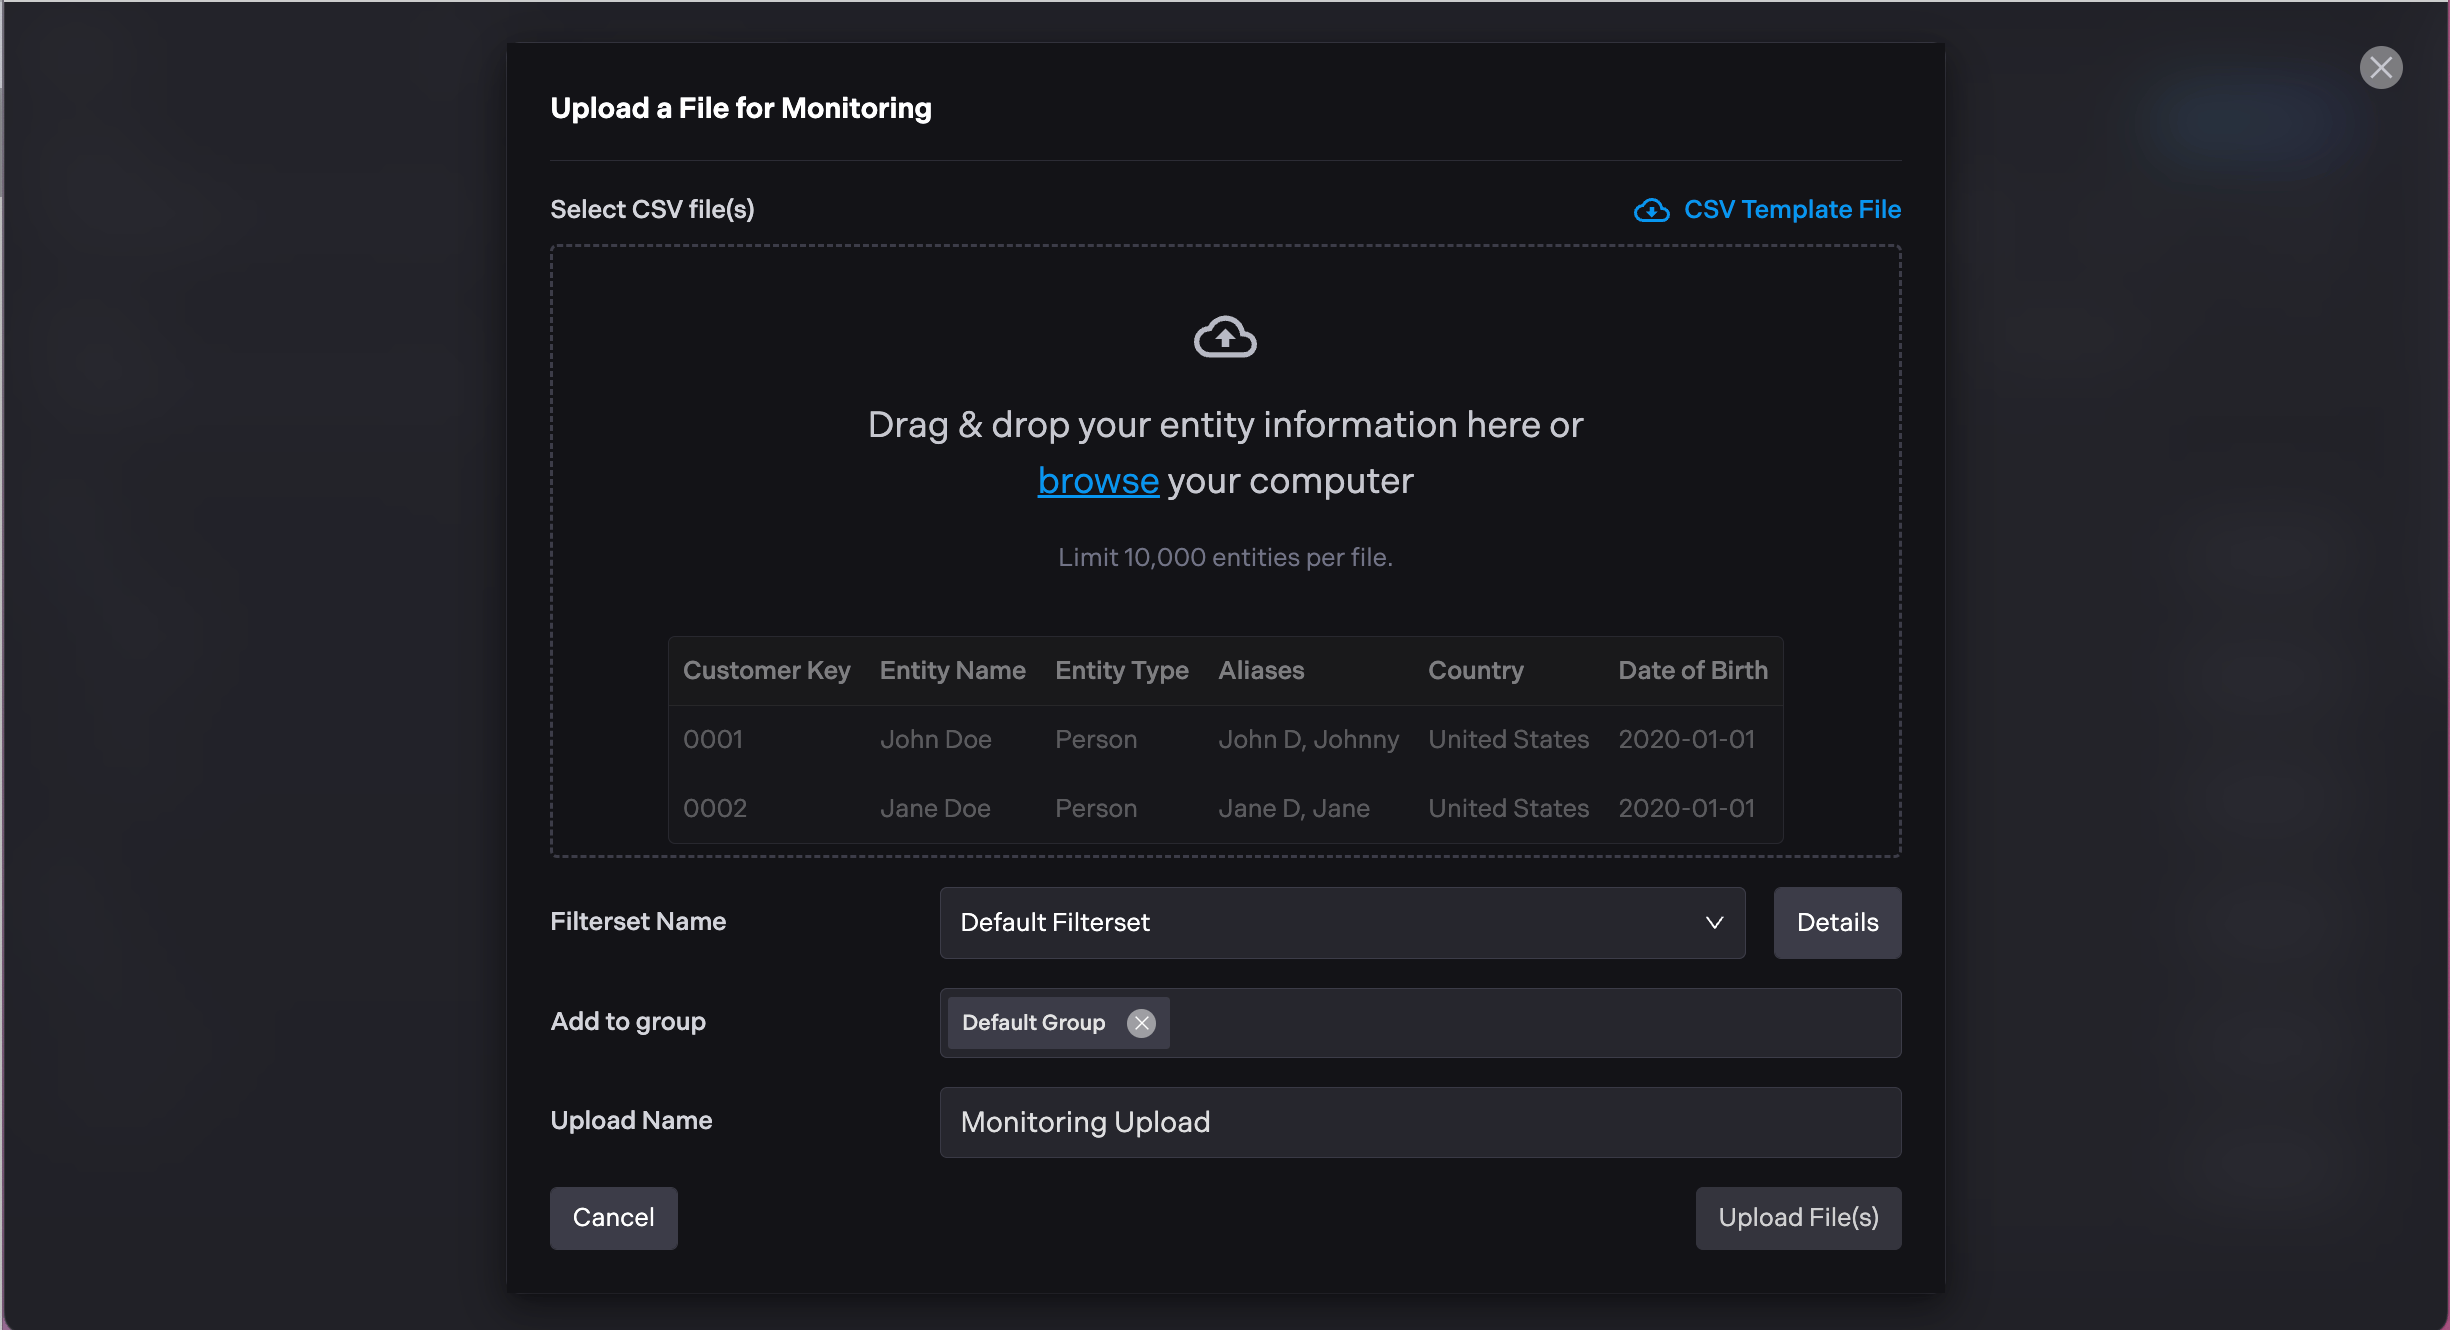
If user selects Monitor Entities
-
Drag and drop a CSV file or browse your computer to select a file. If needed, download a CSV template file.
-
Choose a filter set for the entities being uploaded.
-
Specify a group for the entities.
-
Provide a name for the upload. If no name is provided, it will default to "Unnamed".
-
Click "Upload File(s)" to initiate the upload process for monitoring the entities.
-
All entities will appear on the Monitoring page. Check Alert pages for updates on the entities you have uploaded.
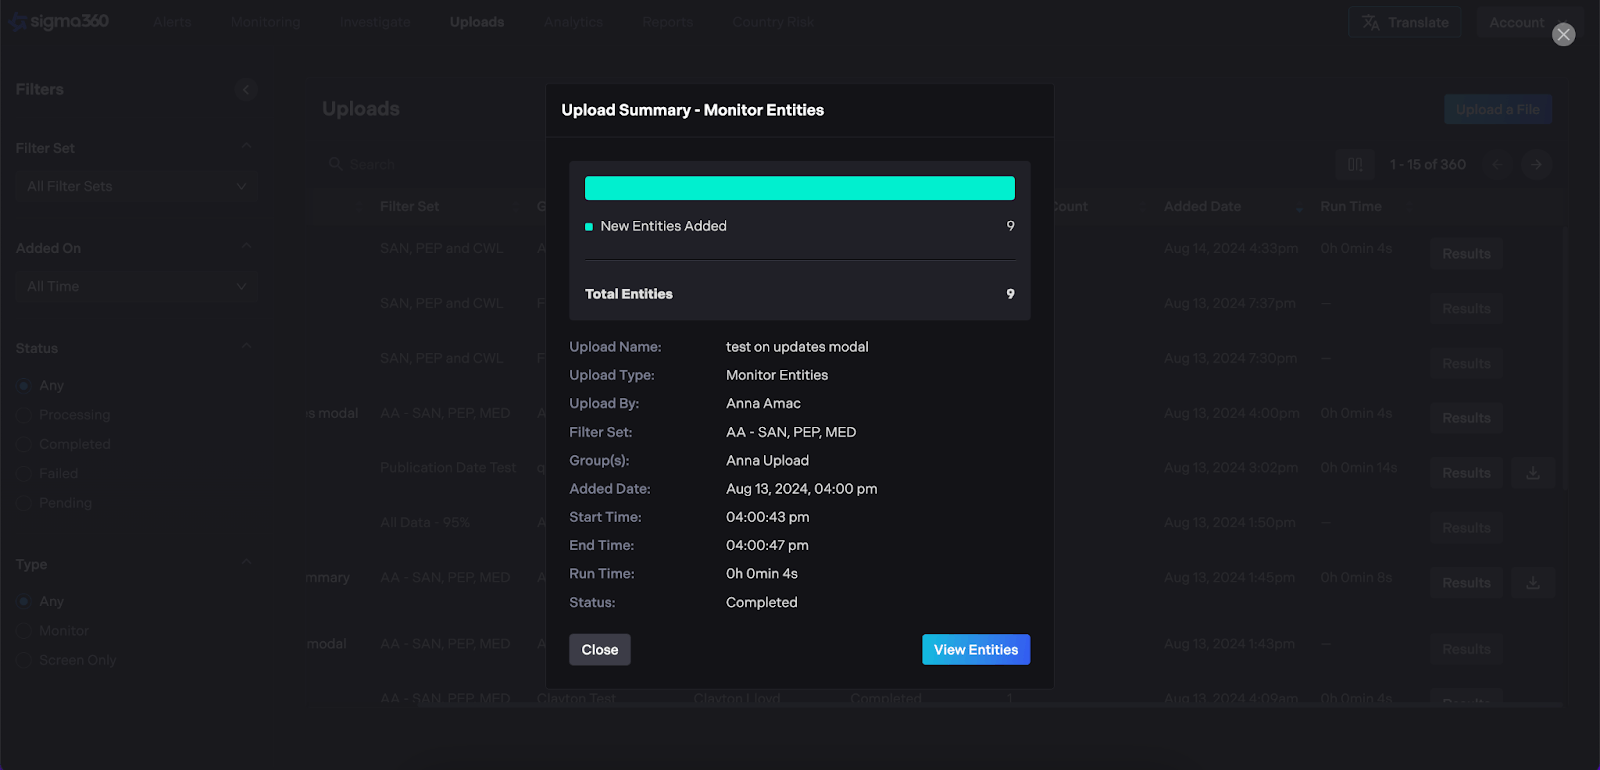
When users upload entities in bulk, a summary will be provided. Monitored entities will include a summary of how many were added and updated.
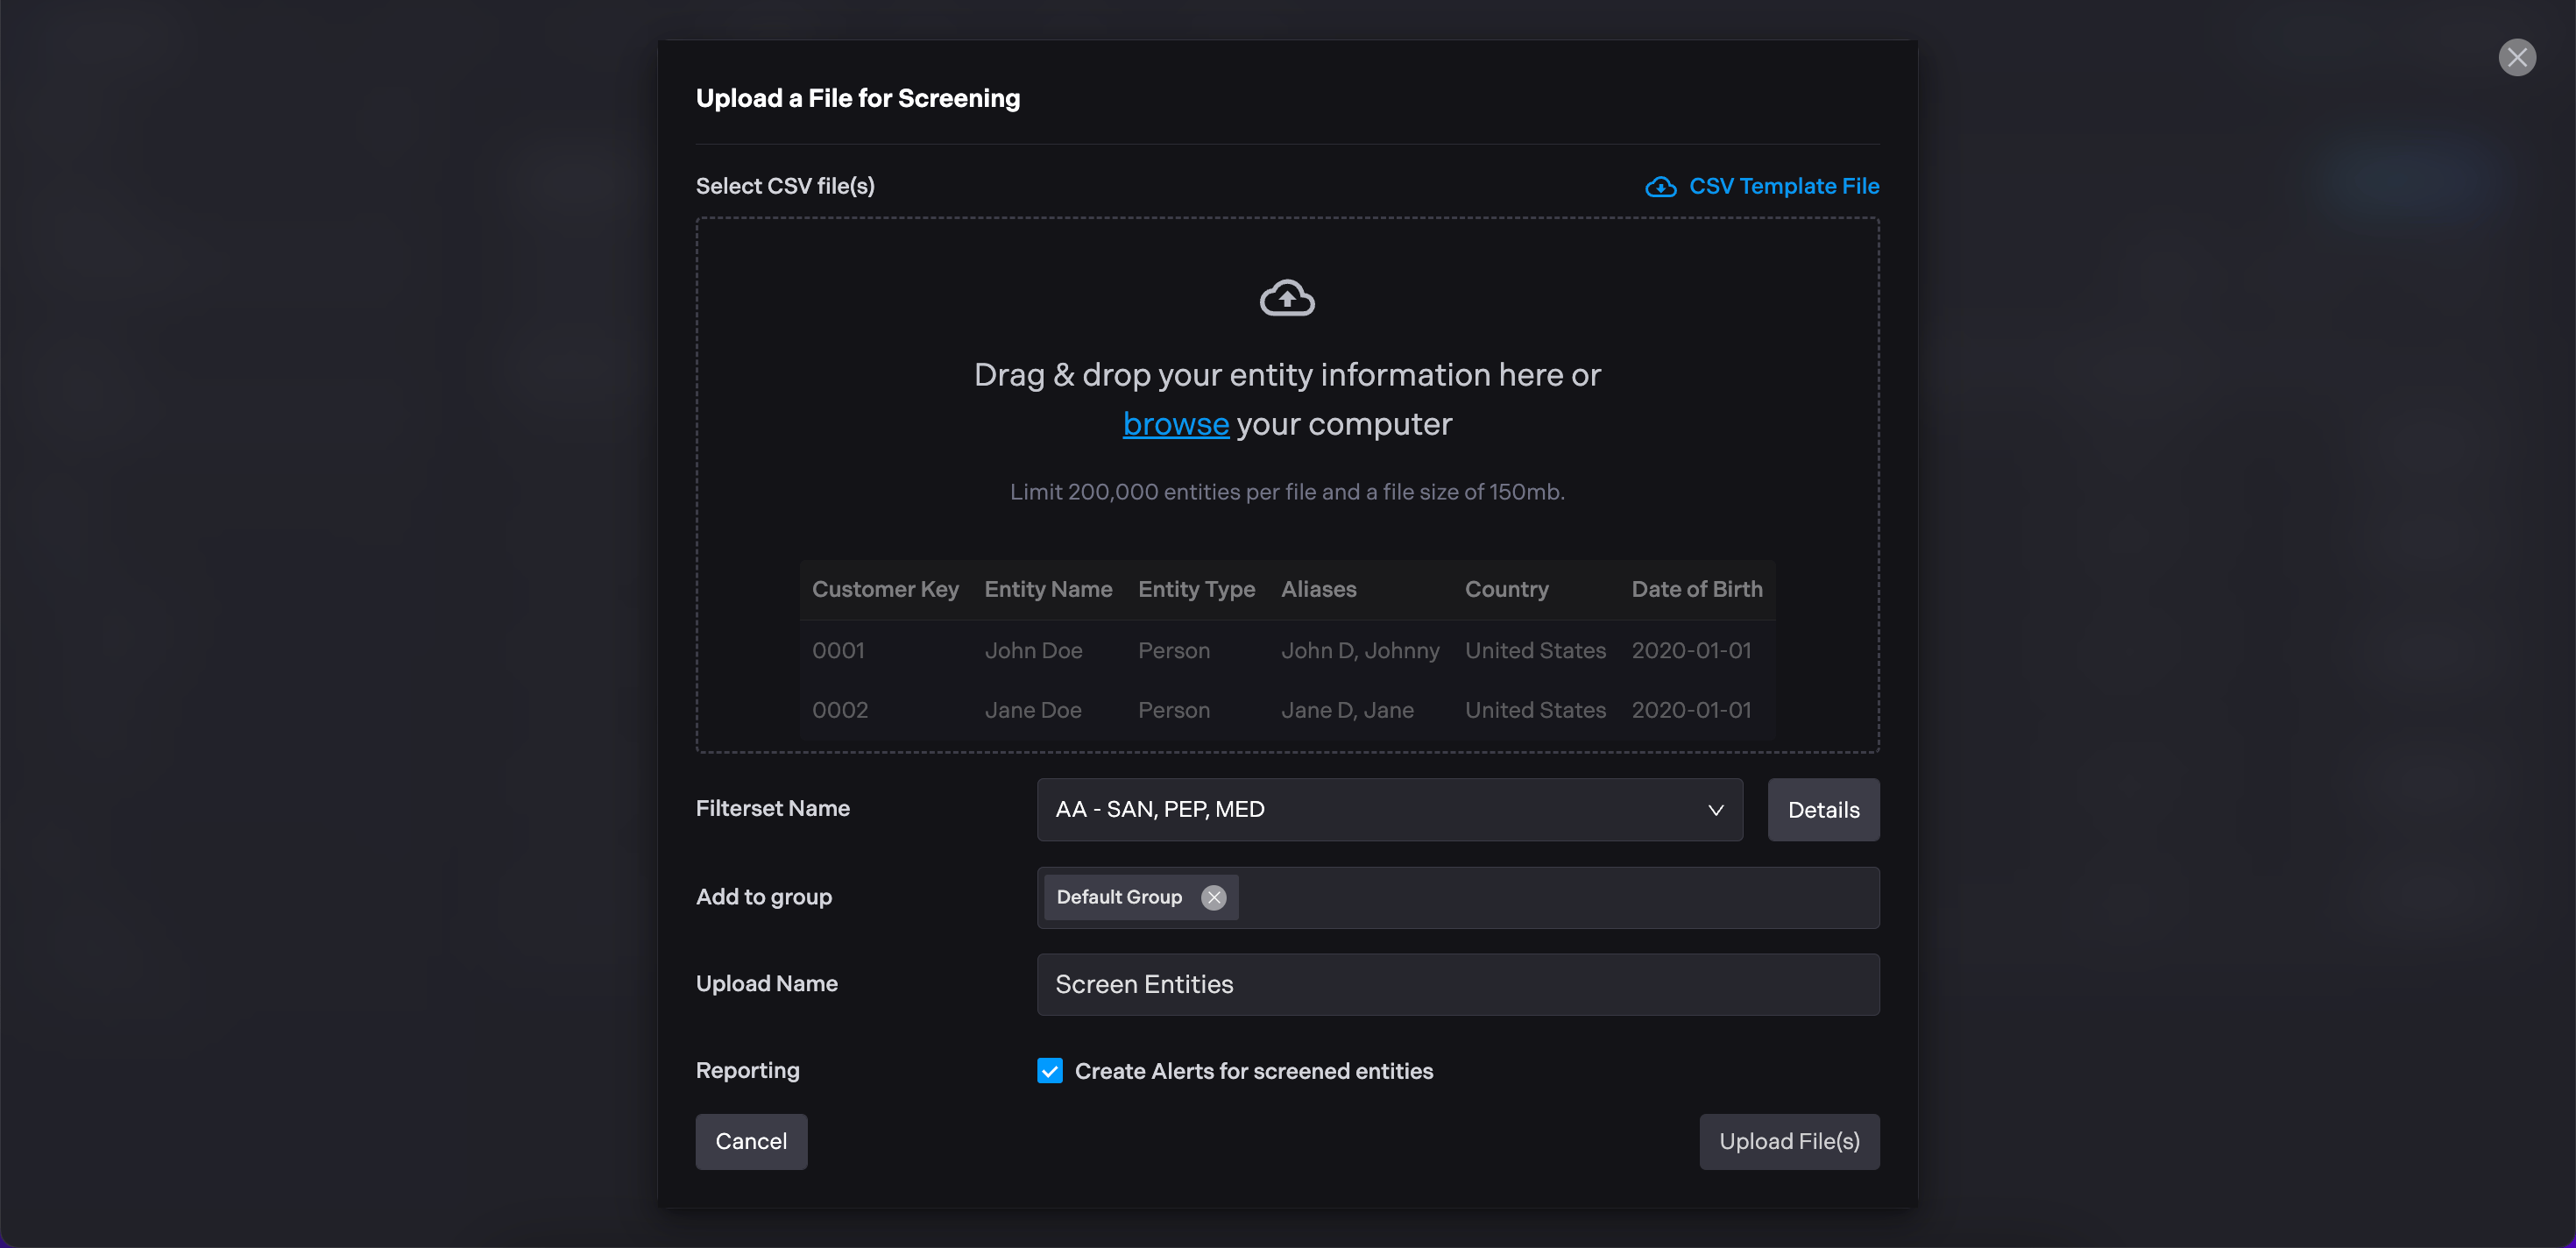
If user selects **Screen Entities **(one-off, large-scale screening operations with a one-time data export)
-
Drag and drop a CSV file or browse your computer to select a file. If needed, download a CSV template file.
-
Choose a filter set for the entities being uploaded.
-
Specify a group for the entities.
-
Provide a name for the upload. If no name is provided, it will default to "Unnamed"
-
If the Create Alerts checkbox is selected, entities with potential risks will appear on the Alert page.
-
Click "Upload File(s)" to initiate the upload process for screening the entities.
-
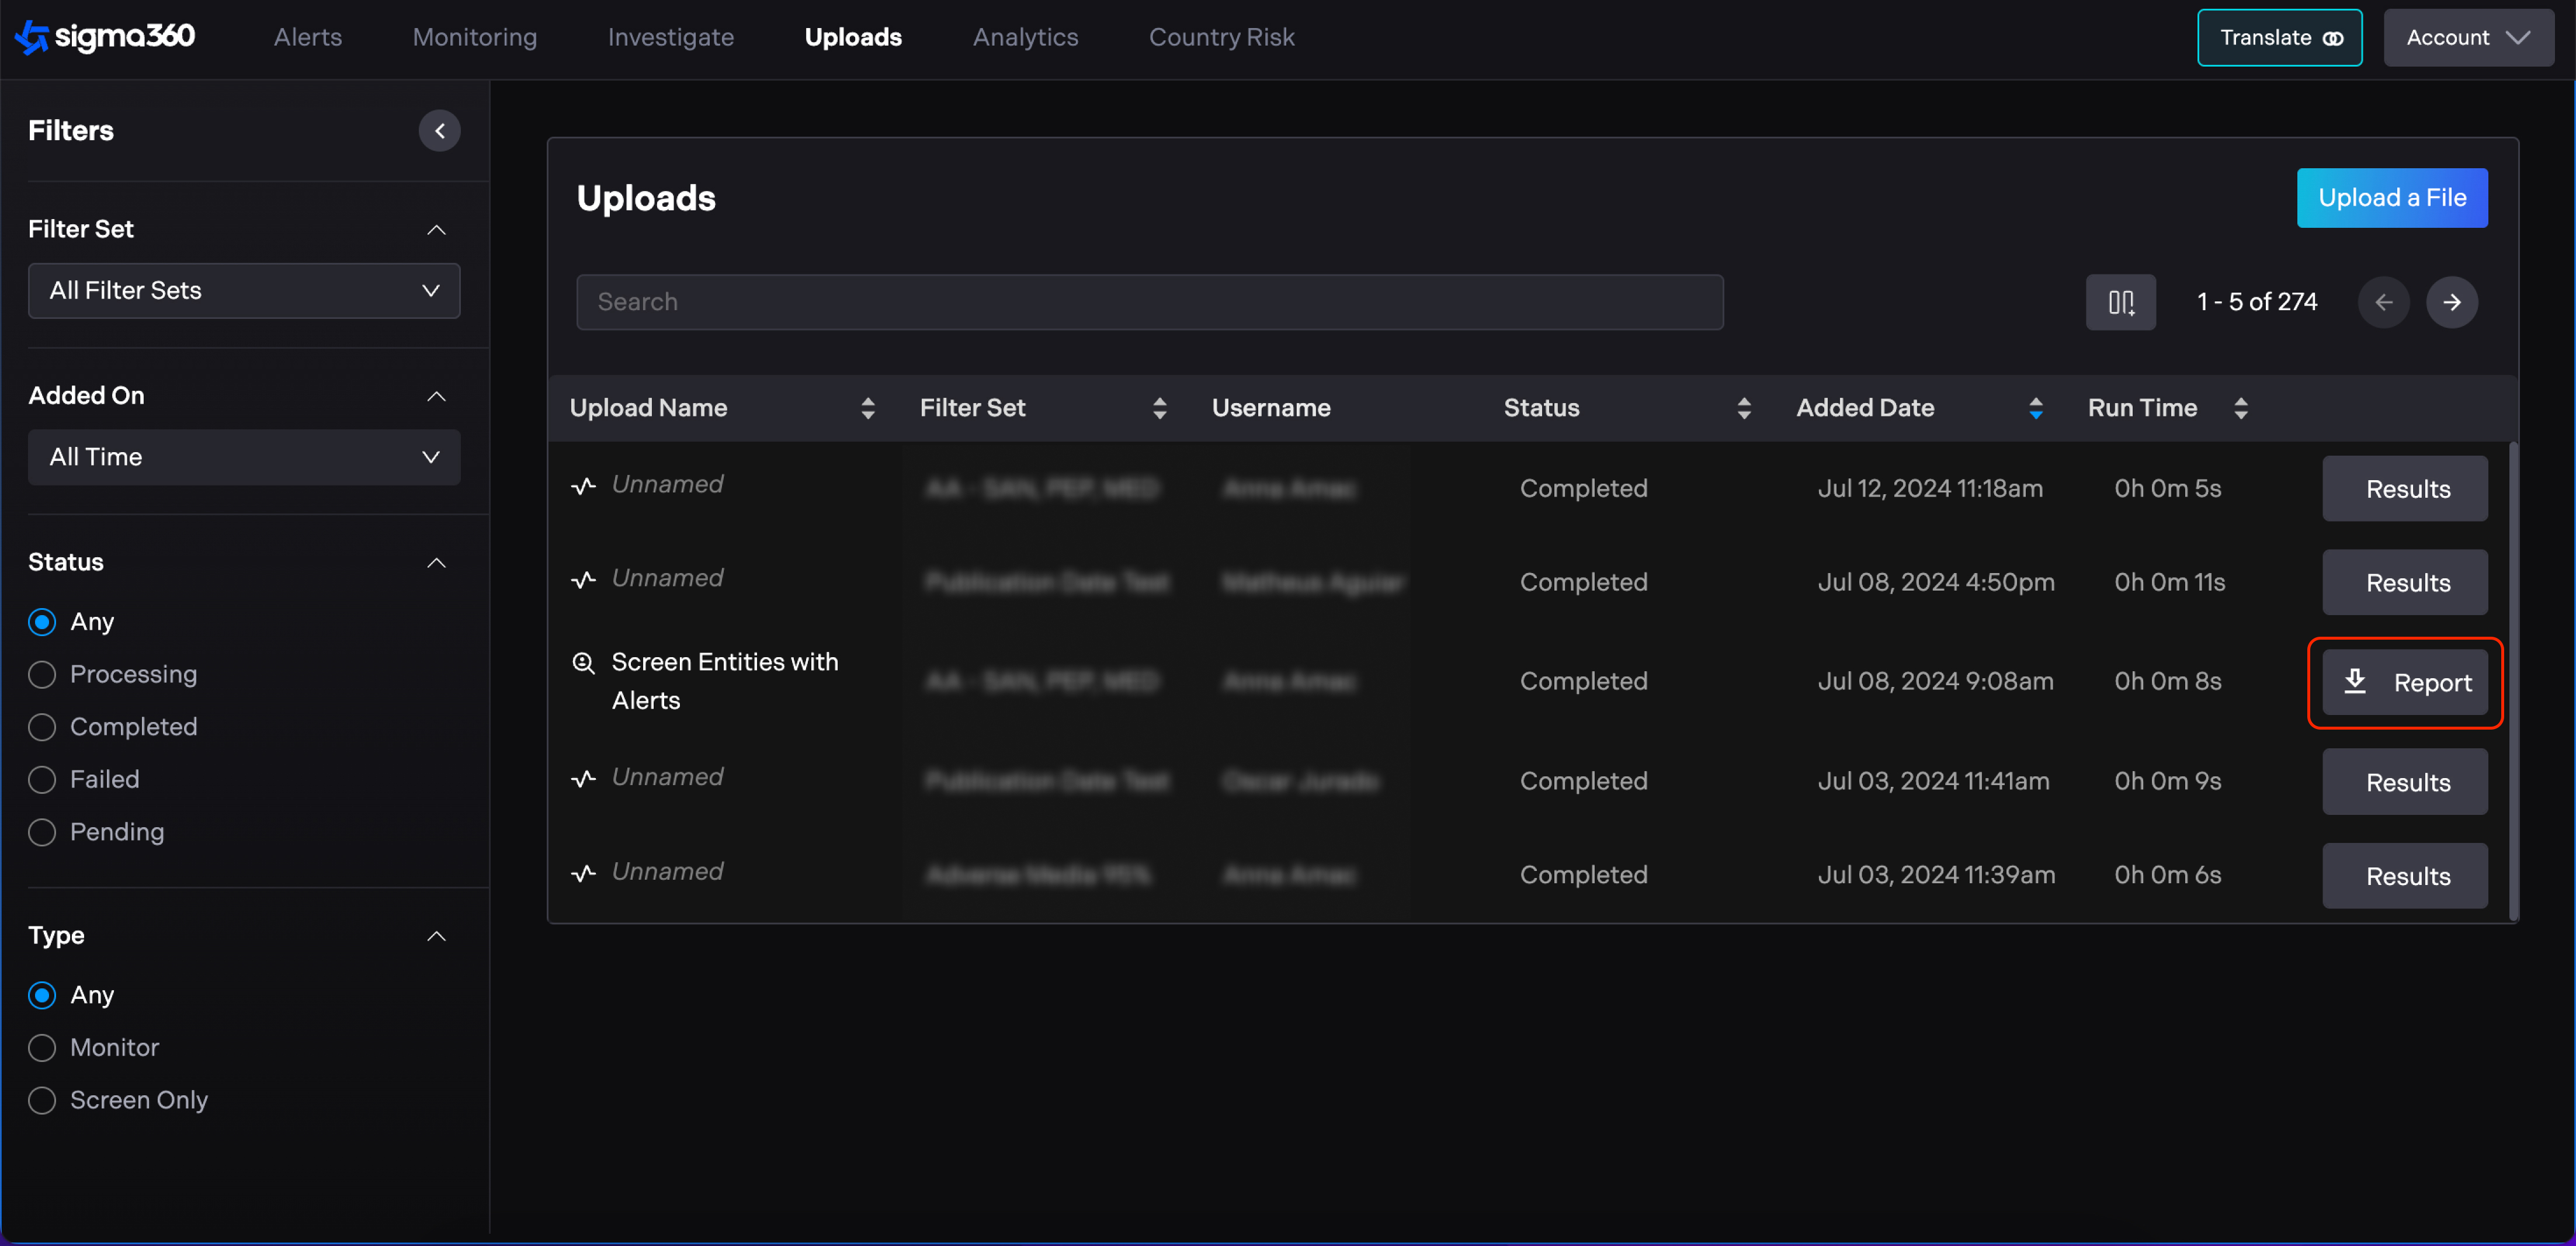
The user will receive an email with the report, and the report can also be downloaded from the upload page in the table.
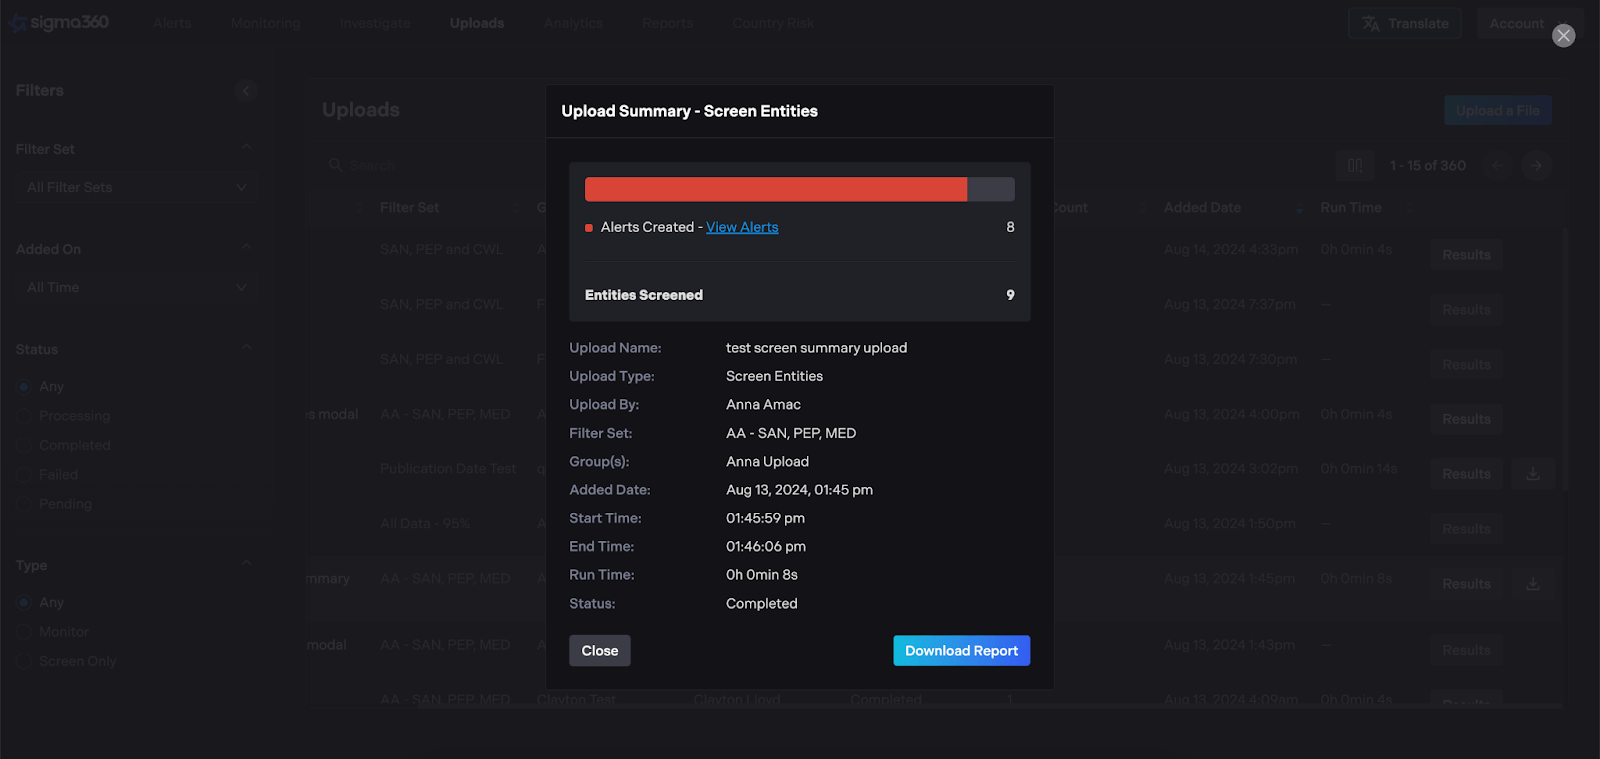
When users upload entities in bulk, a summary will be provided. Screened entities will include a summary of how many were found with alerts.
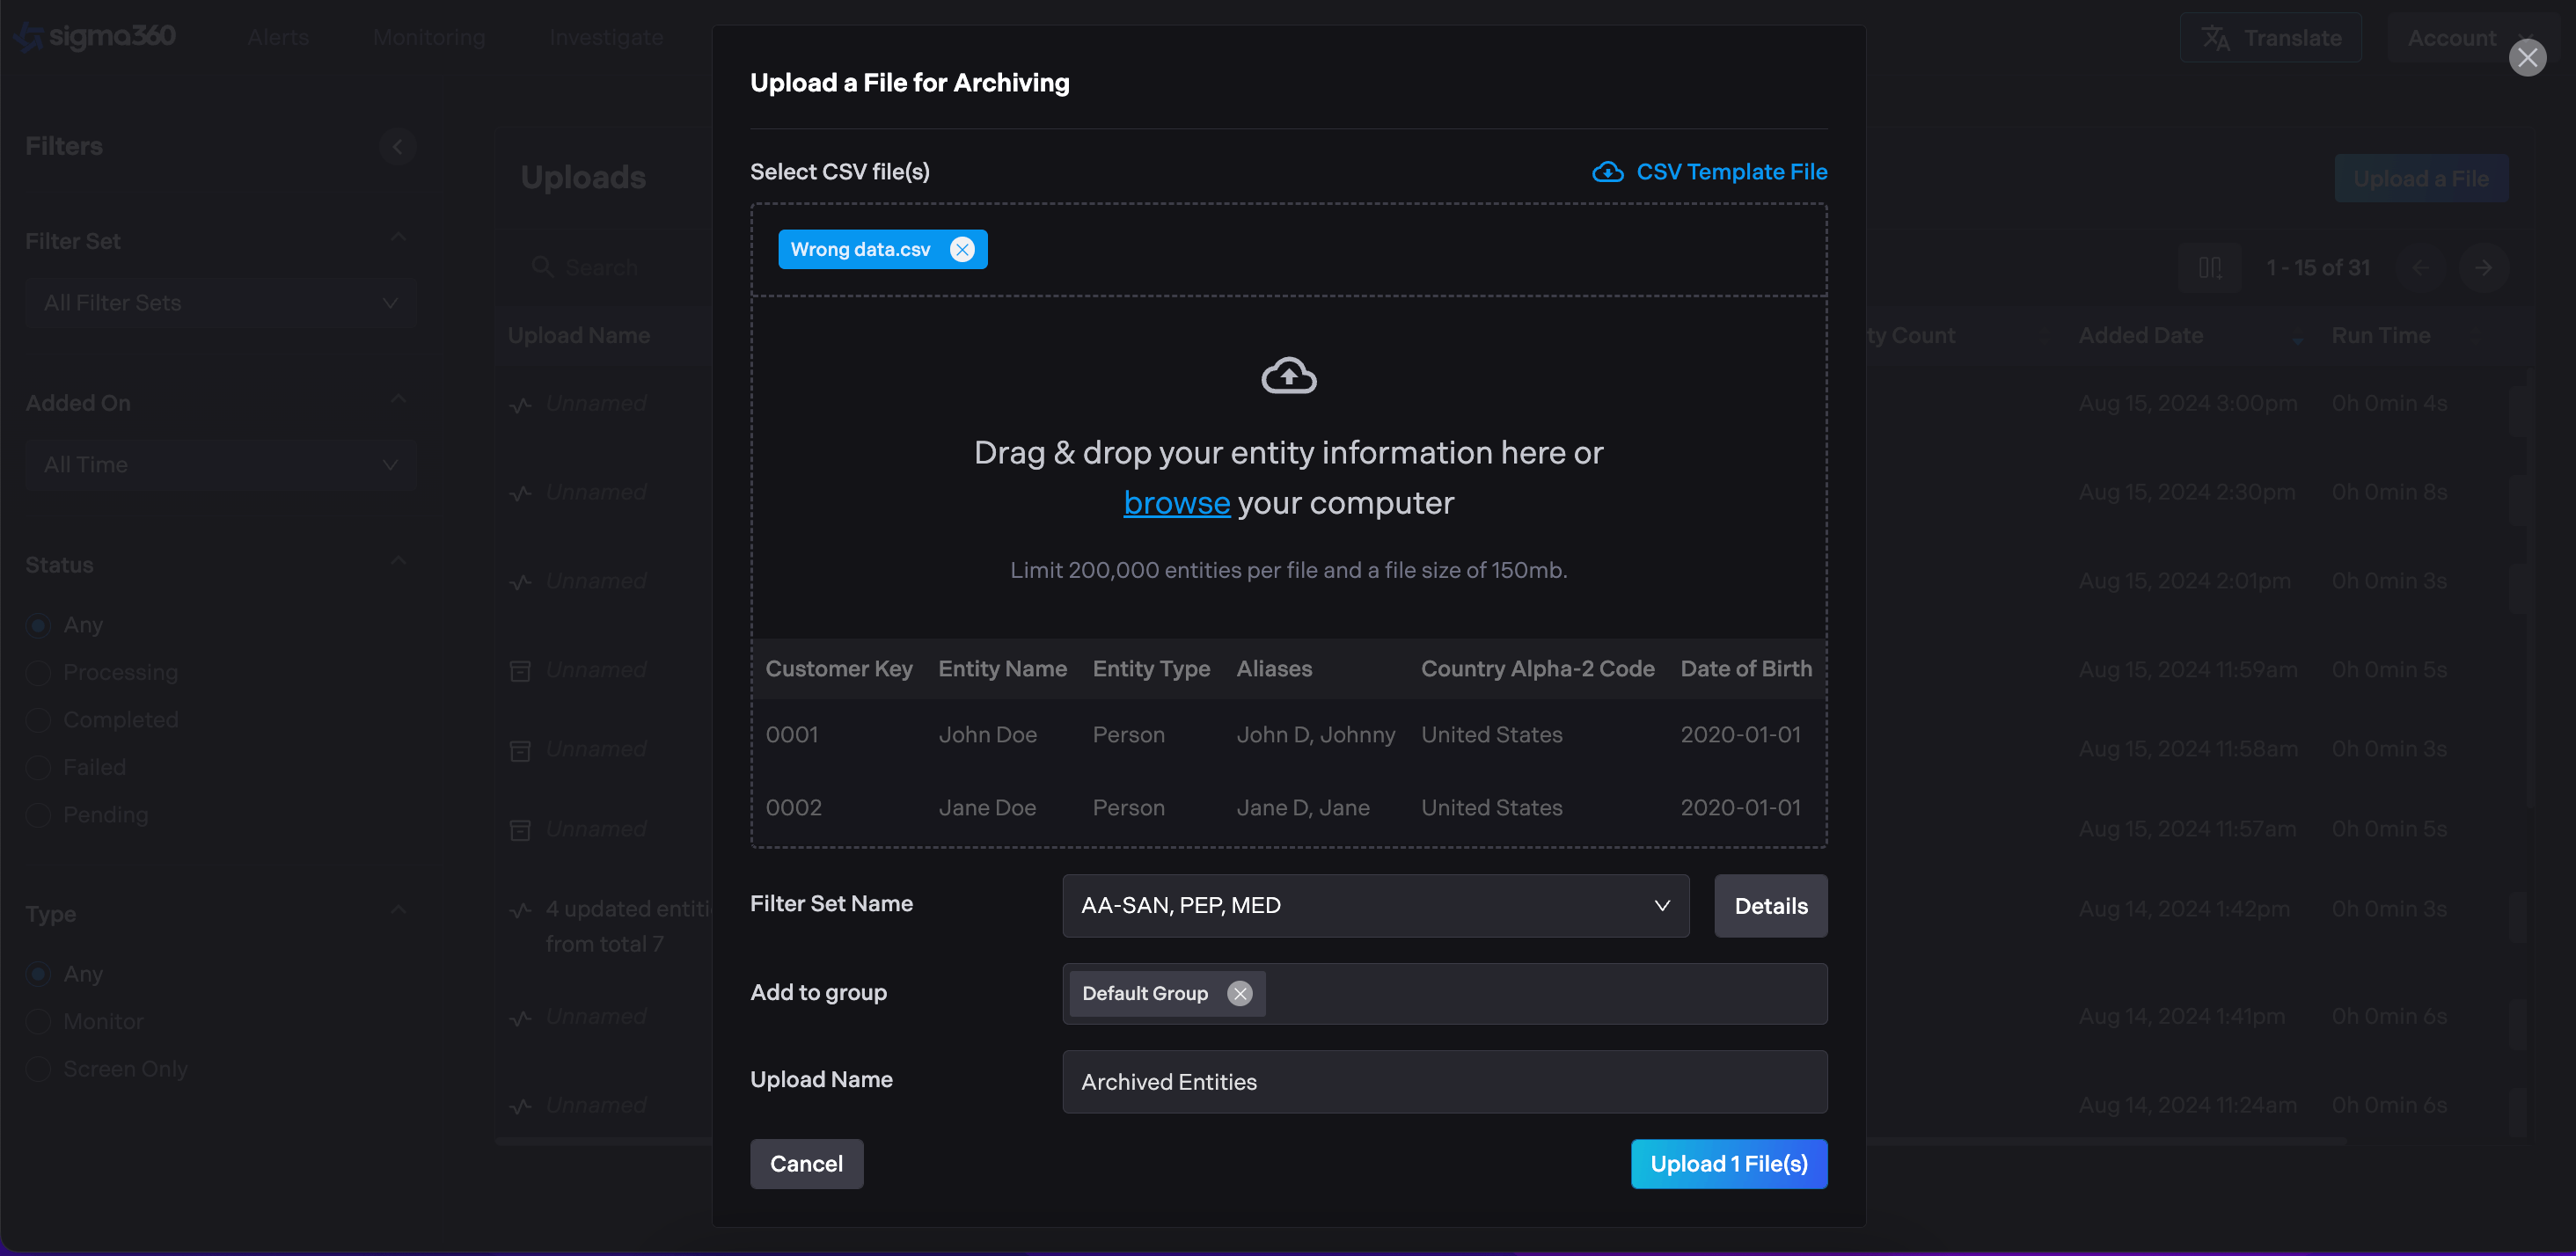
If user selects Archive** Entities**
-
Drag and drop a CSV file or browse your computer to select a file. If needed, download a CSV template file.
-
Click "Upload File(s)" to initiate the archive process for the monitored entities.
-
Entities will be removed from Monitoring and can be found in the Archived table.
The Uploads table displays a list of previous uploads and their statuses.
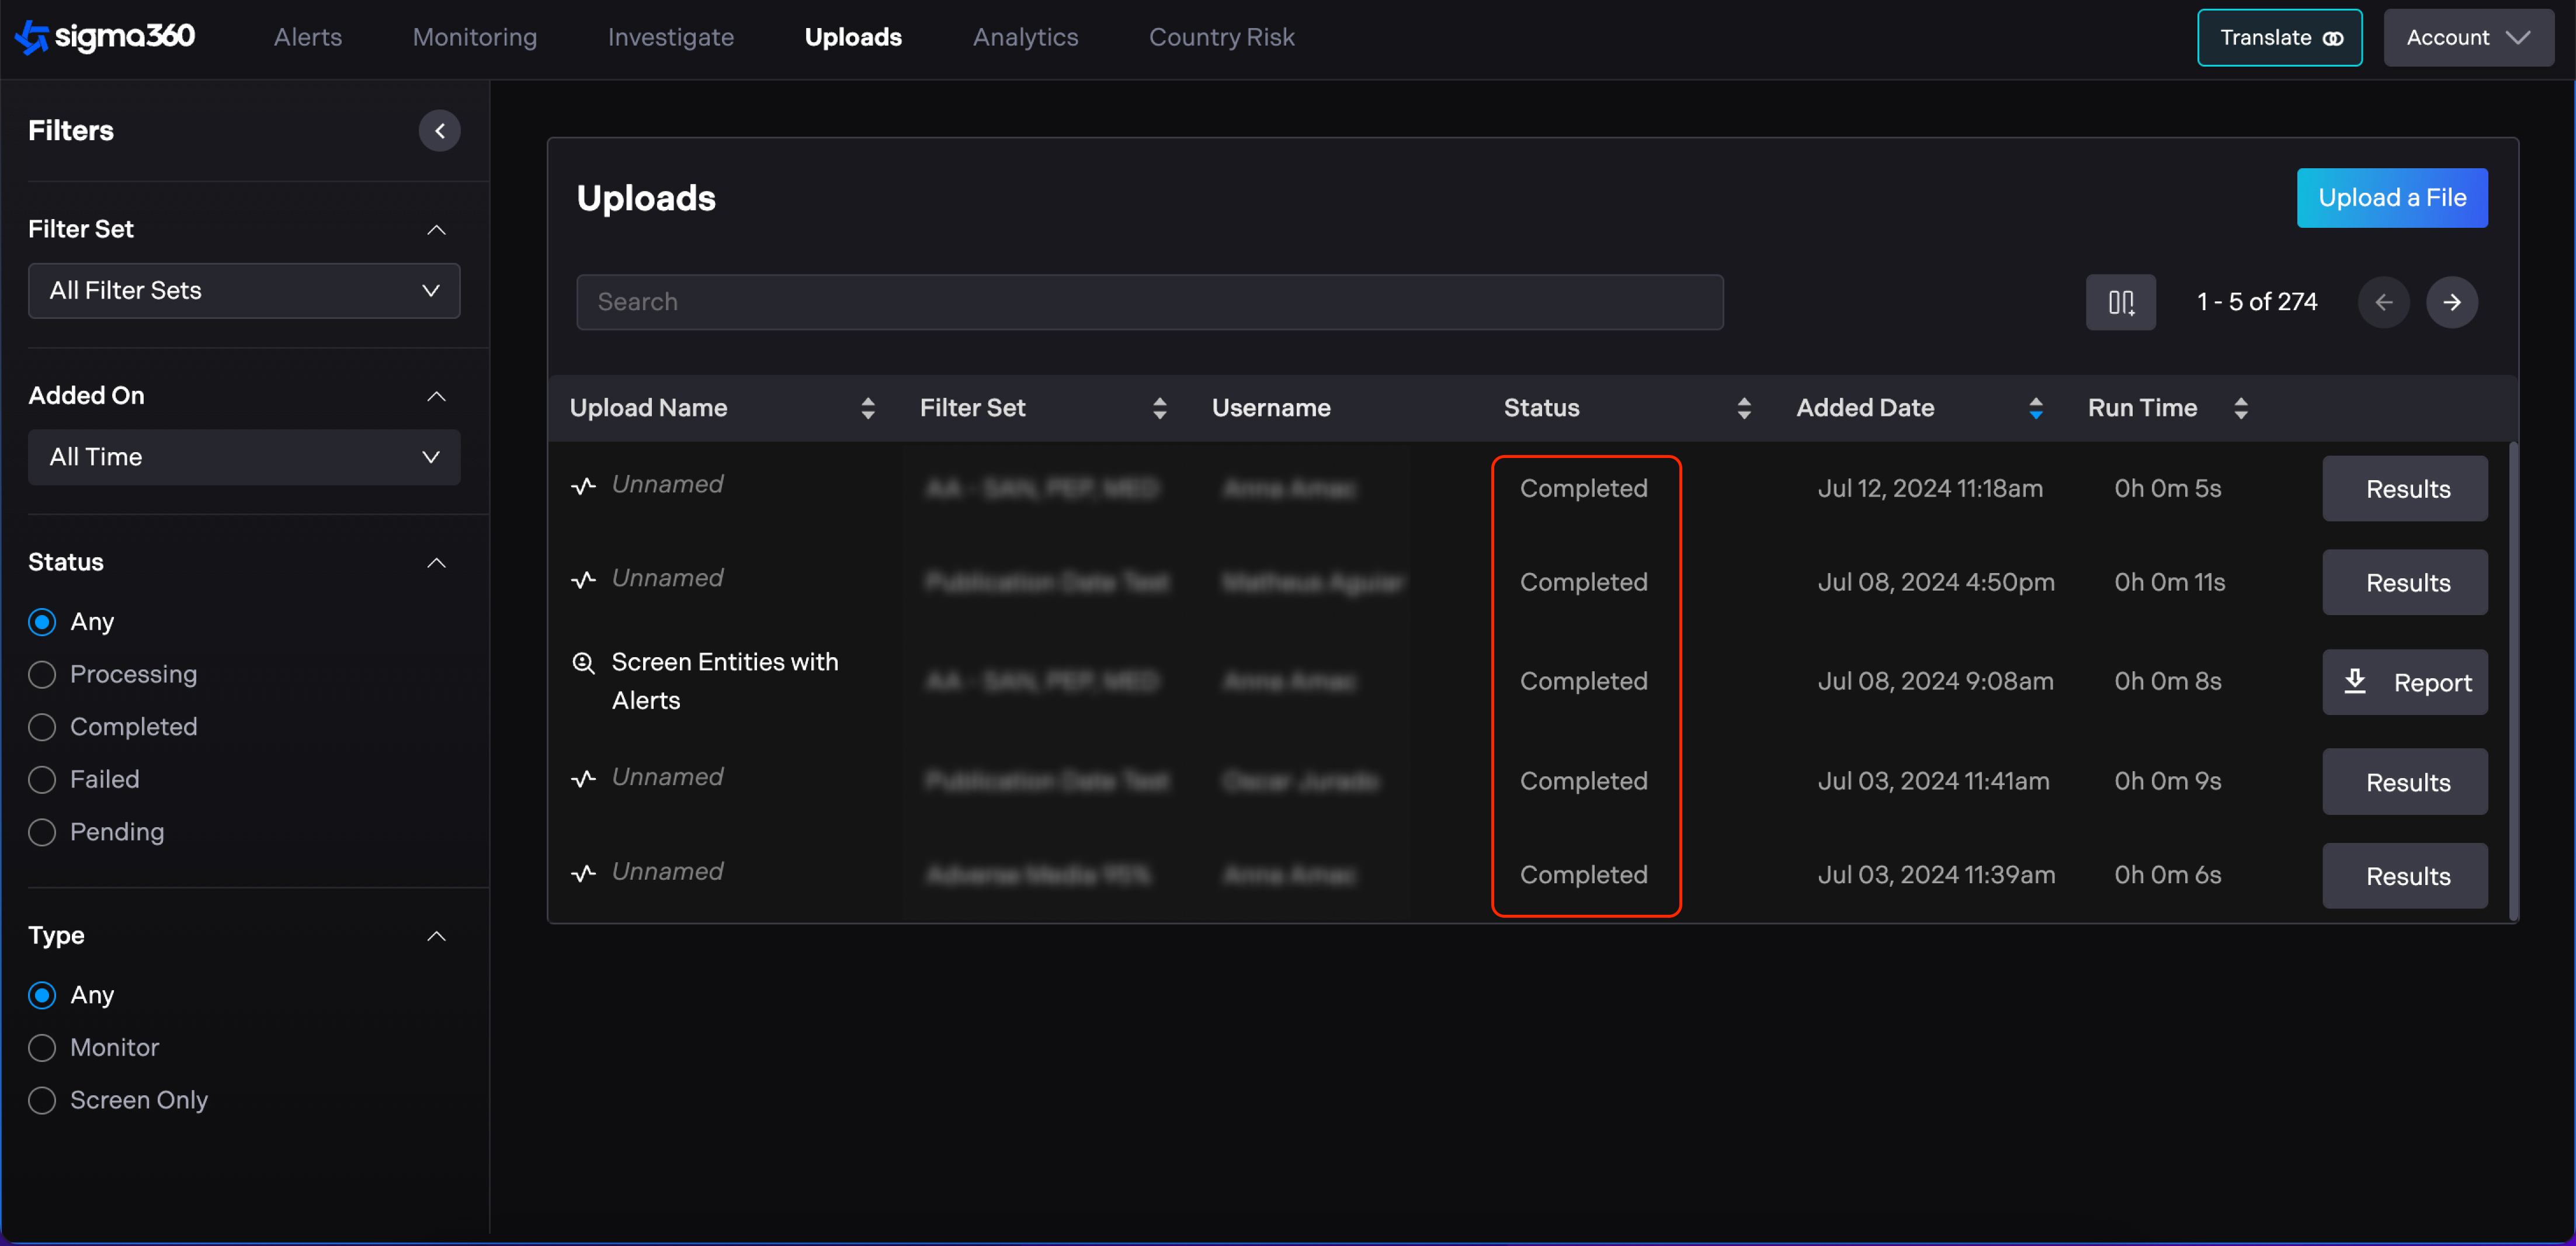
Reports can be downloaded from the table on the Uploads page or from the email notification.
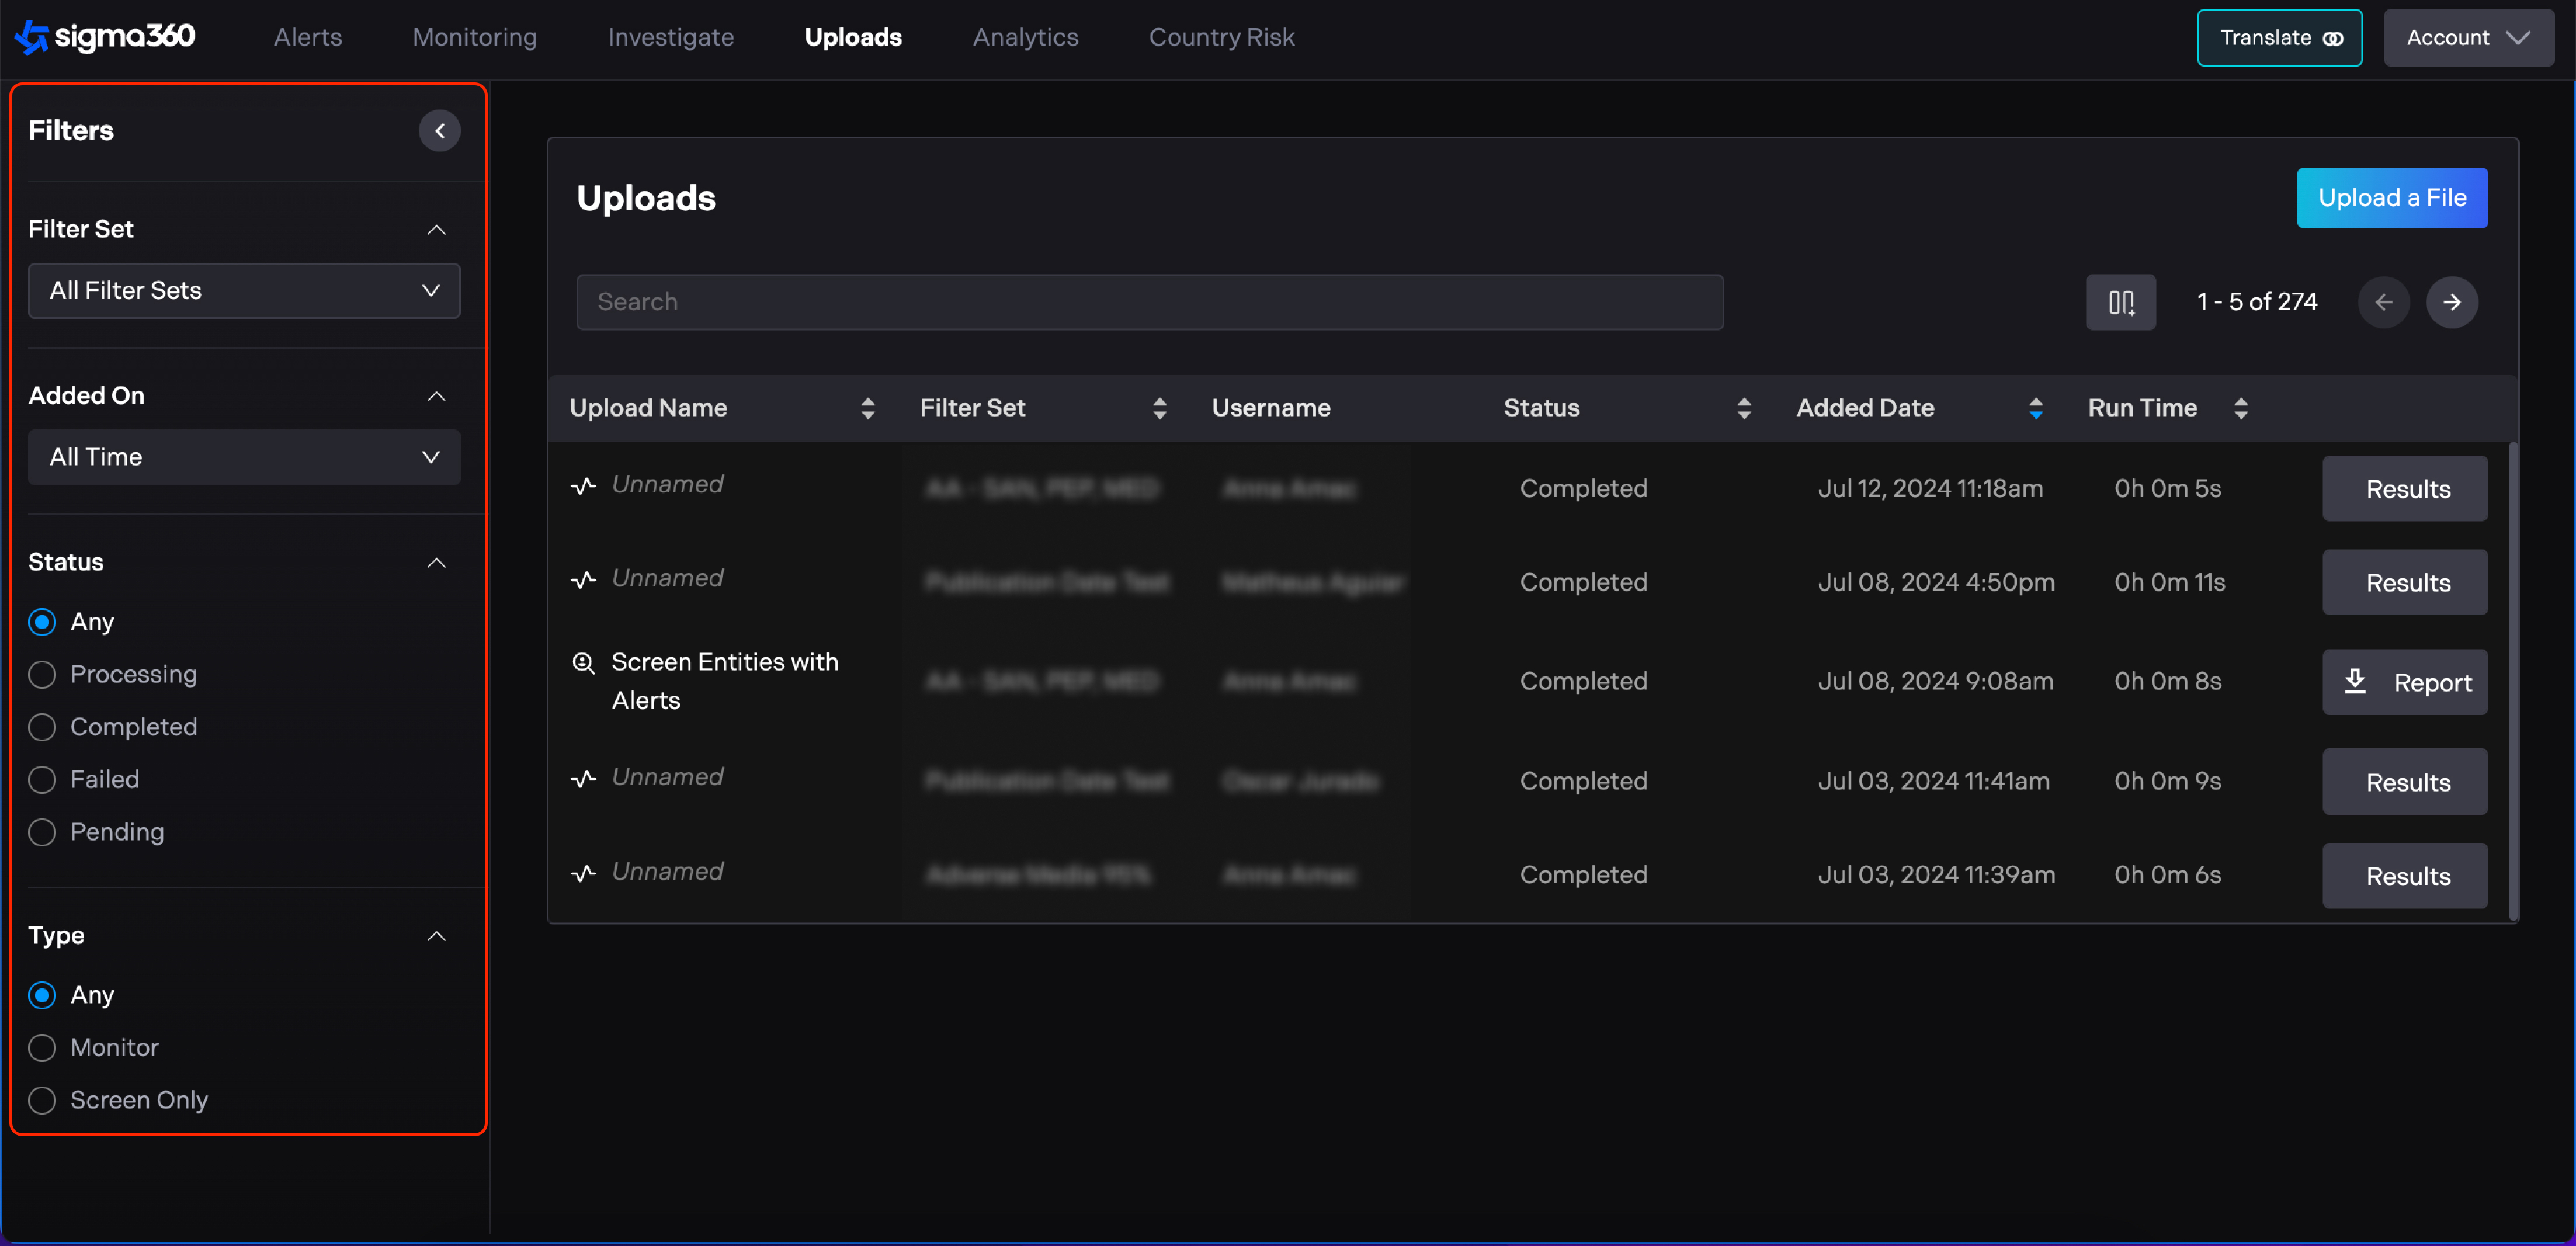
Users can filter uploads by filter sets, added date, statuses, and type.
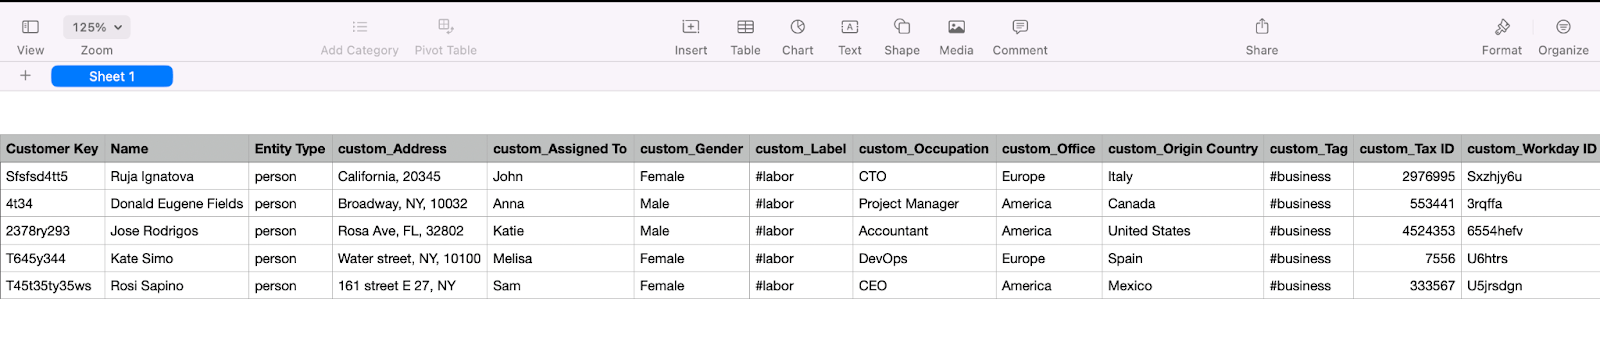
Custom data
Users can ingest custom data fields via CSV upload and API integrations. To add custom columns, users should utilize the format custom_Name in the CSV Upload file. Organizations are limited to 10 custom fields.

On Monitoring page, a Custom Data column displays a combined view of all custom fields.
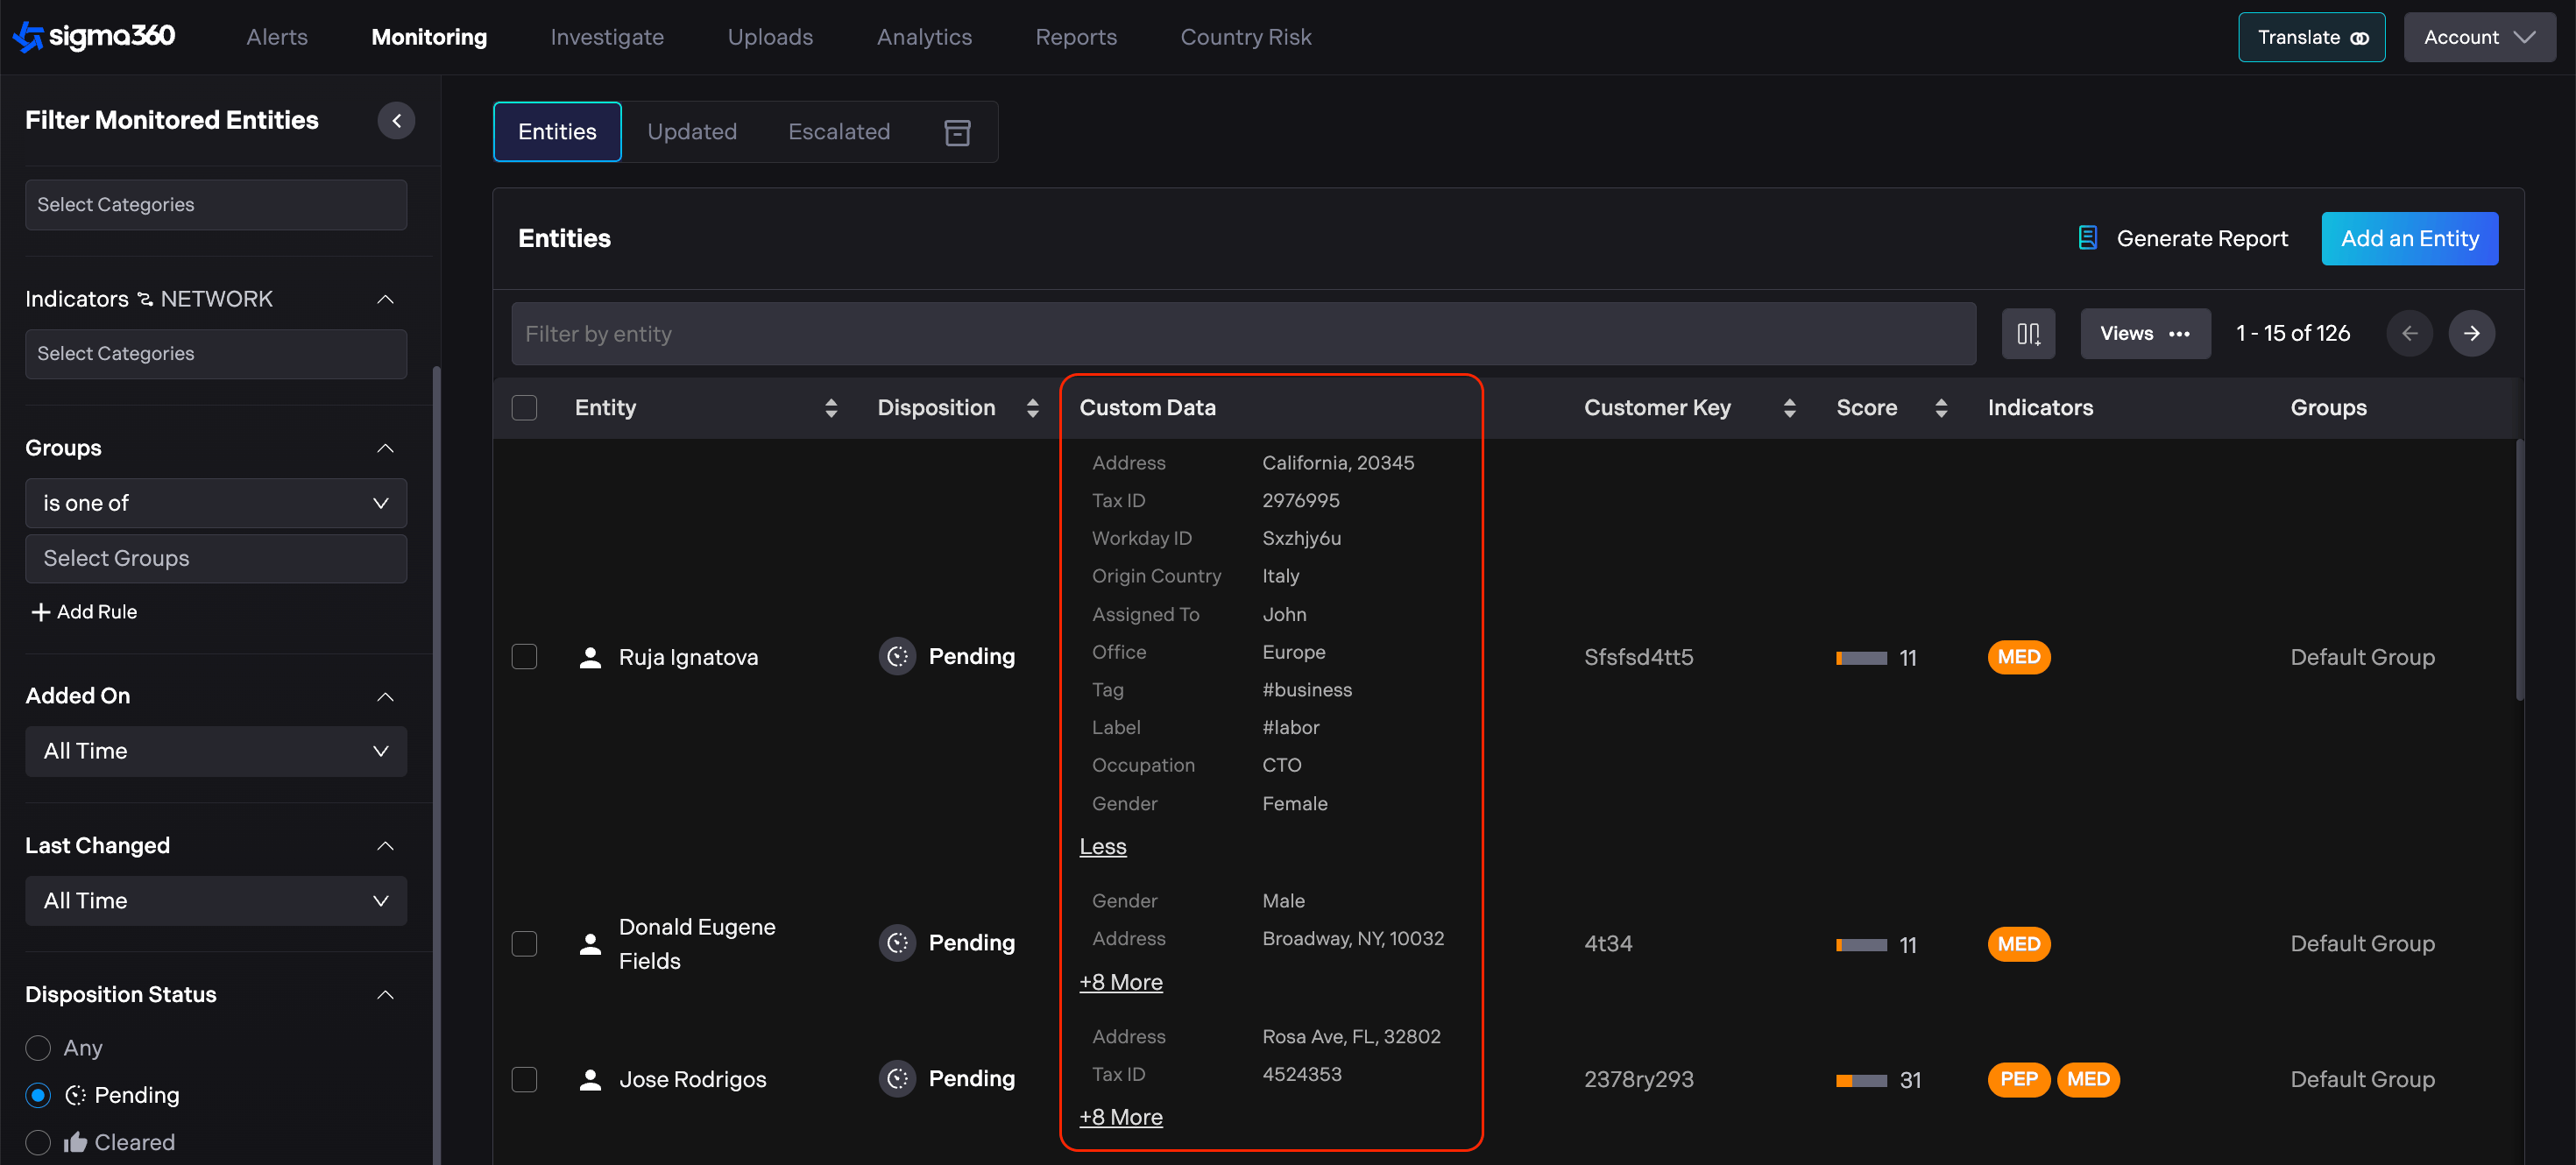
Custom data displayed on individual Entities in the left side panel.
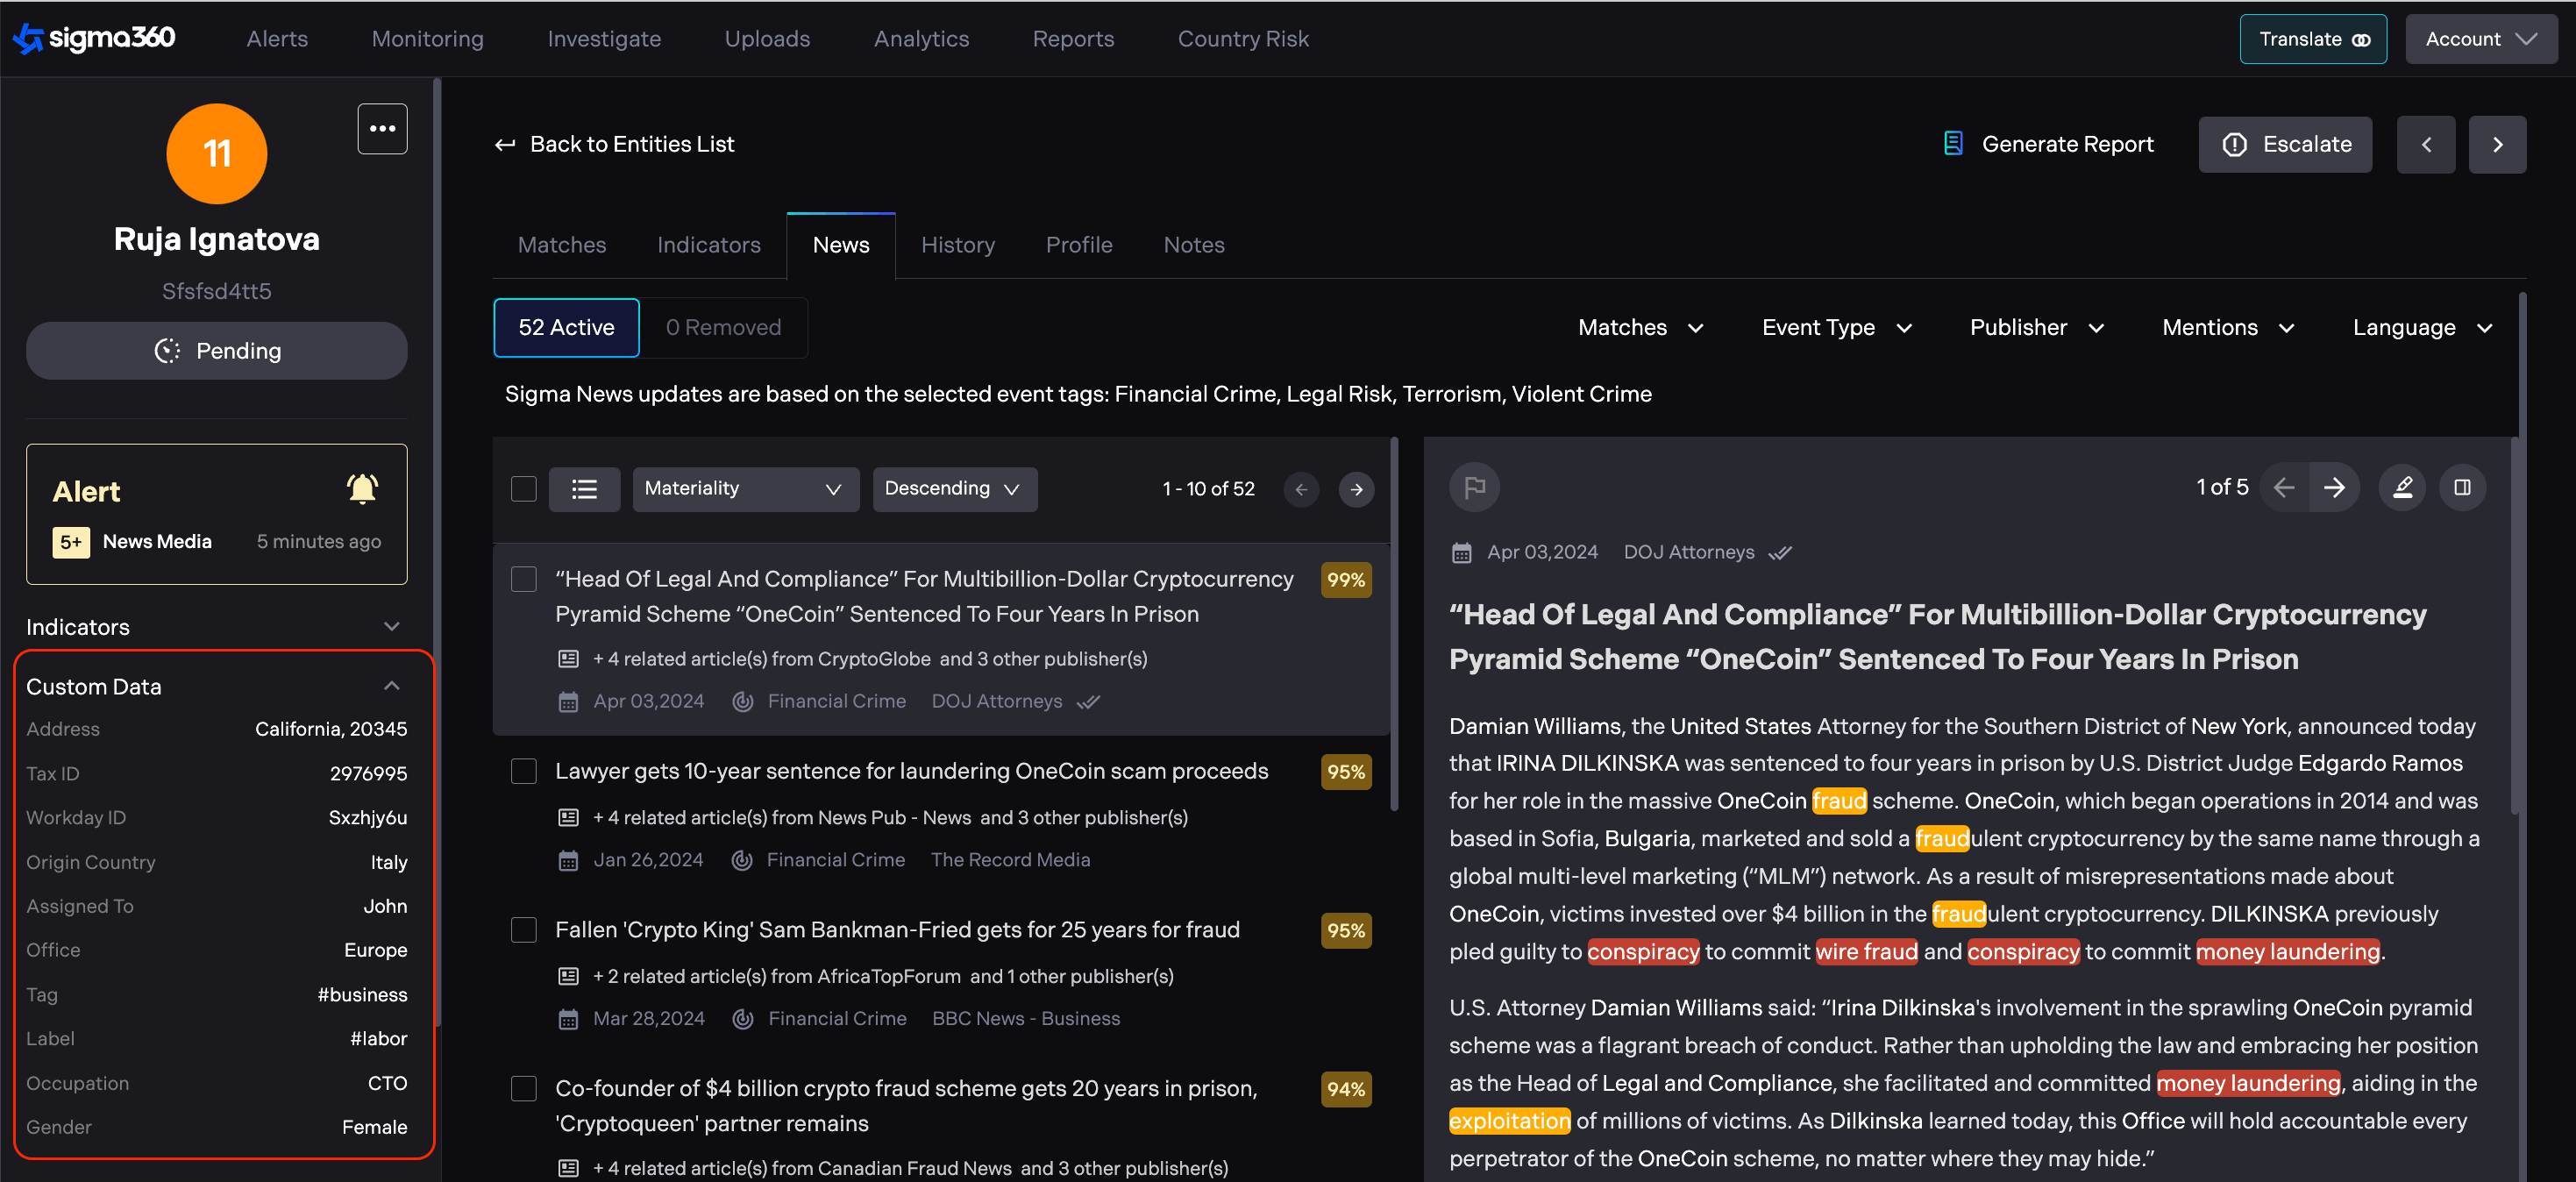
Custom data cannot be filtered, sorted, or searched within Sigma360. However, users can export CSV reports, where each custom field will be displayed in a separate column.
List Comparison Checker
List Comparison Checker allows users to check entity names against custom lists on a one off basis. Any list can be screened against as long as it can be uploaded in a csv format. For example, one off client list checks against the FinCEN314a list can be performed in a secure manner. To enable this functionality, please contact Client & Partner Solutions at support@sigma360.com.
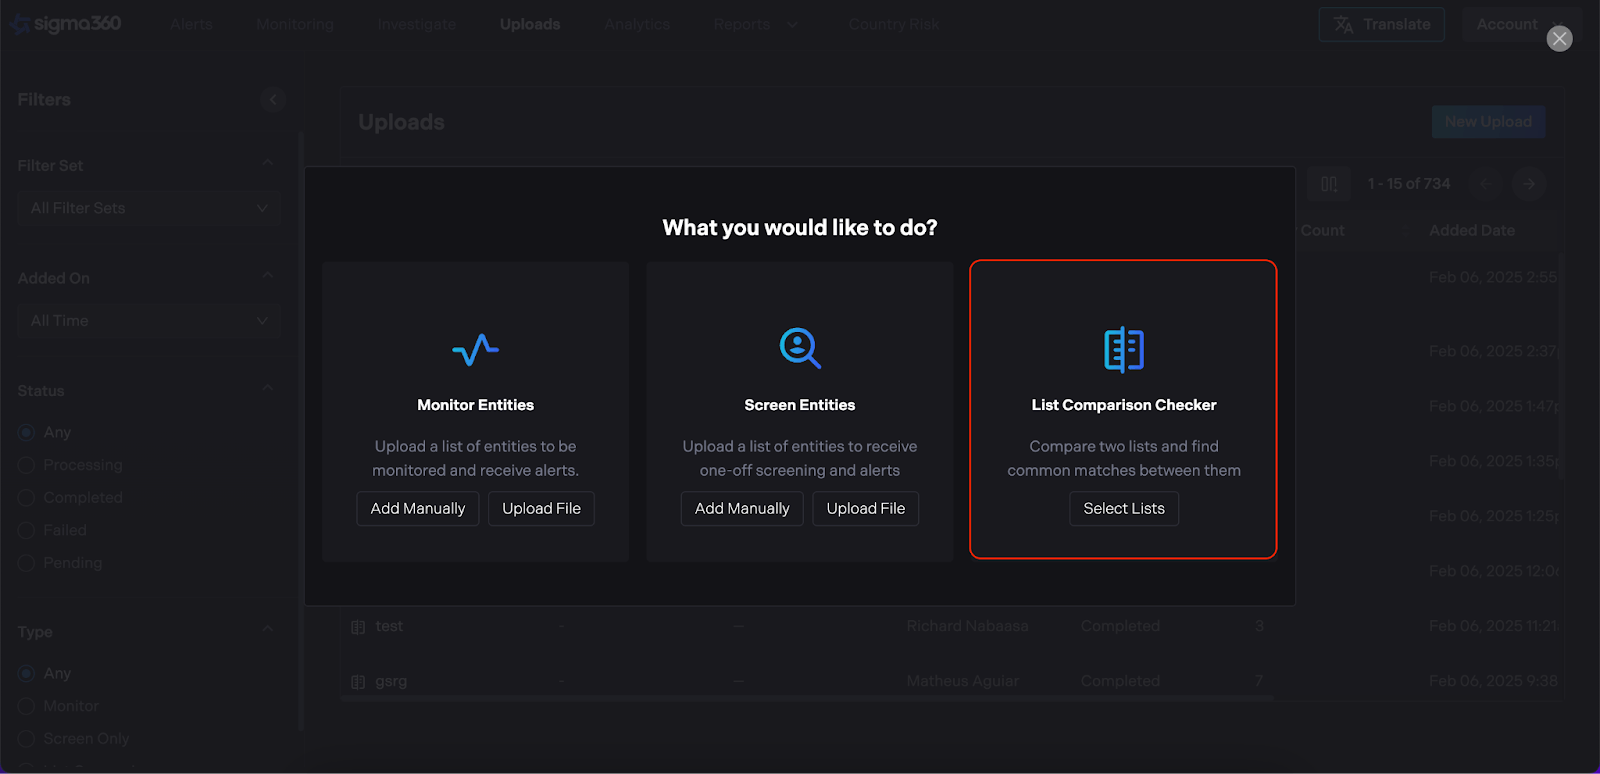
User can upload any list and screen it against their entities by following these steps:
- Select “List Comparison Checker” on the Upload page.
-
Select the Entities list to be screened.
-
Choose the list to compare your Entities against.
-
Select the match name** threshold.**
-
Provide** **upload name.
-
Click Generate Report.
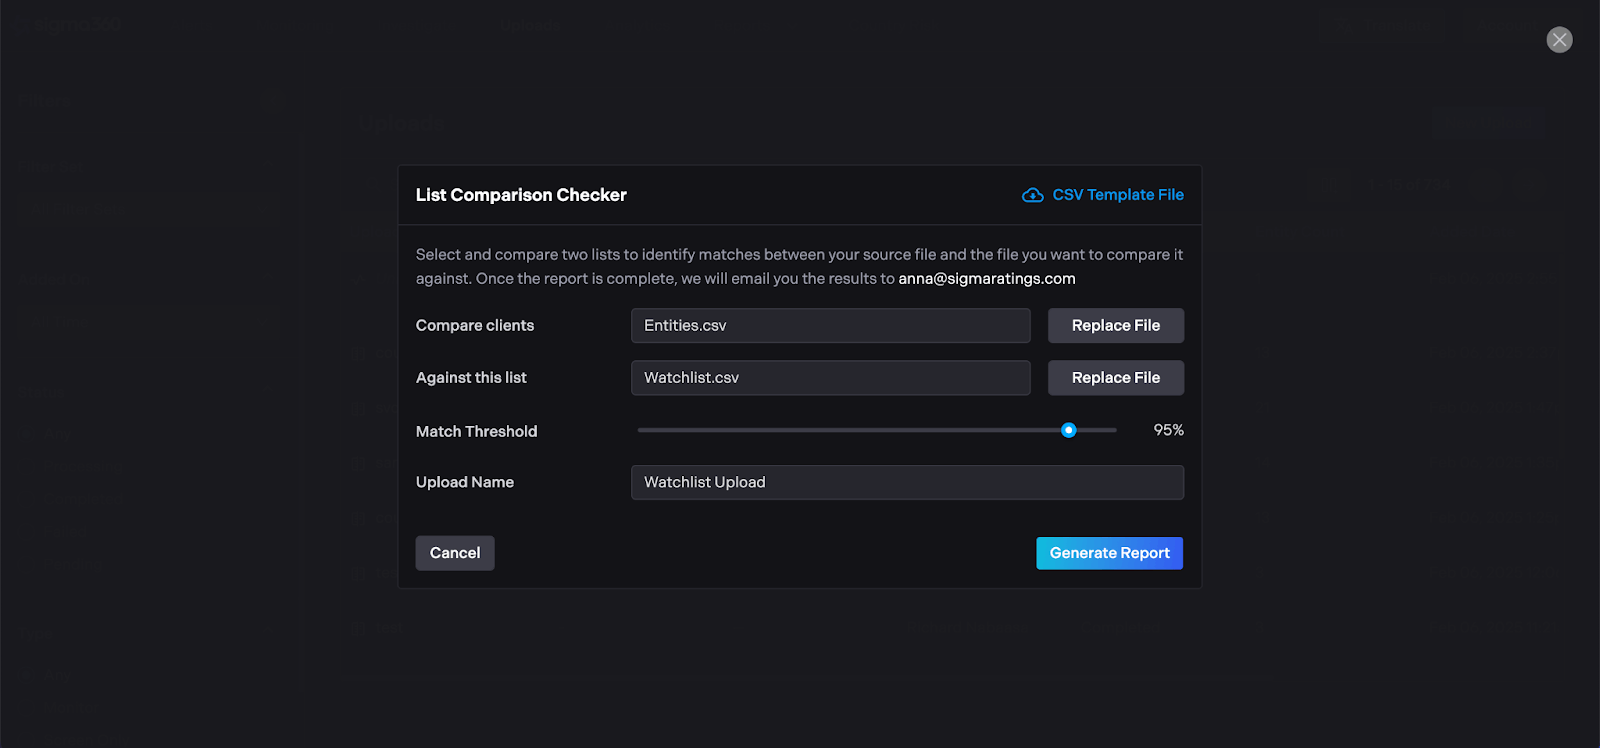
Once the report is complete, the user will receive an email with the results. Please note that the report will not be available for download from the UI and will only be accessible via email.
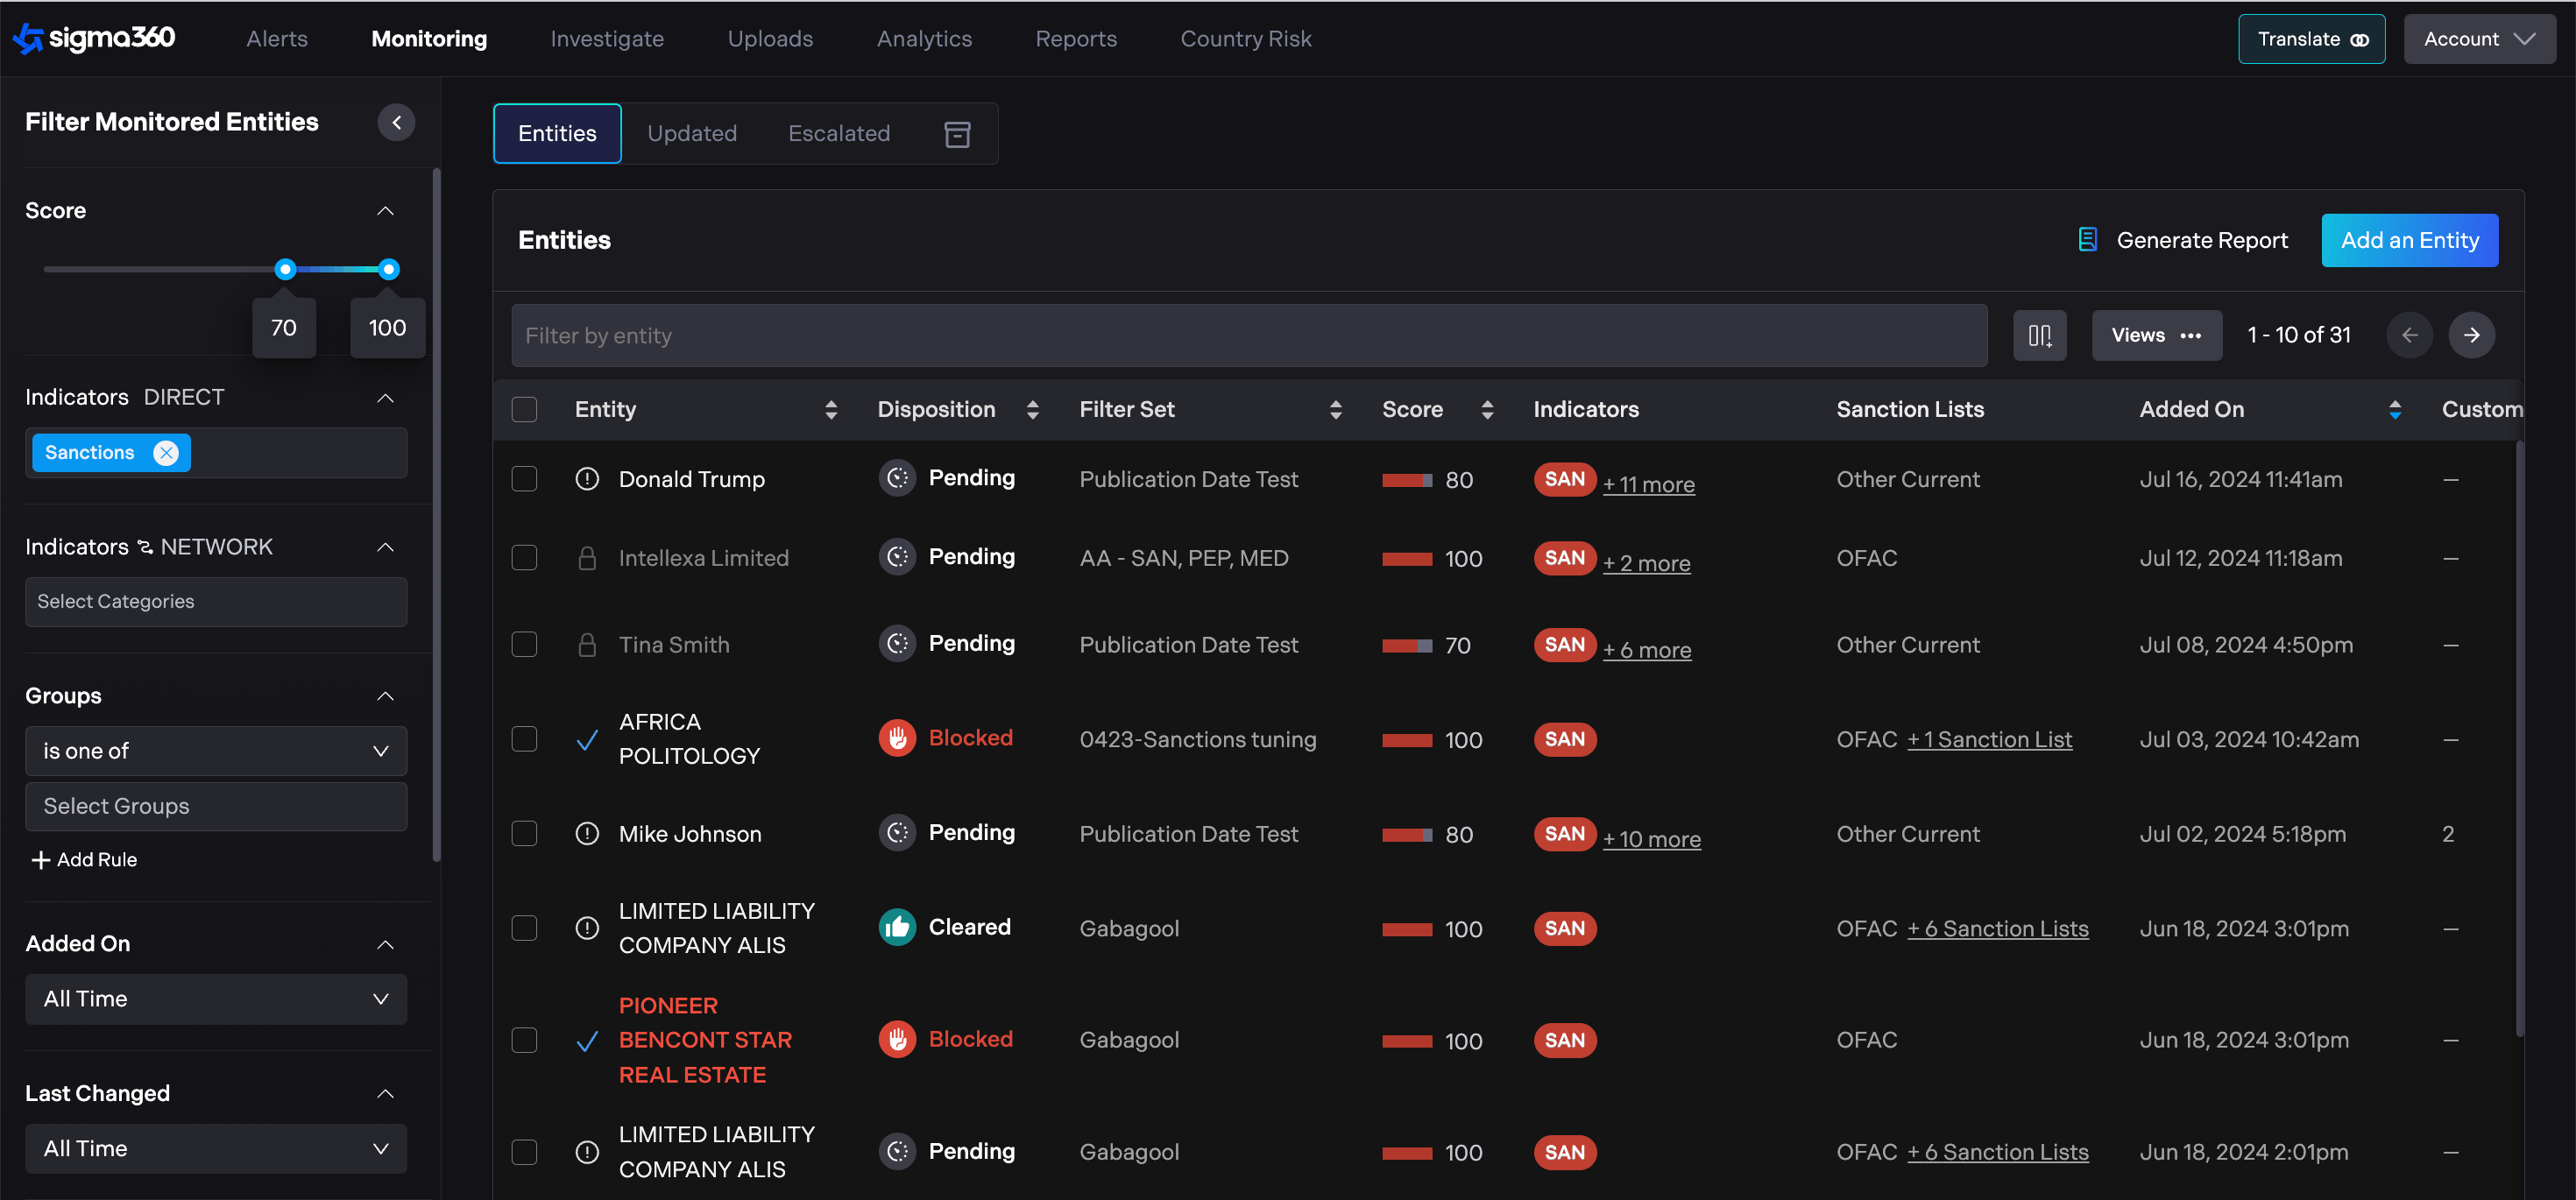
Filtering & Creating Views
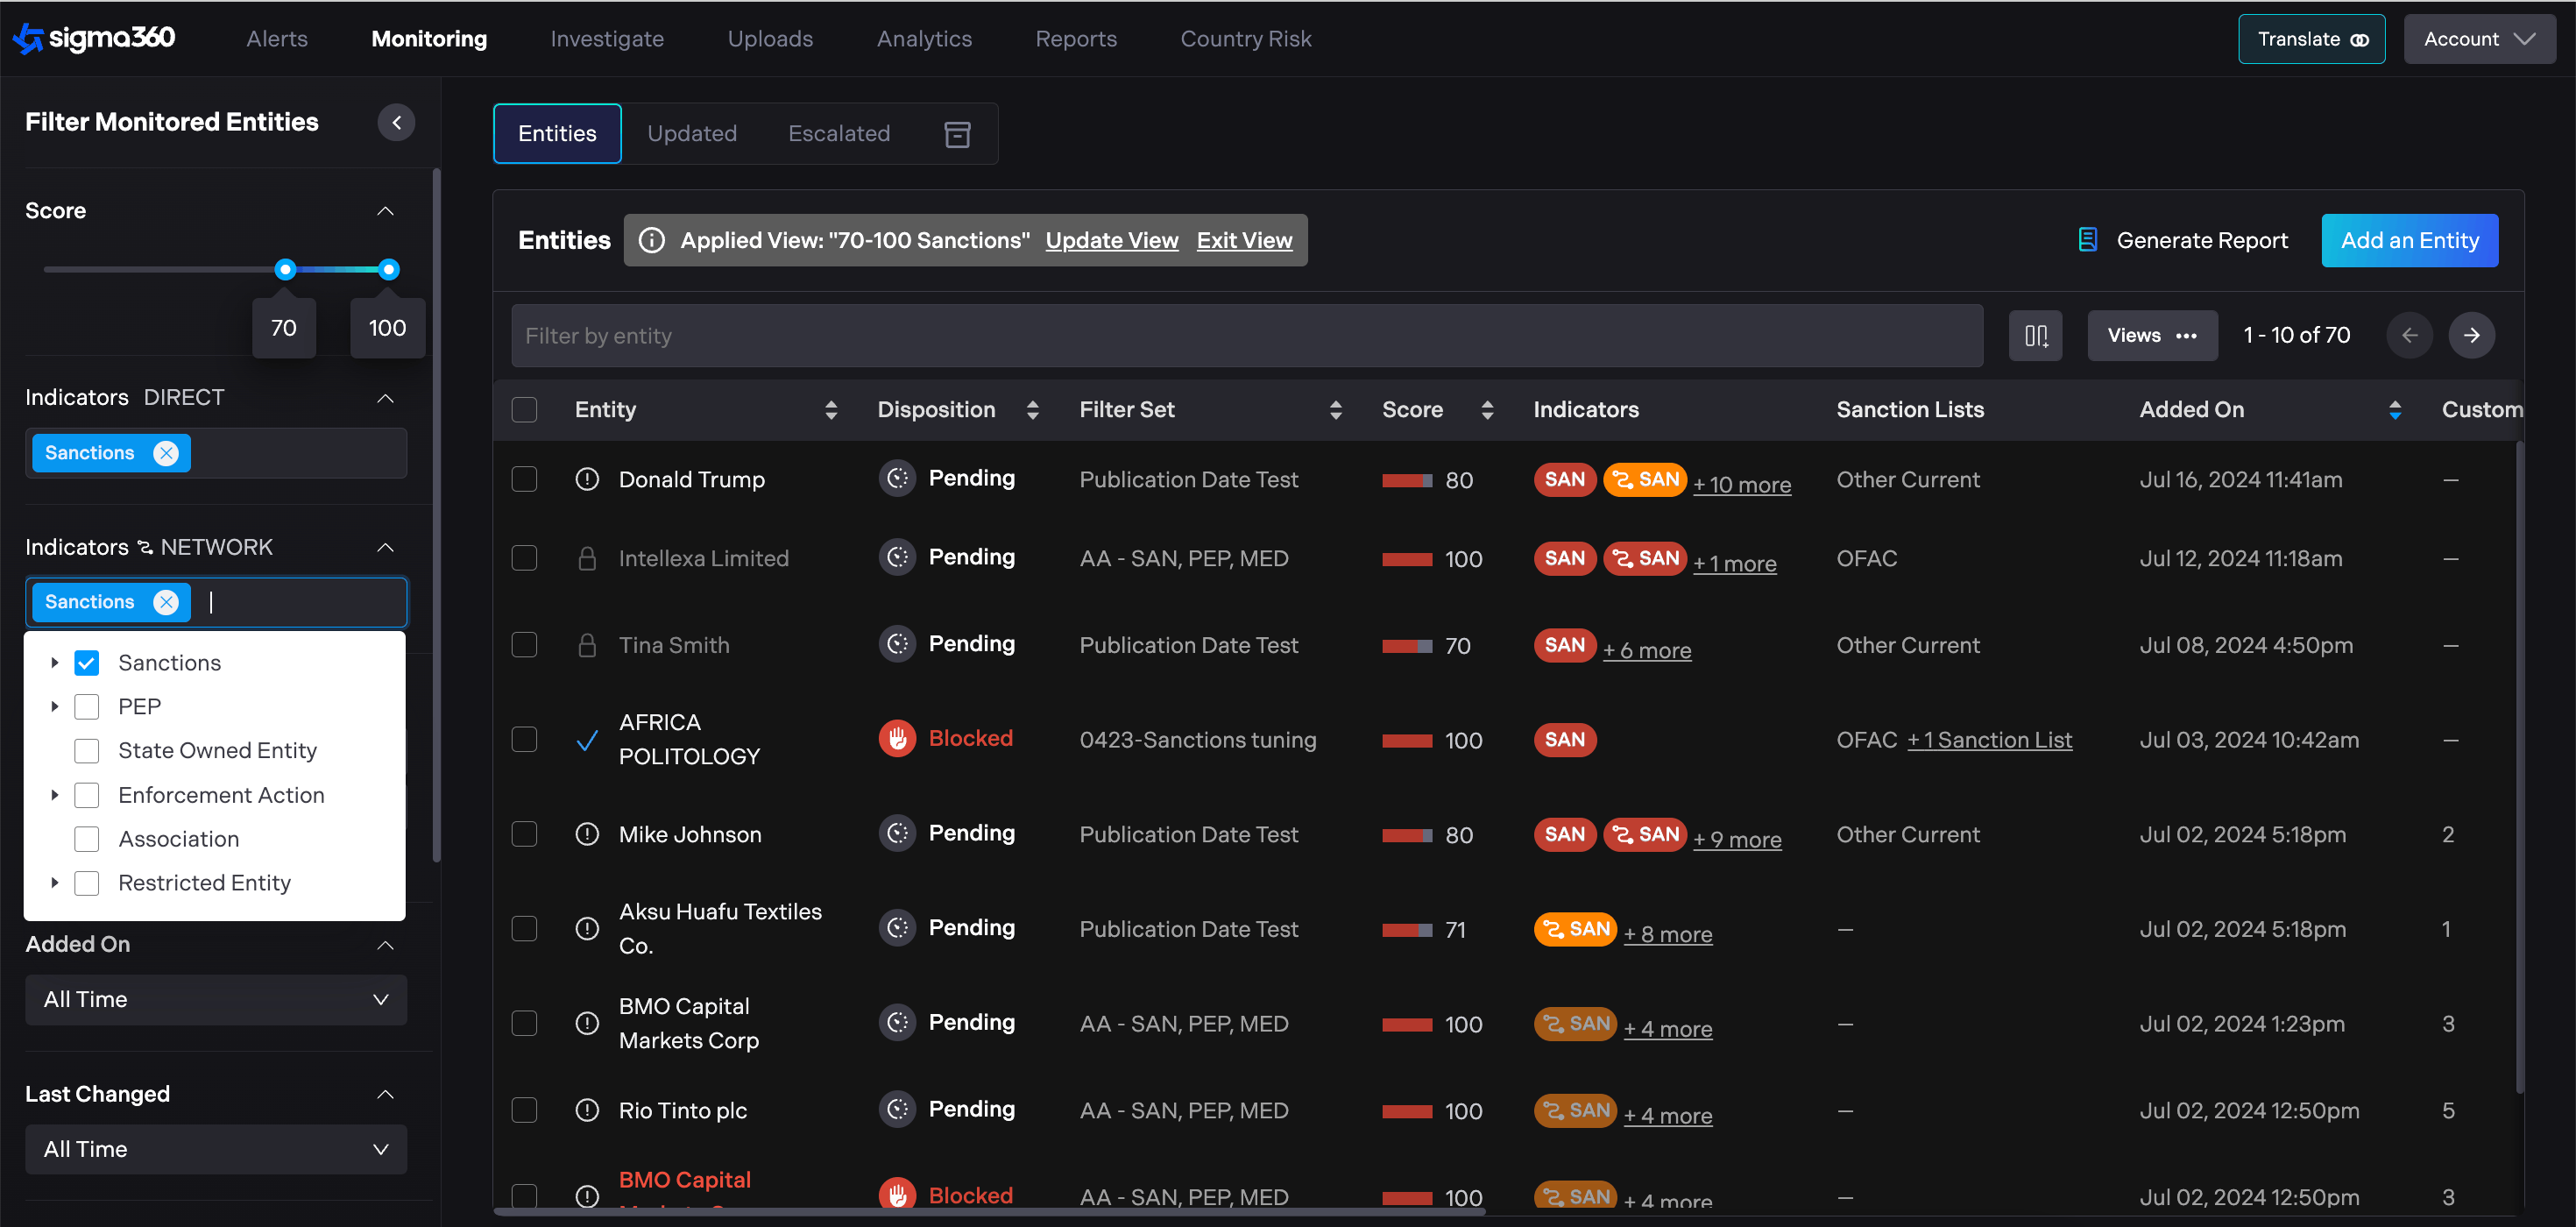
Views offer users the ability to create and save personalized views for the "Entities”, "Updated Entities" and "Escalated Entities" tabs. Views represent a combination of filters and selected columns that suit their needs for different use cases.
Create View
Users can apply the necessary threshold, filters, grouping, indicators, statuses, sorting, and column order.
To save the customized view, users should navigate to Views, then select "Save View."
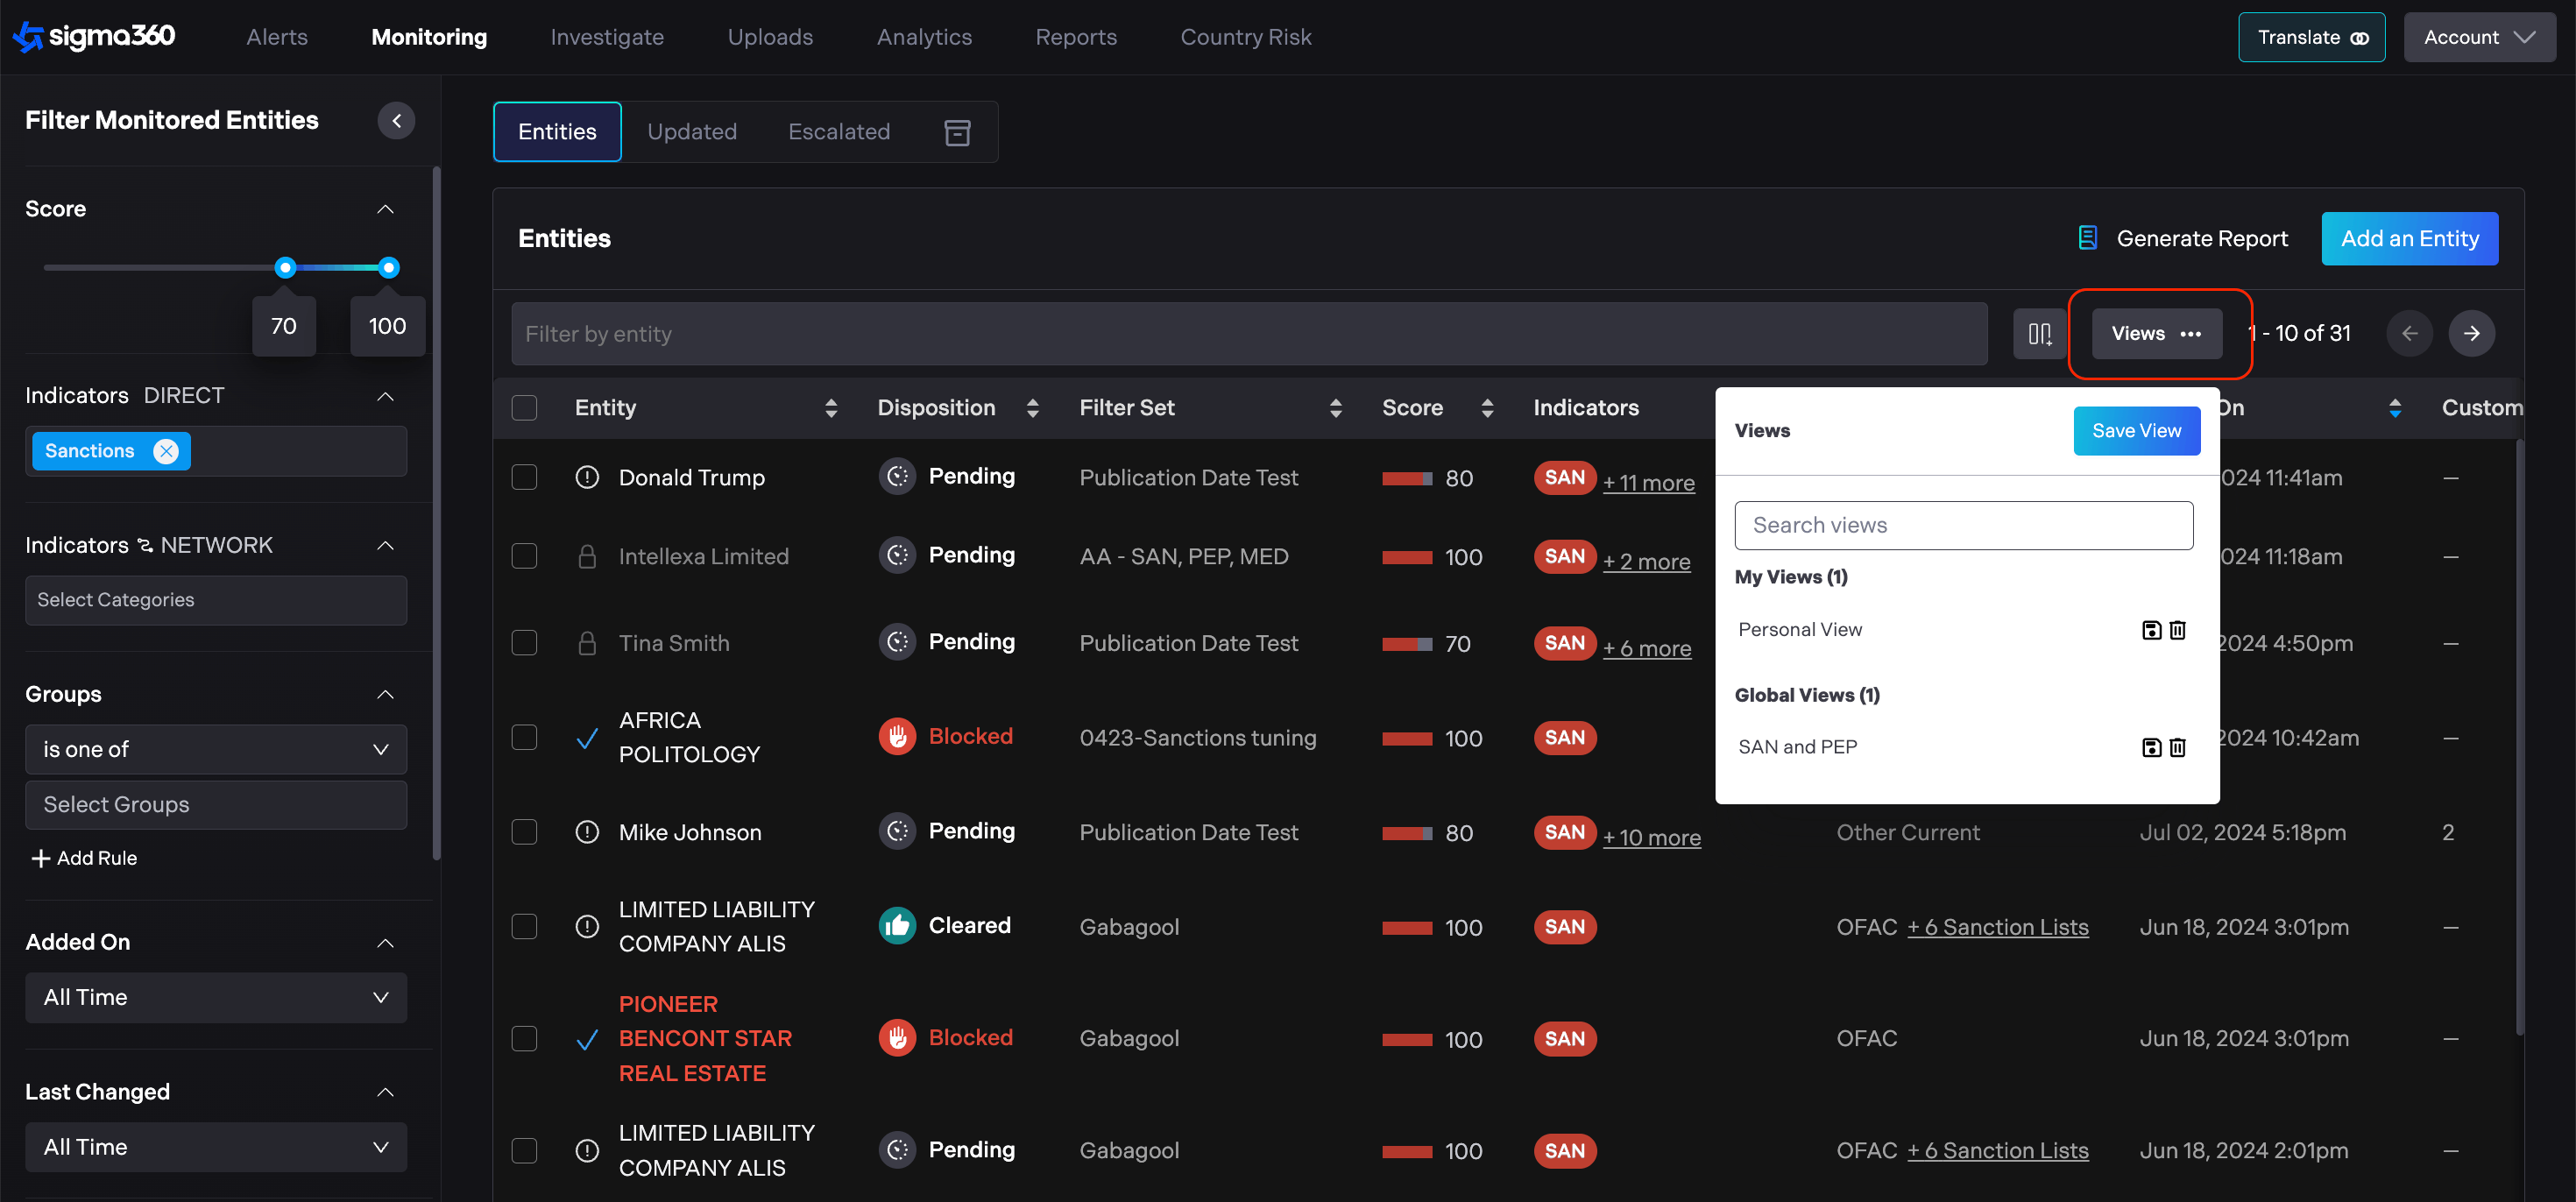
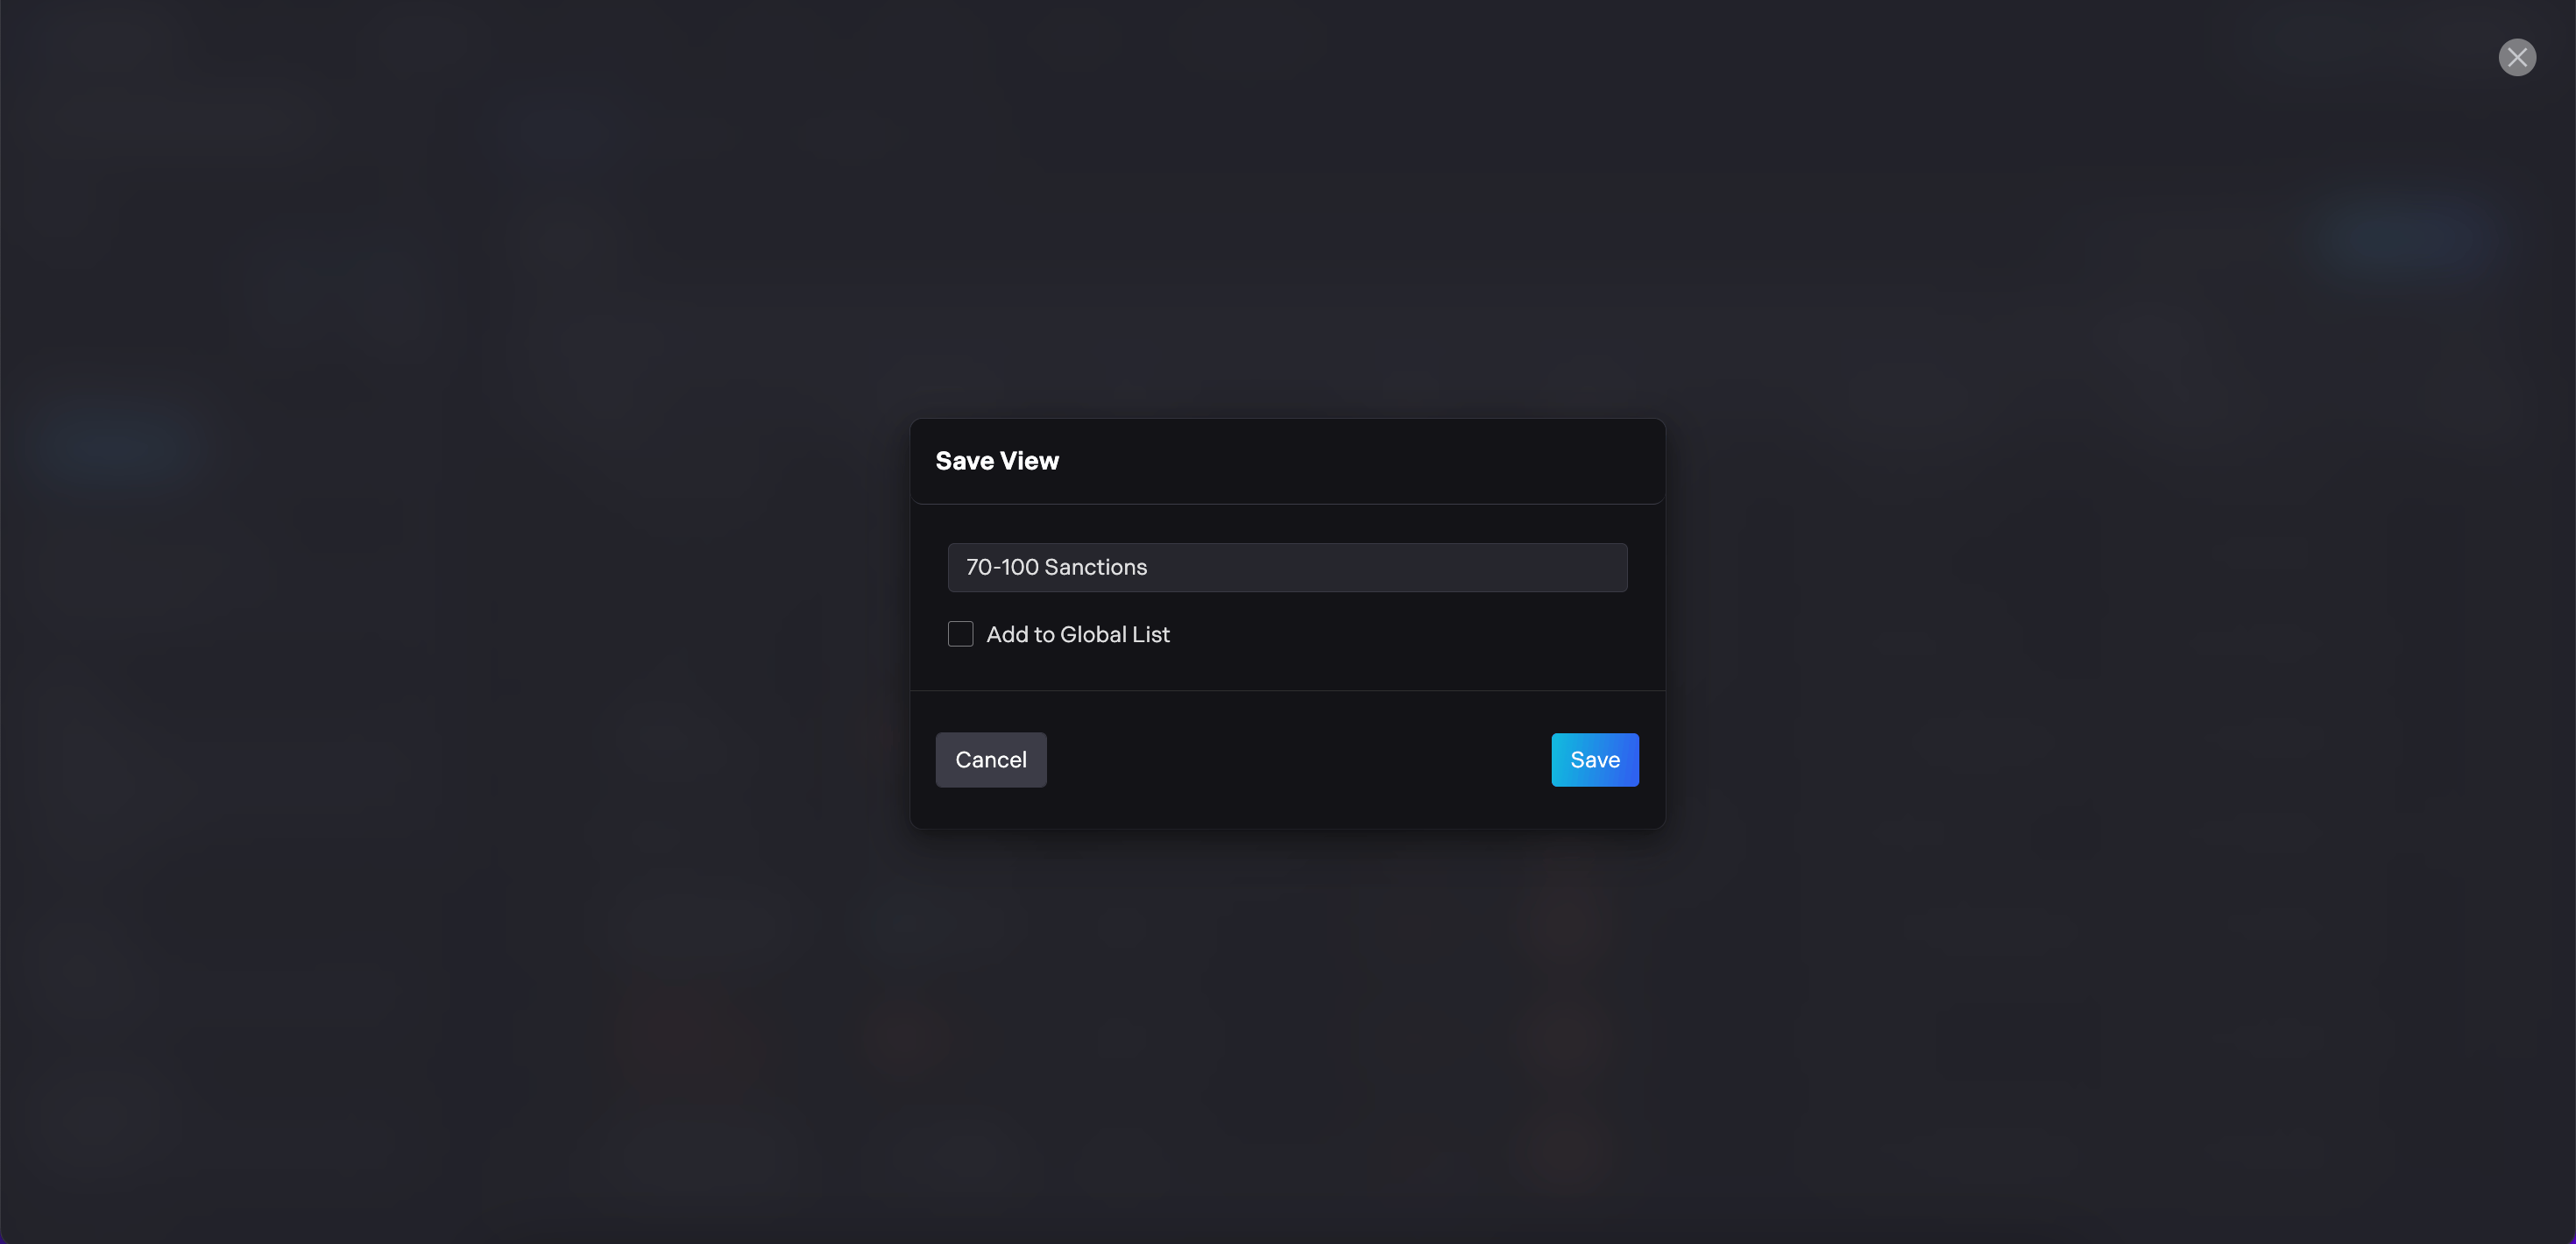
Users need to provide a name for the created view and save it.
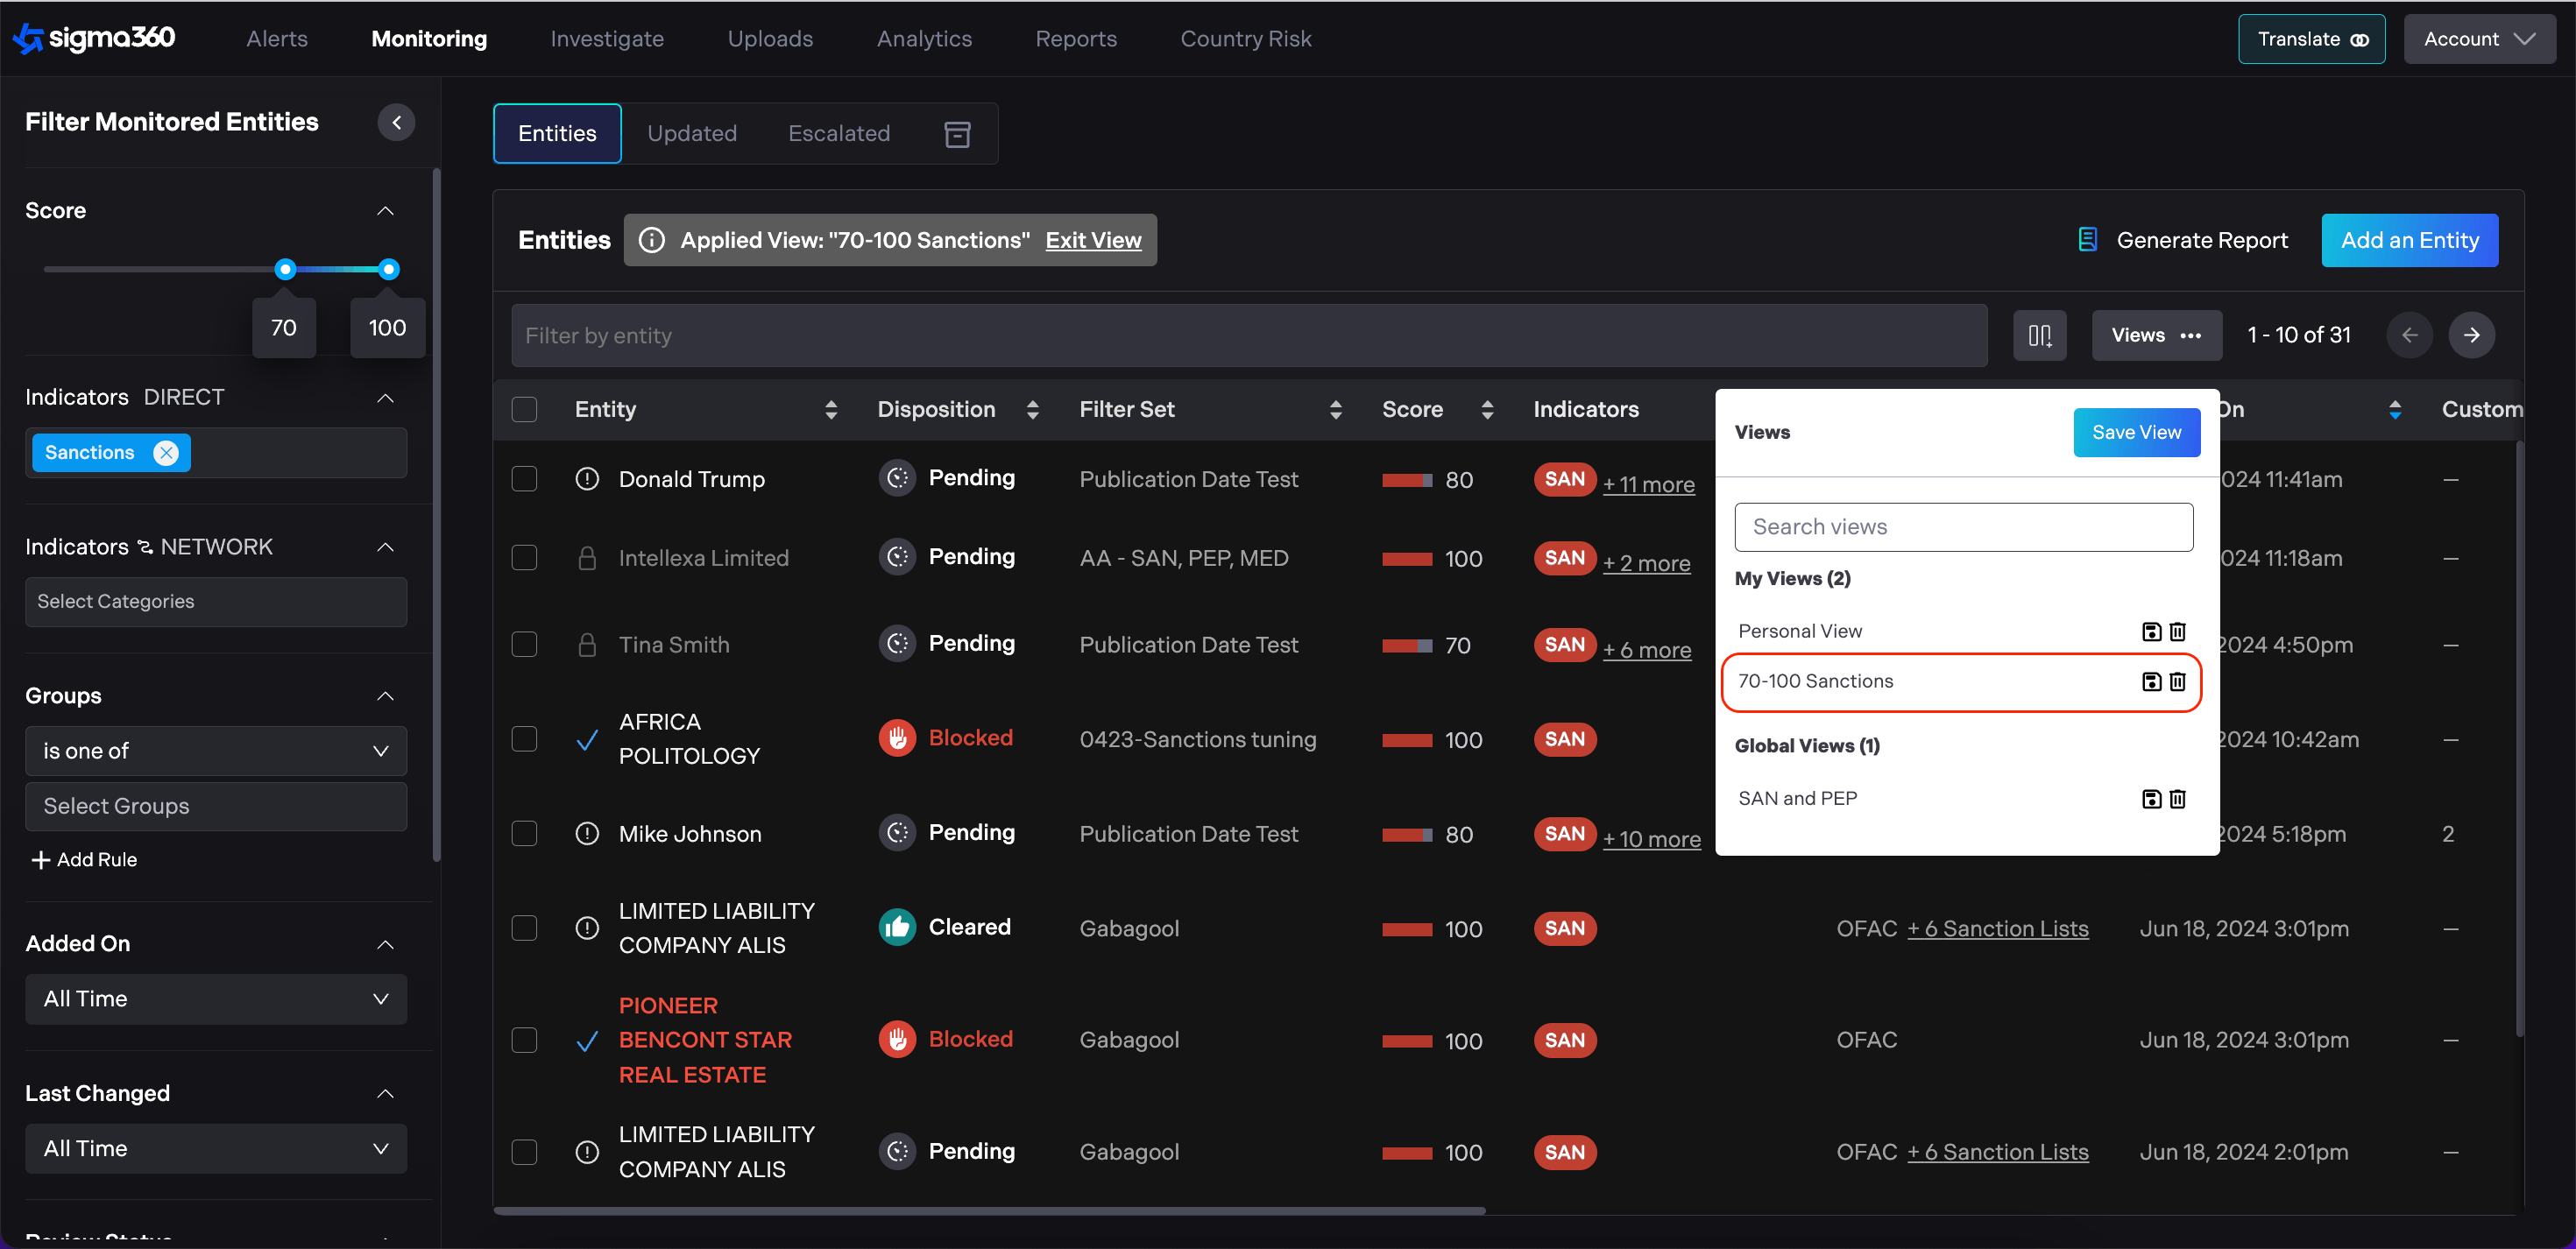
Personal view will appear under the My Views section.
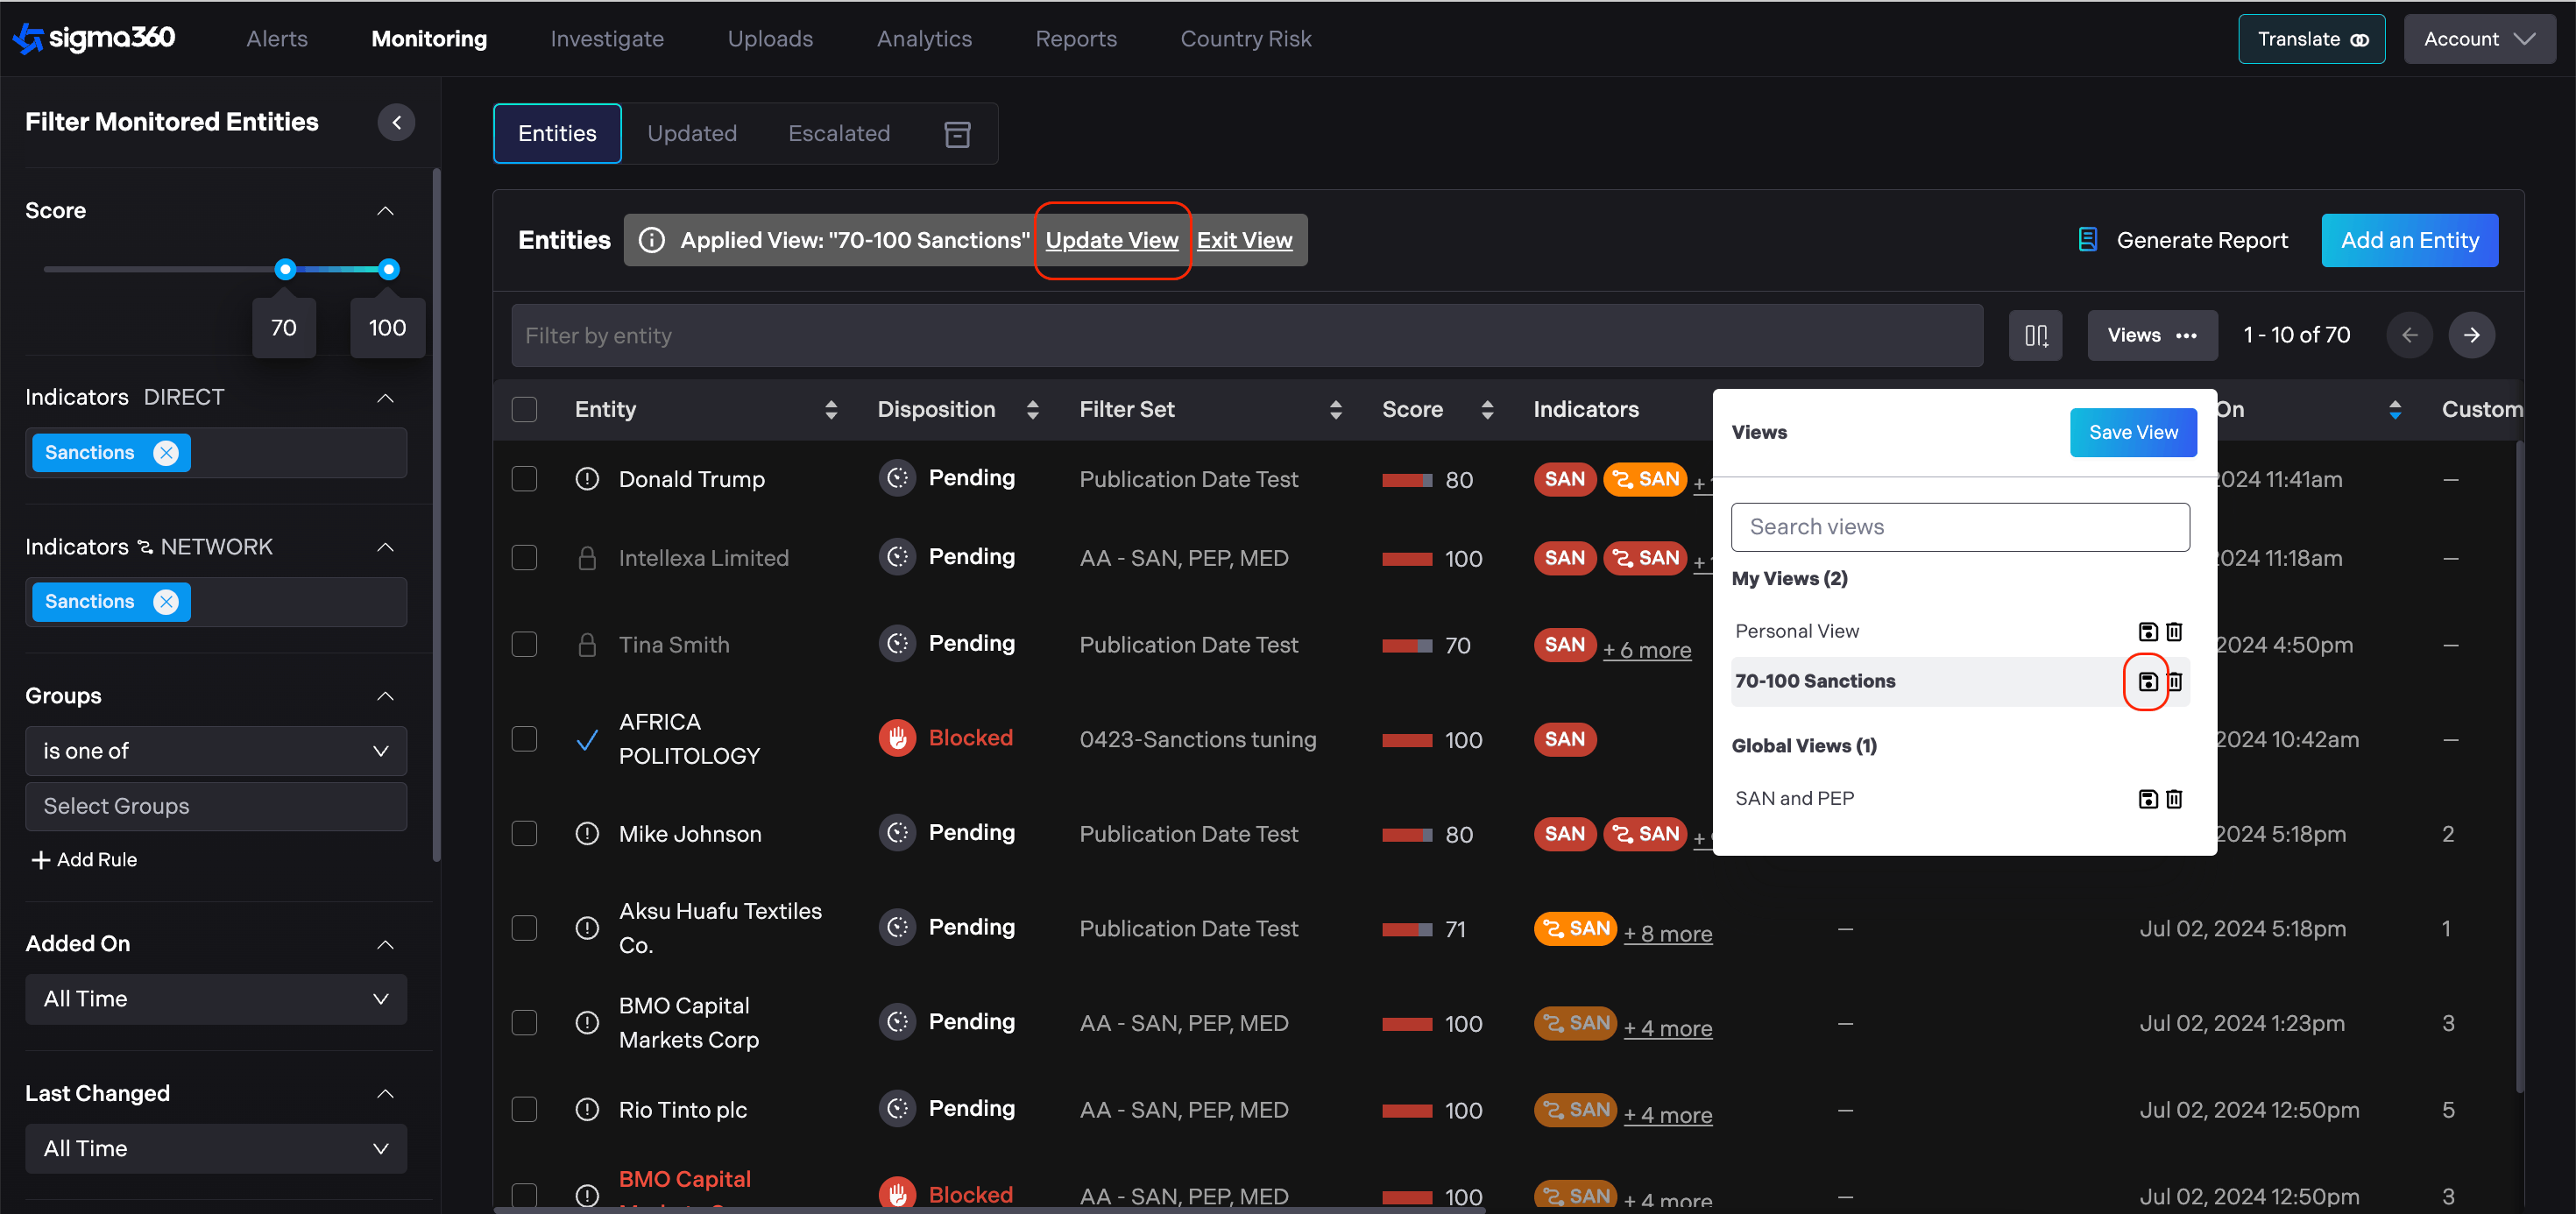
Update View
From the dropdown menu, users can select the desired view.
Any adjustments, such as adding new filters, sorting, or columns, can be made.
Users should click "Update View" either from the table header or by selecting the disk icon within the Views menu.
Delete View
Users should click on the trash can icon on the selected view in the dropdown menu and confirm the action.
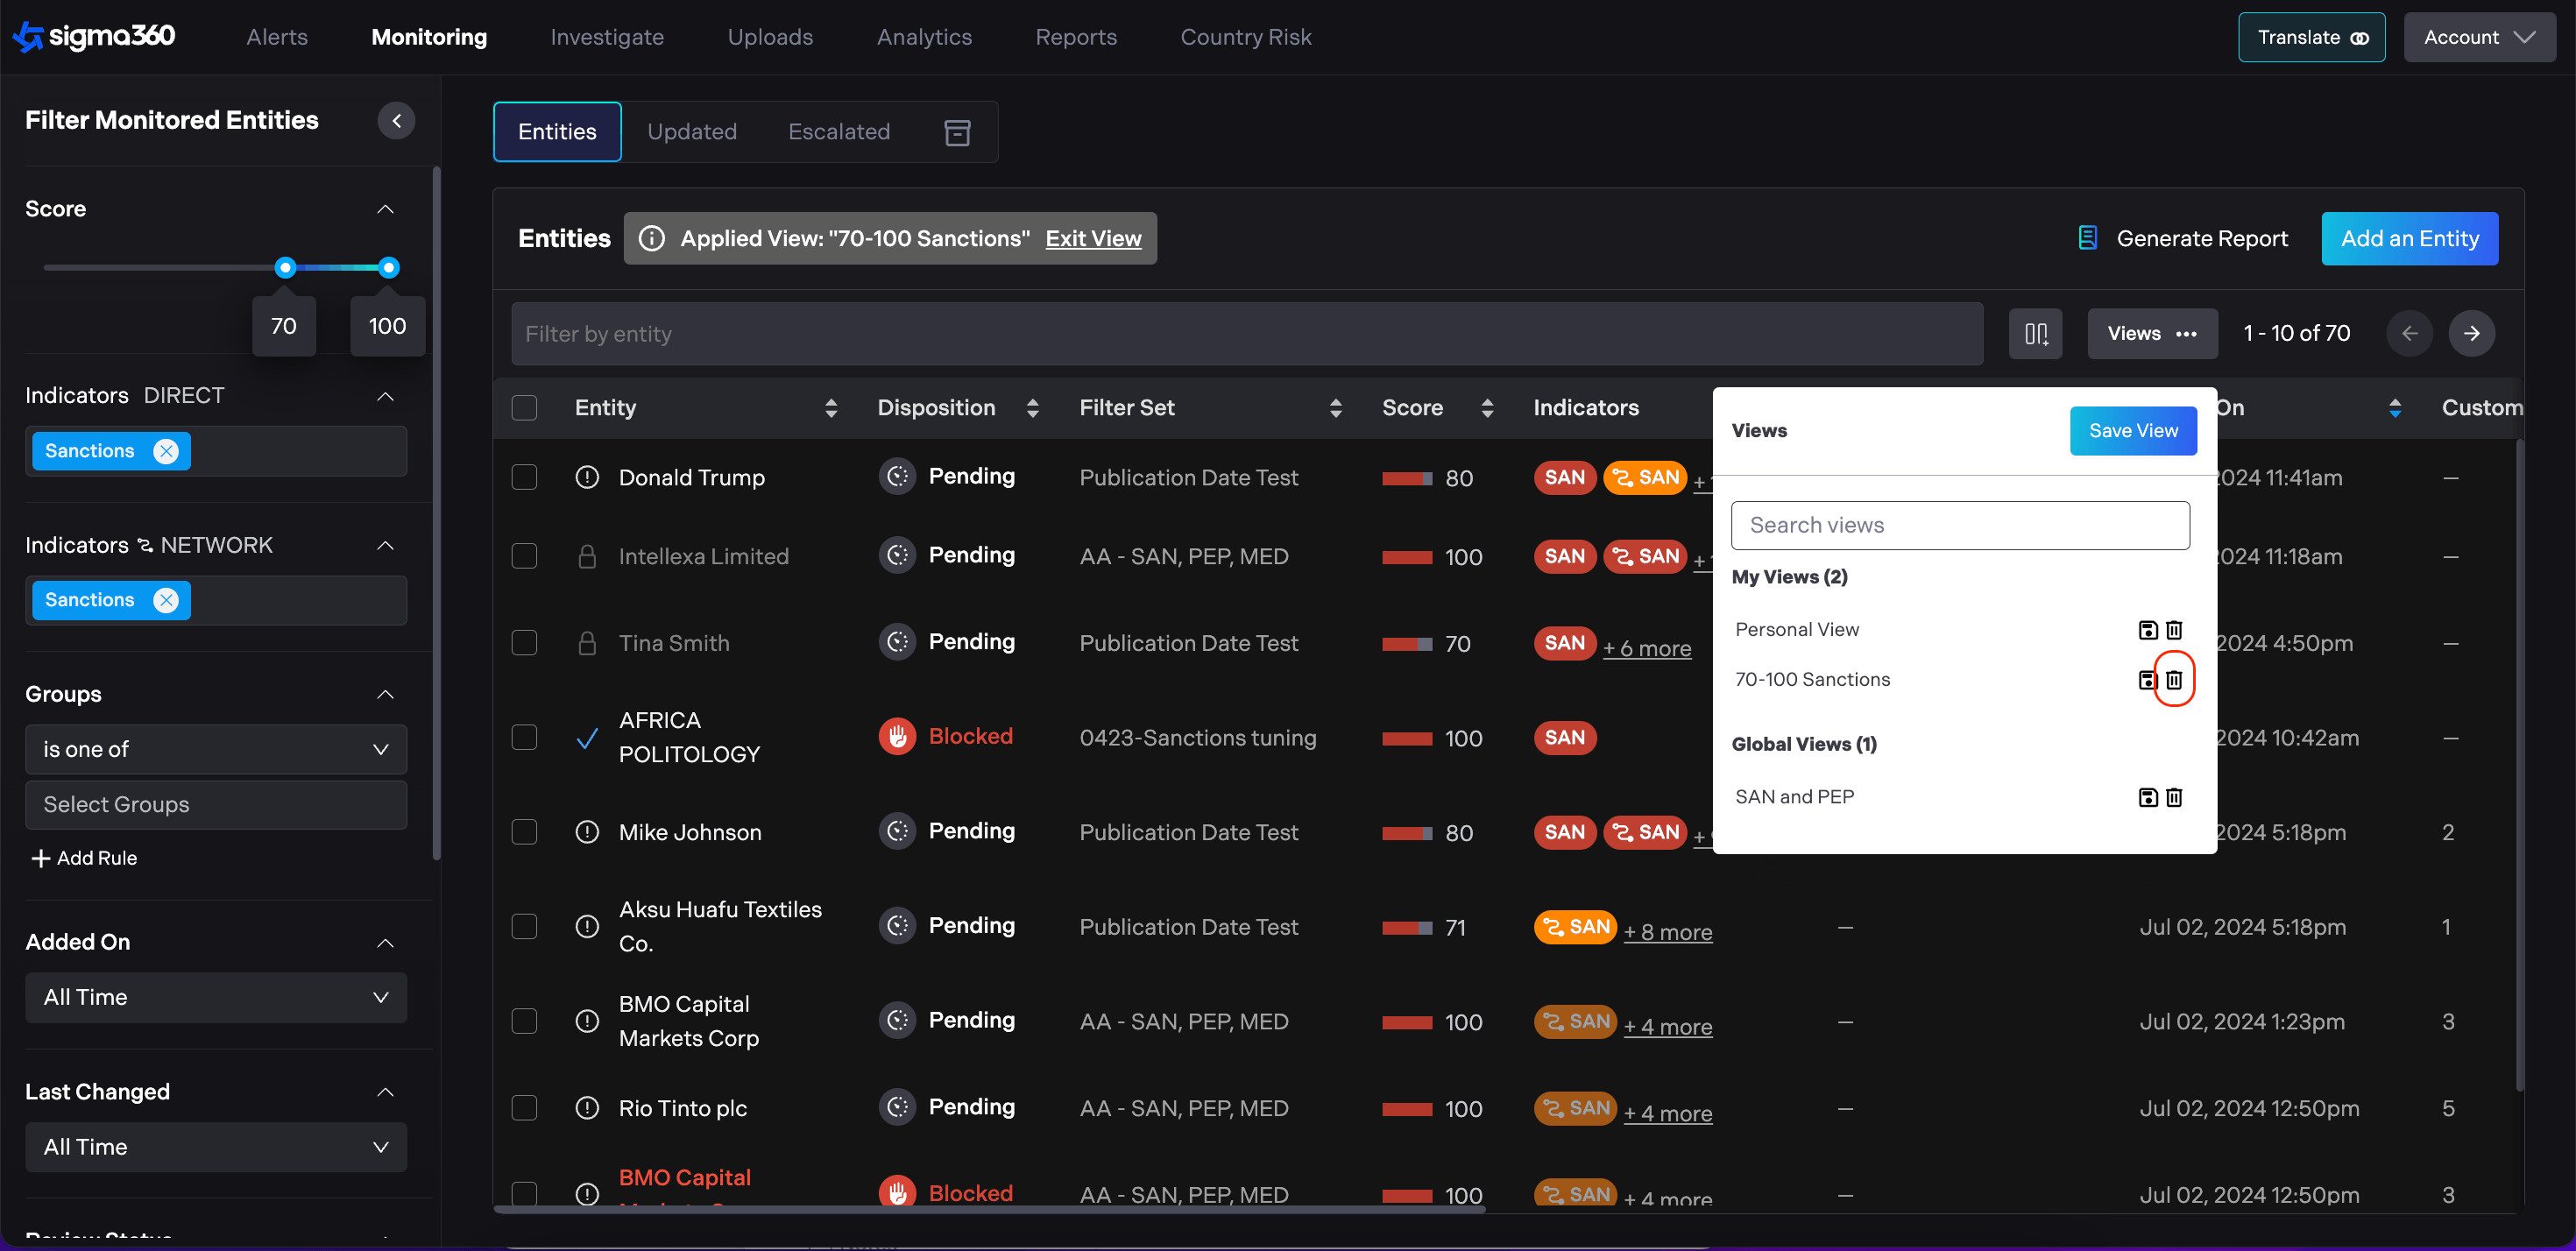
The view will be removed from the list.
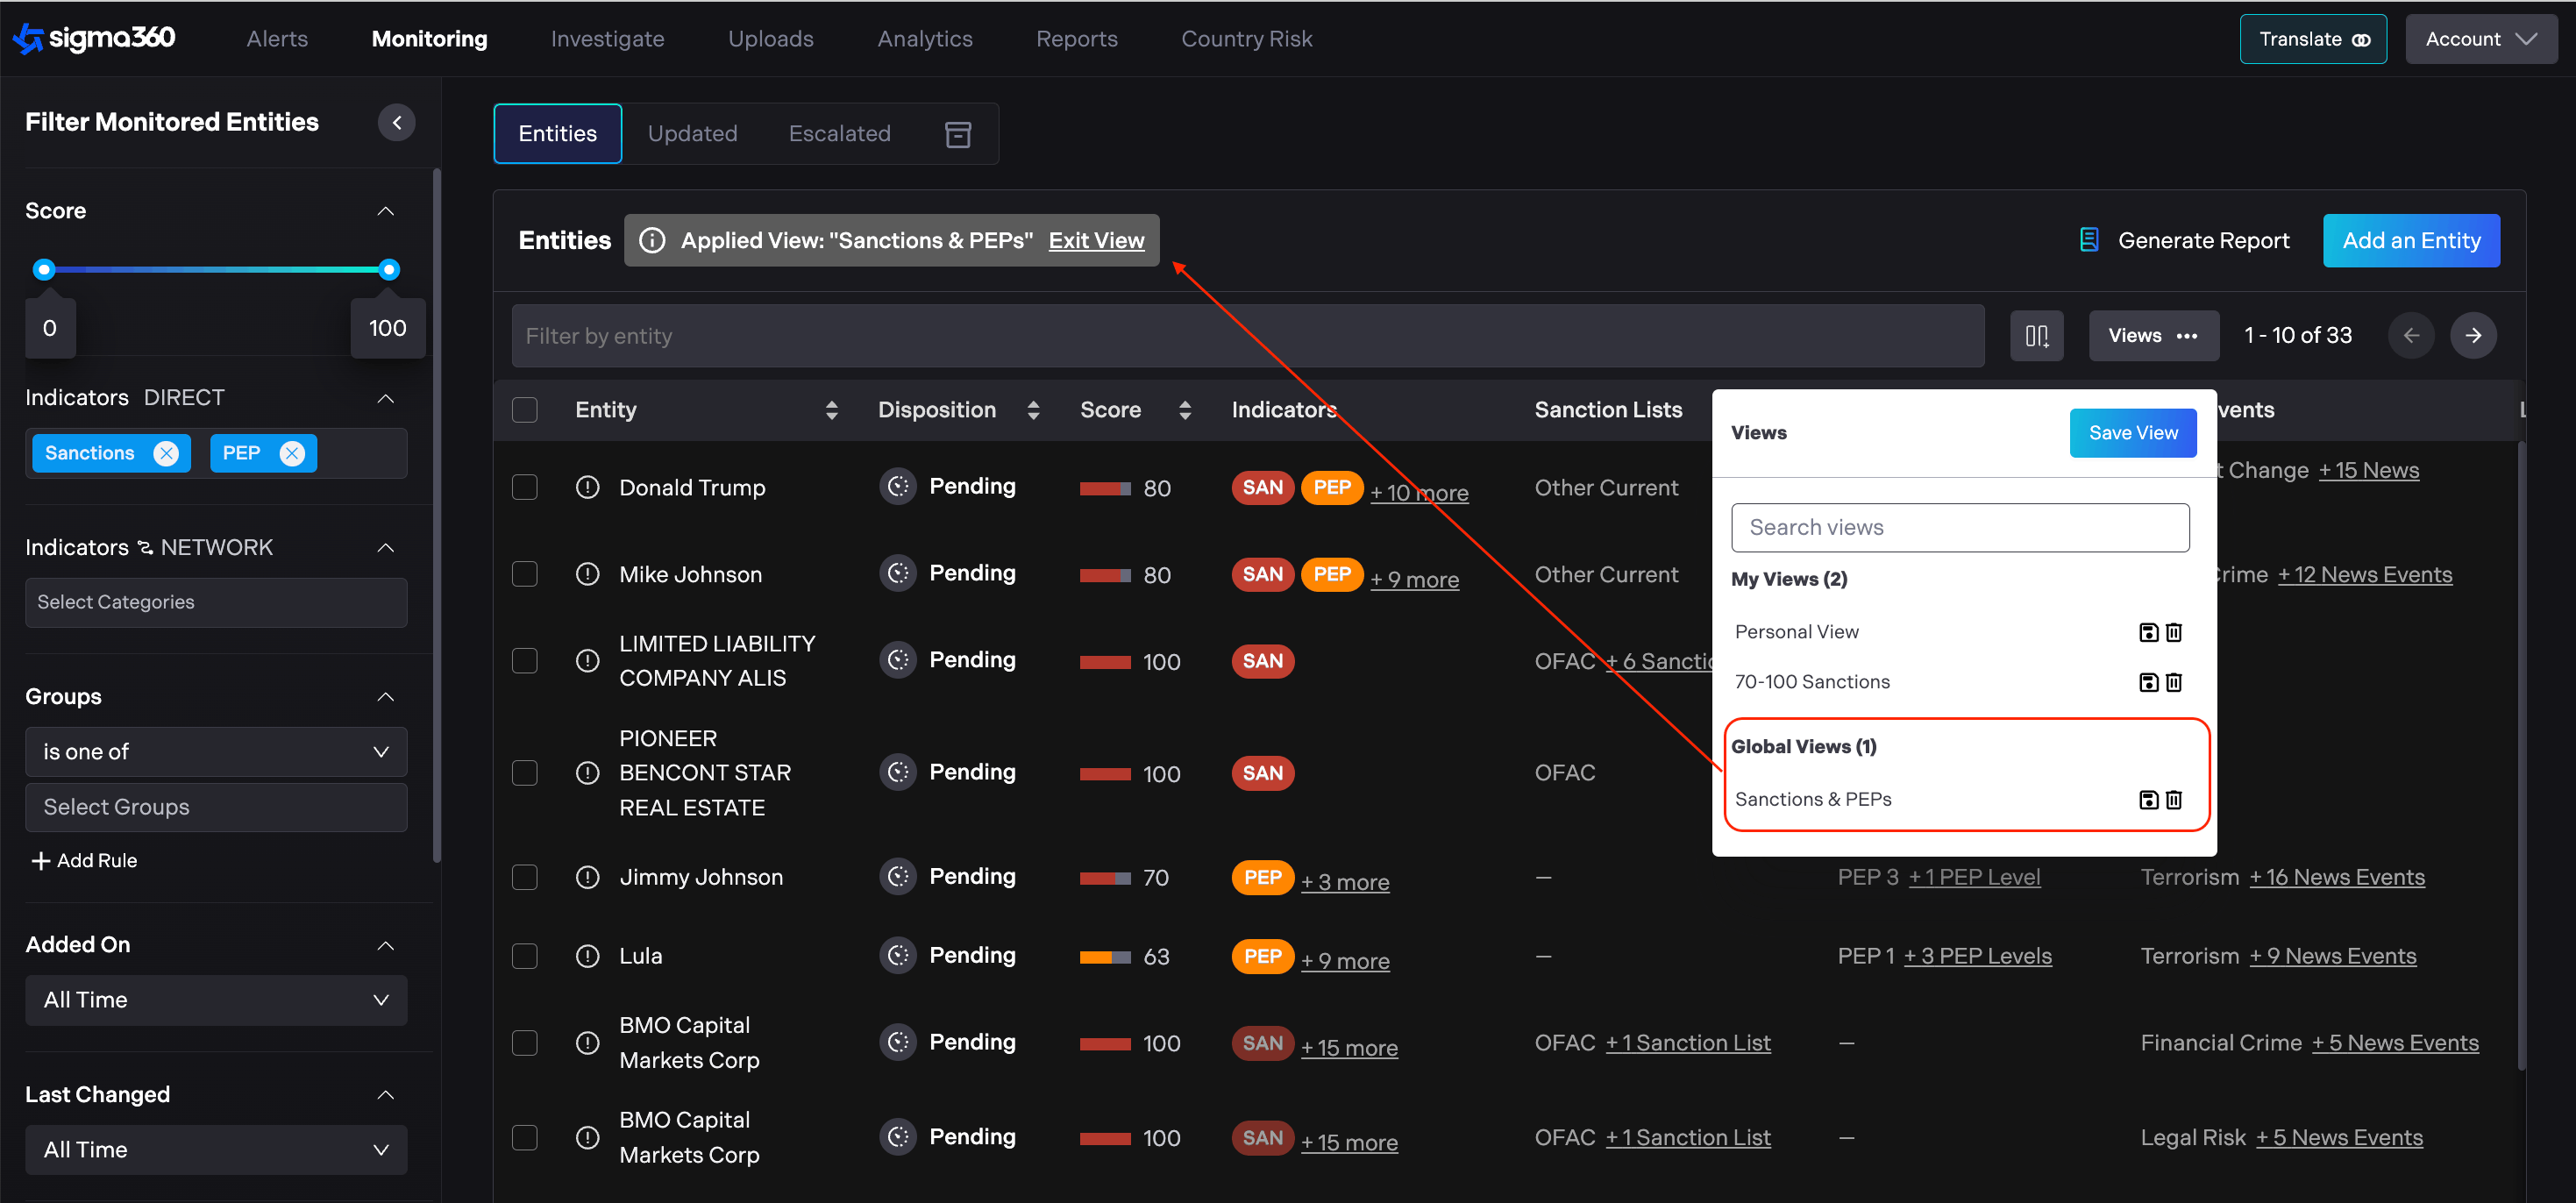
Global Views
Admins can create organization-wide views, accessible to all users, ensuring consistency across the entire organization. The process for creating and managing global views mirrors that of personal views, with the distinction that Admins have a checkbox option to make the view accessible organization-wide.
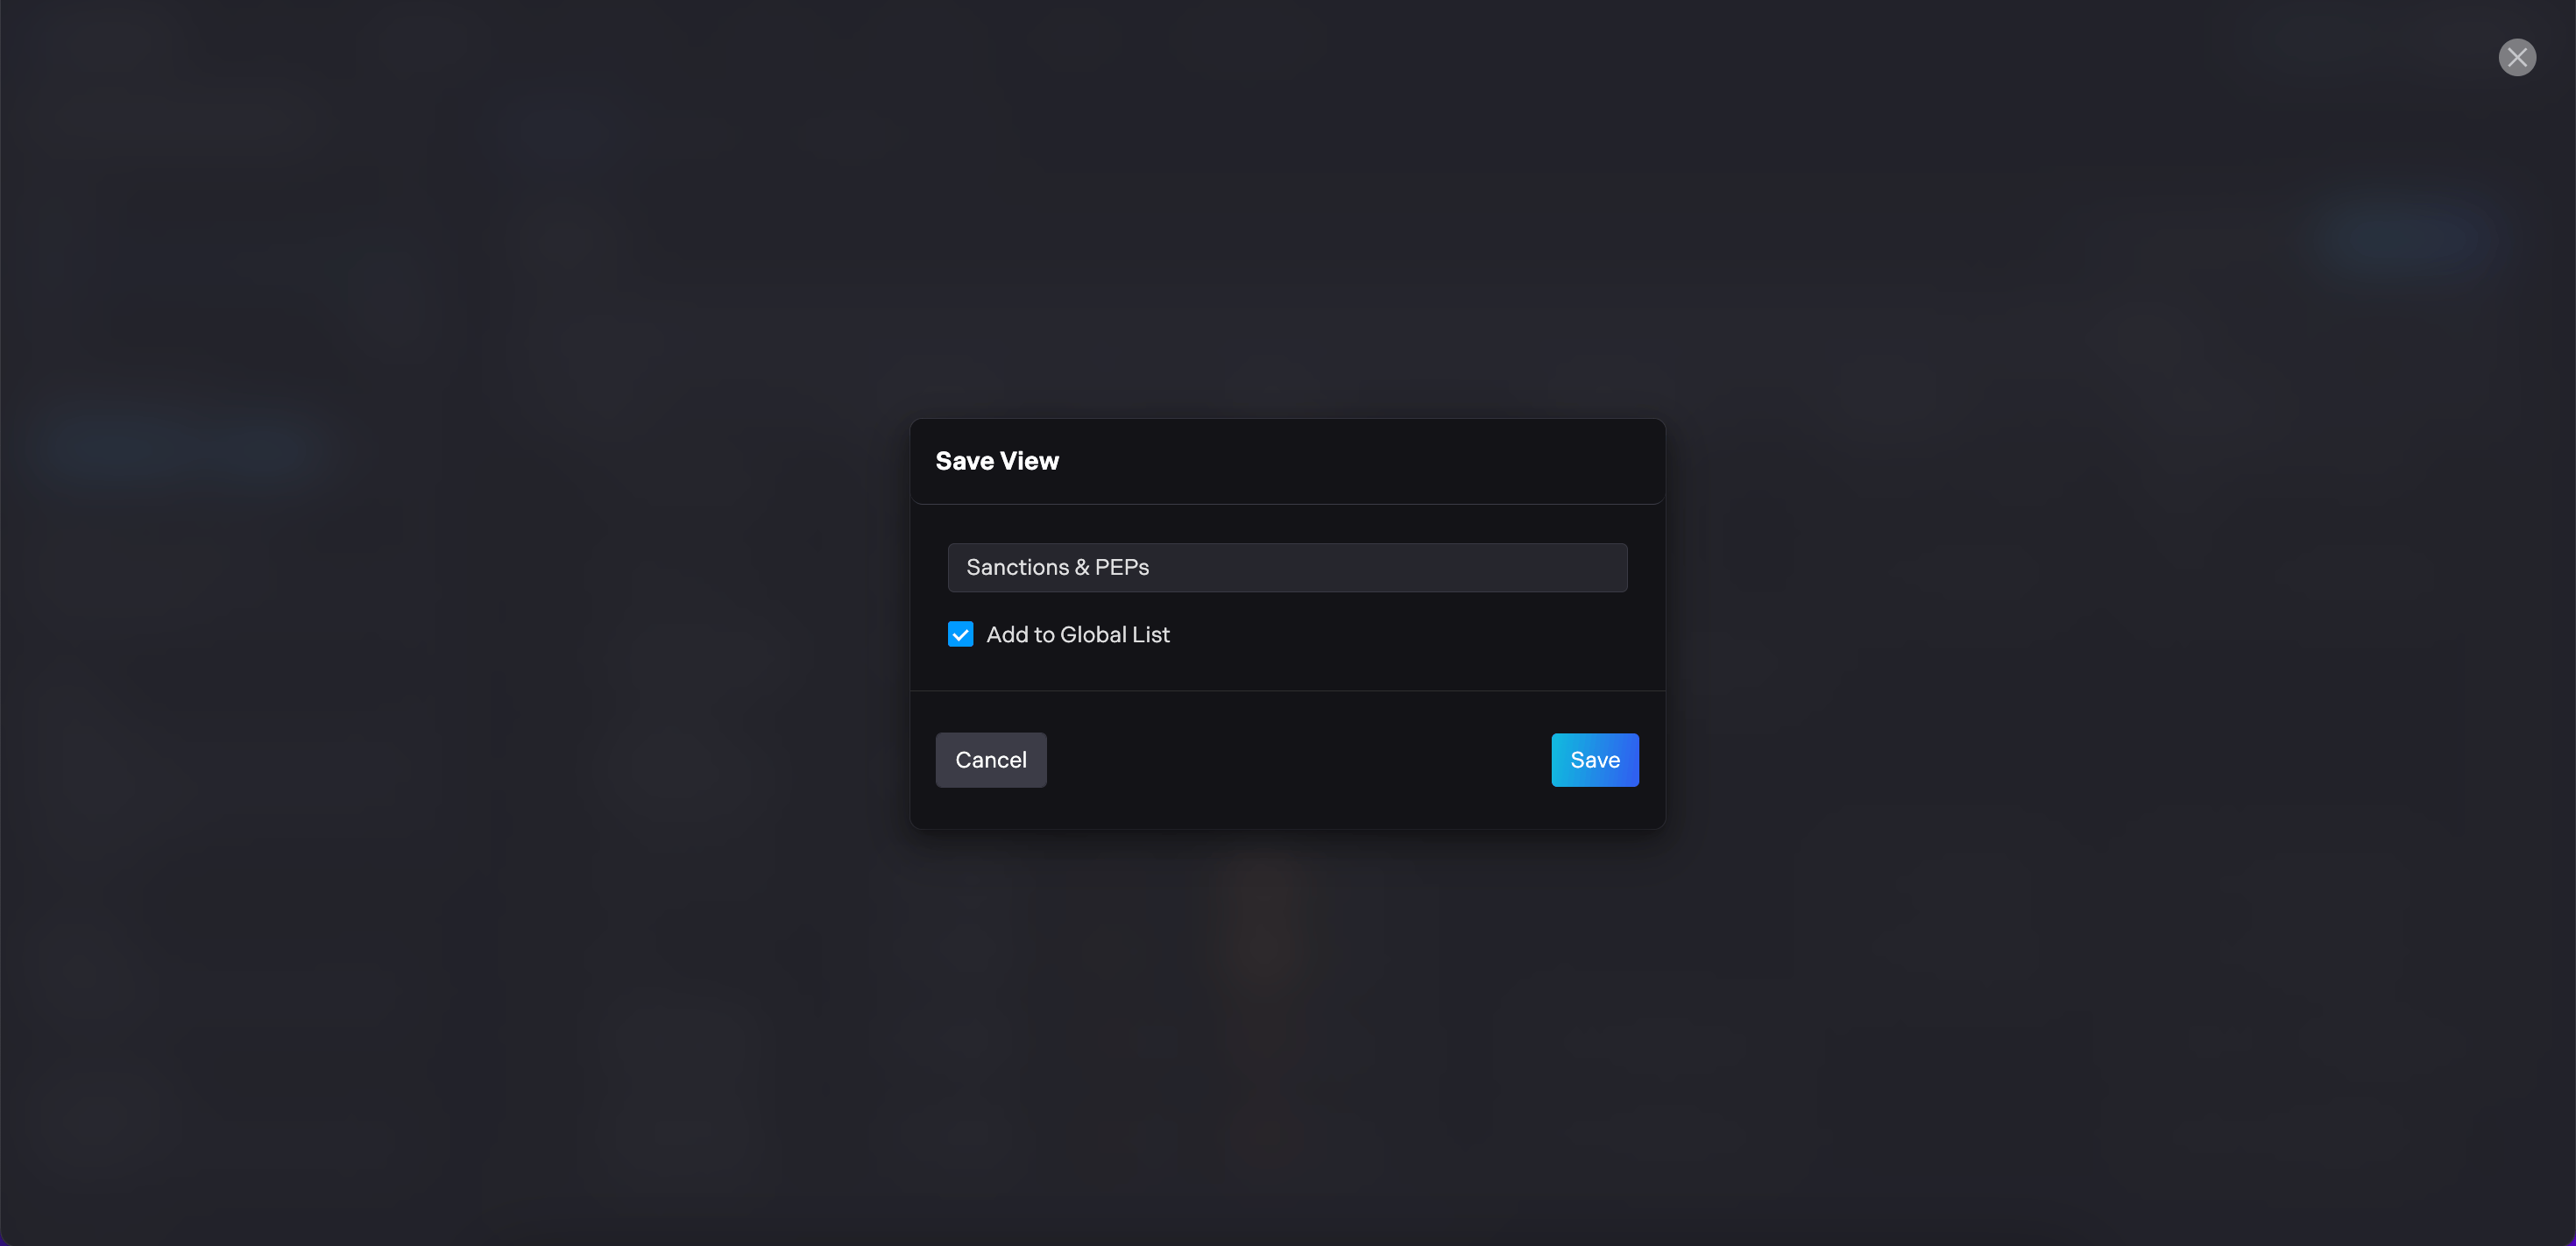
Organization-wide view will appear under the Global Views section.
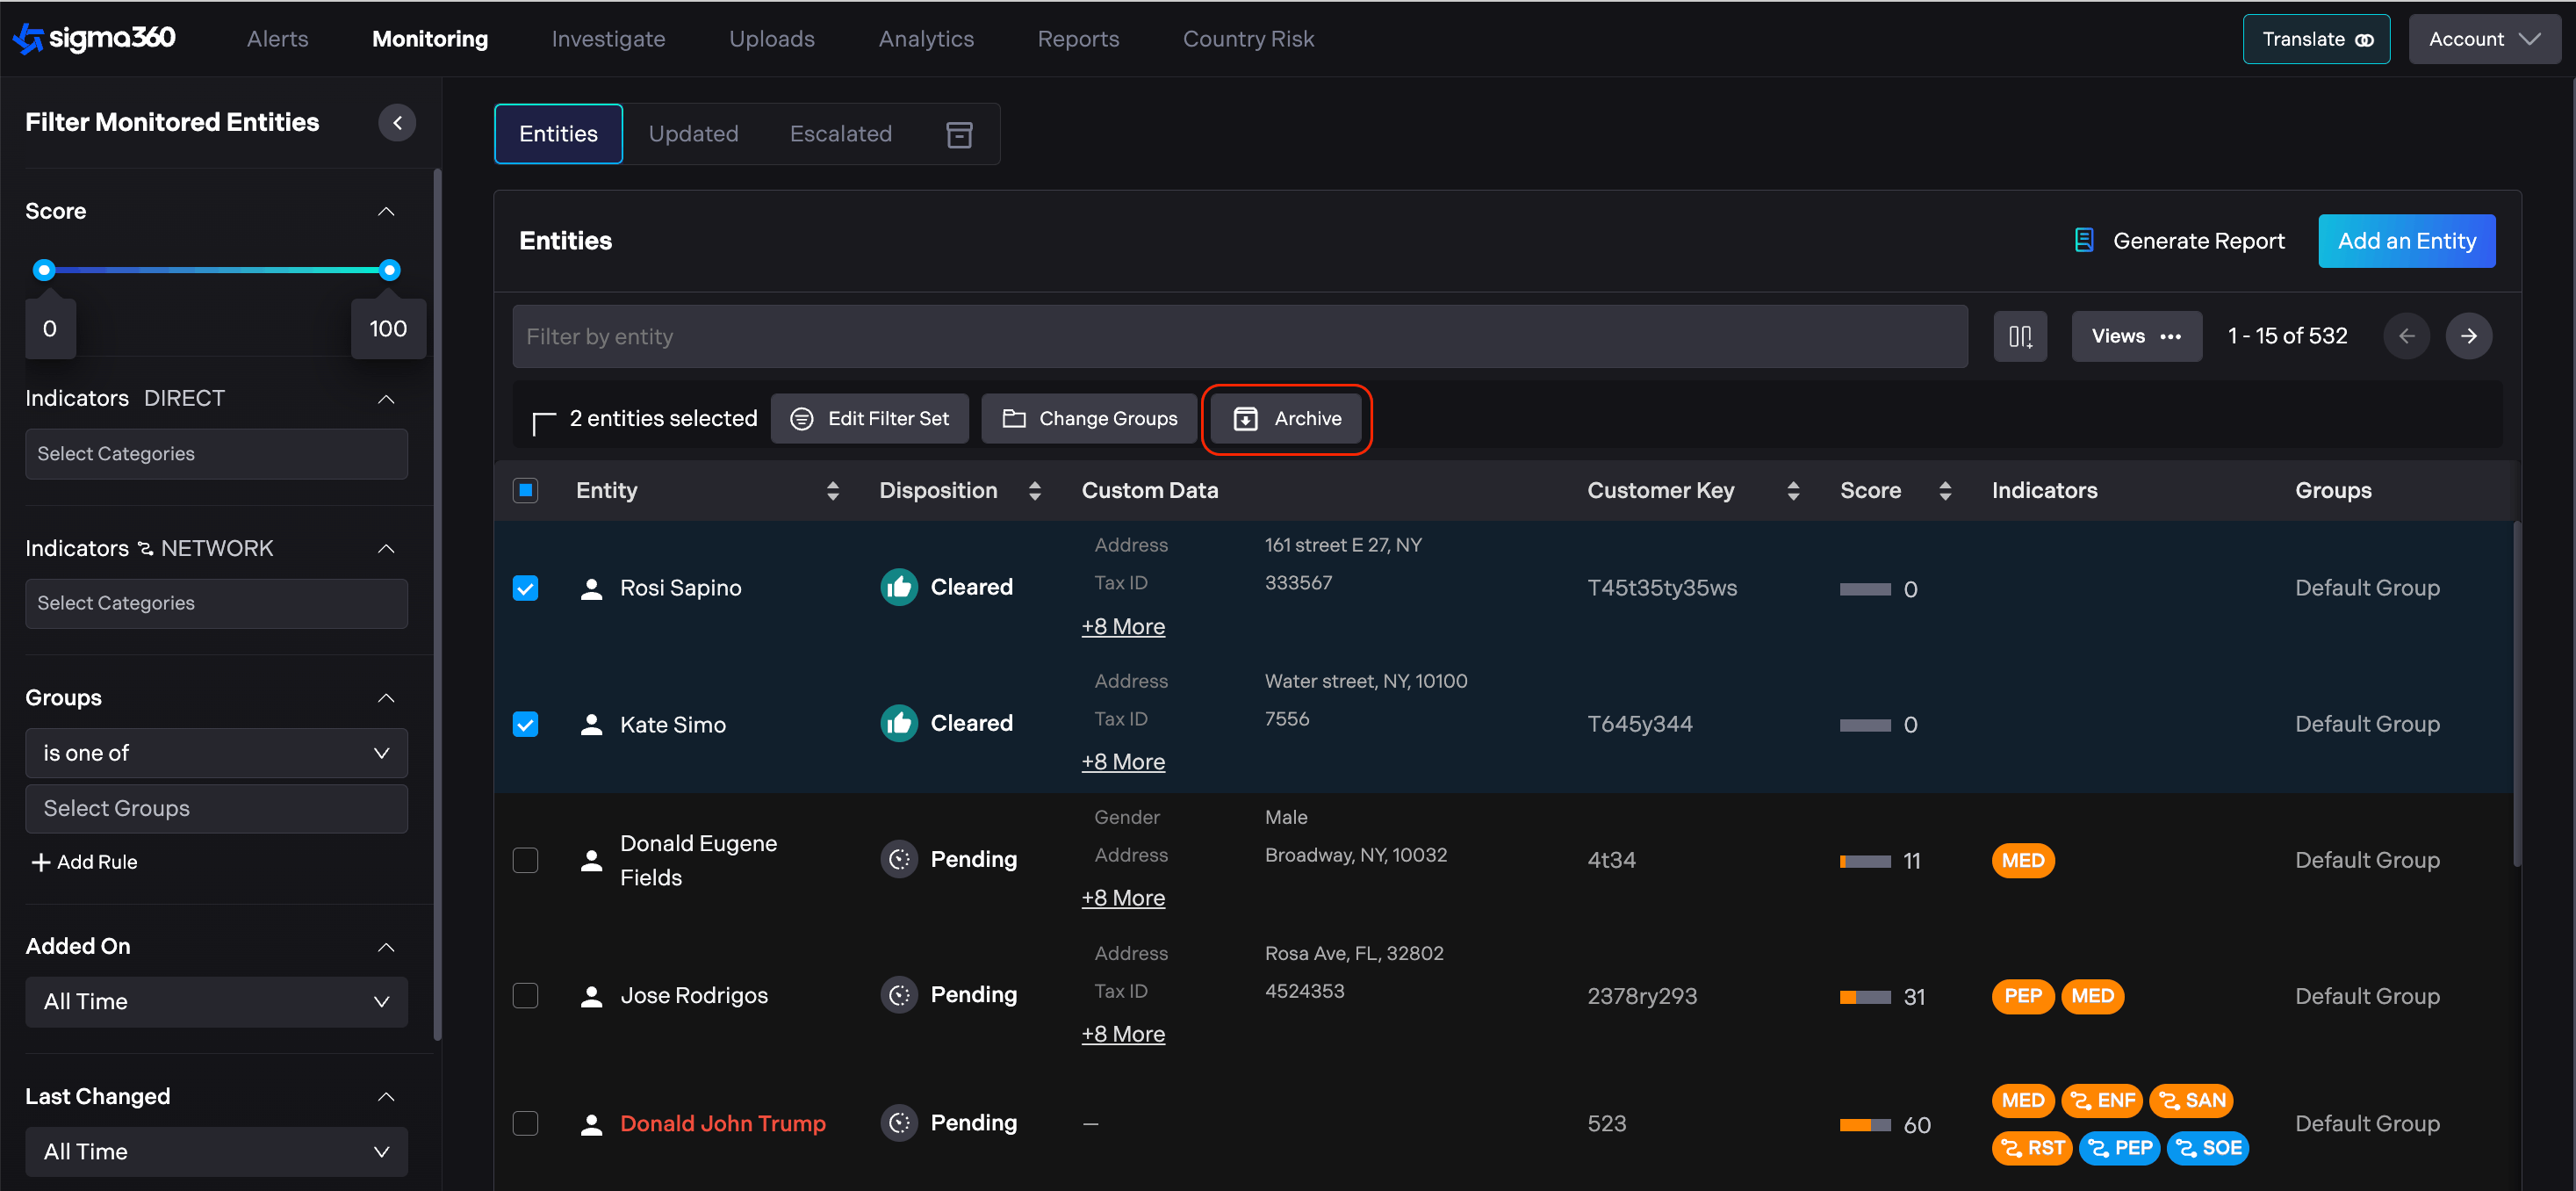
Bulk Actions
Sigma360 allows users to perform bulk actions on monitored entities. By selecting the checkboxes next to the entity names, users can choose multiple entities at once.
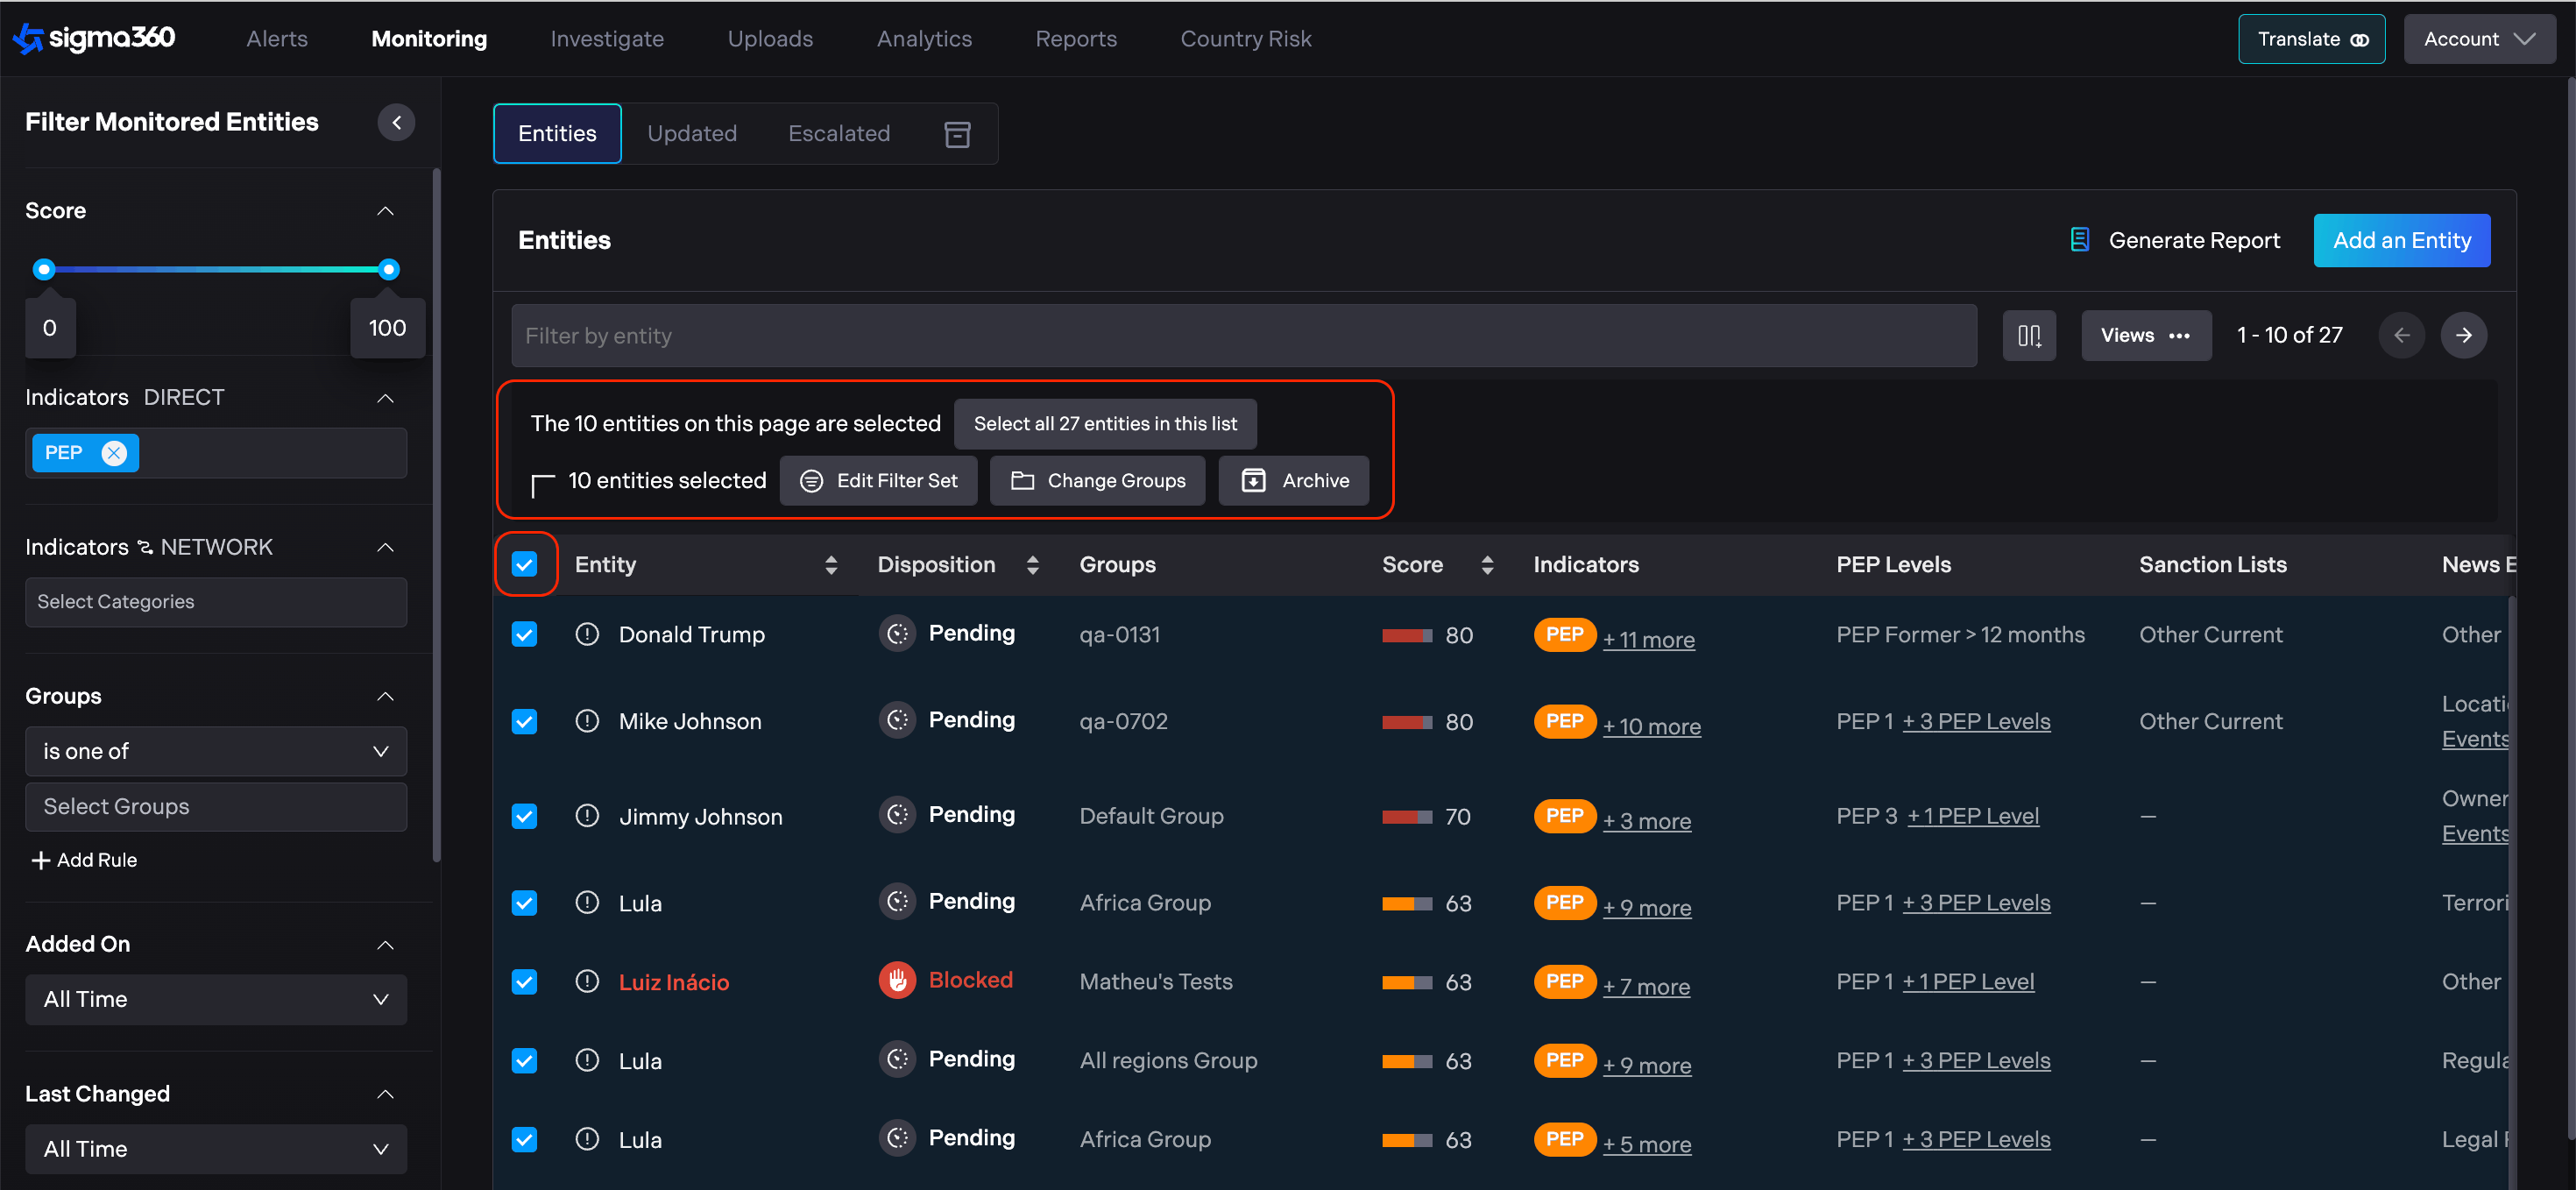
The action menu that appears lets users:
-
Change the filter set applied to the chosen entities.
-
Change the assigned groups for the selected entities.
-
Archive the selected entities in a single action.
Users can choose to apply the bulk action either to just the entities displayed on the current page or to all entities in the list by using the "Select all [number] entities in this list" option above the entity table.
Please note that the Escalation can only be used for a single entity and is not available as part of the bulk actions.

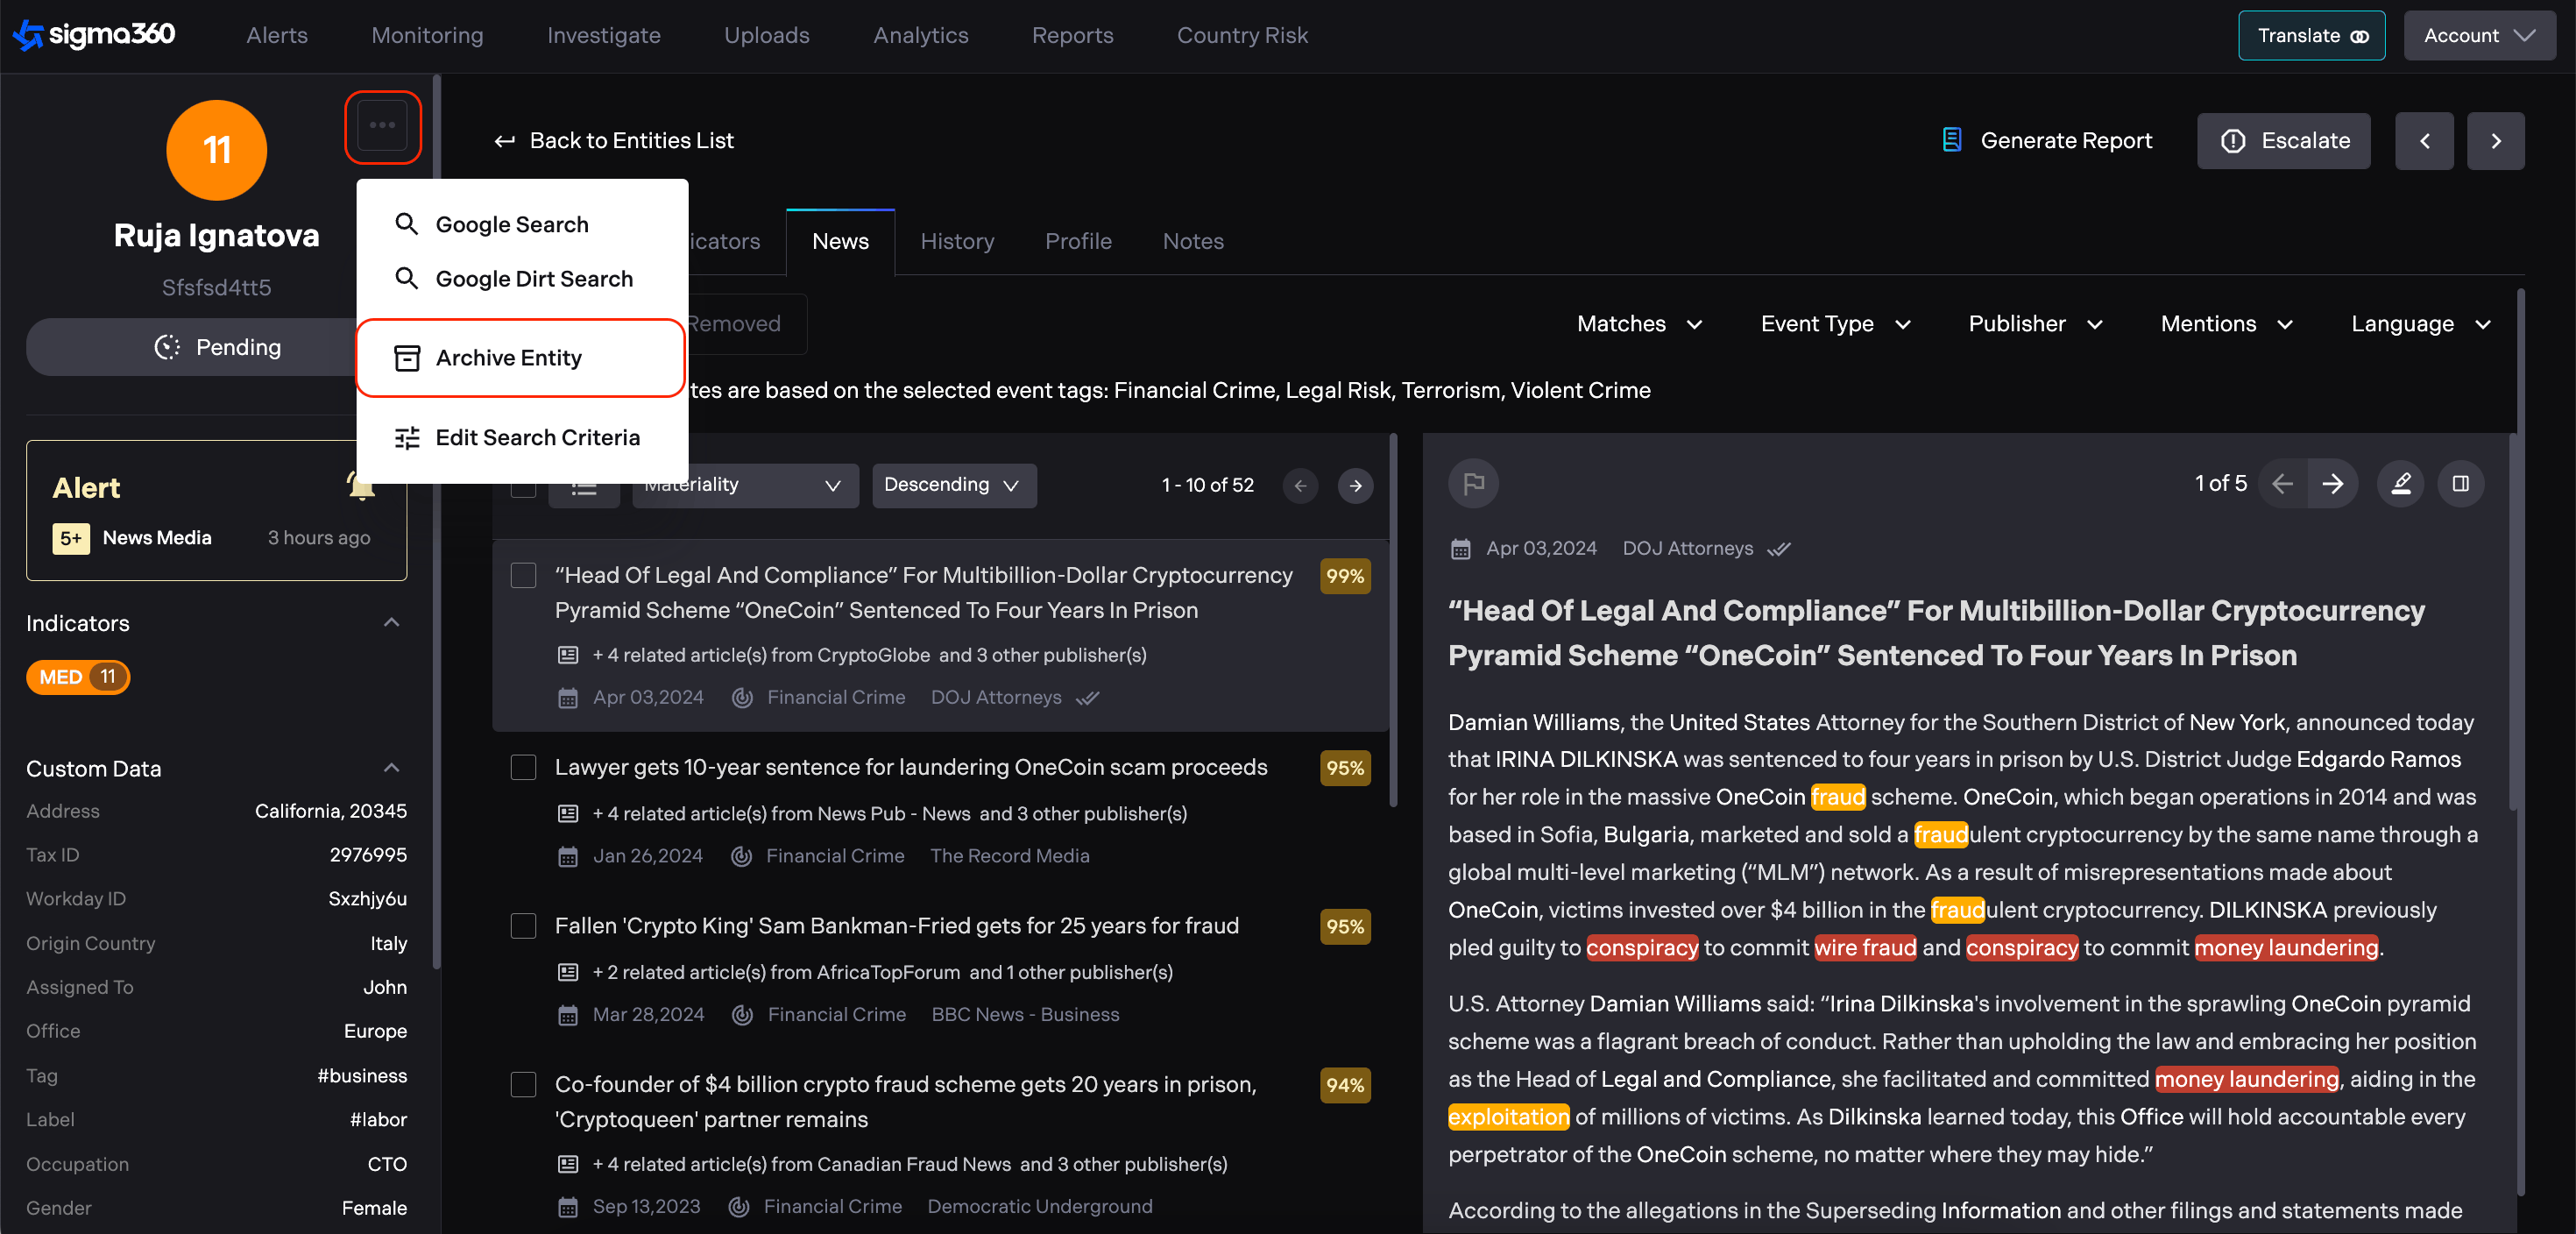
Archived Entities
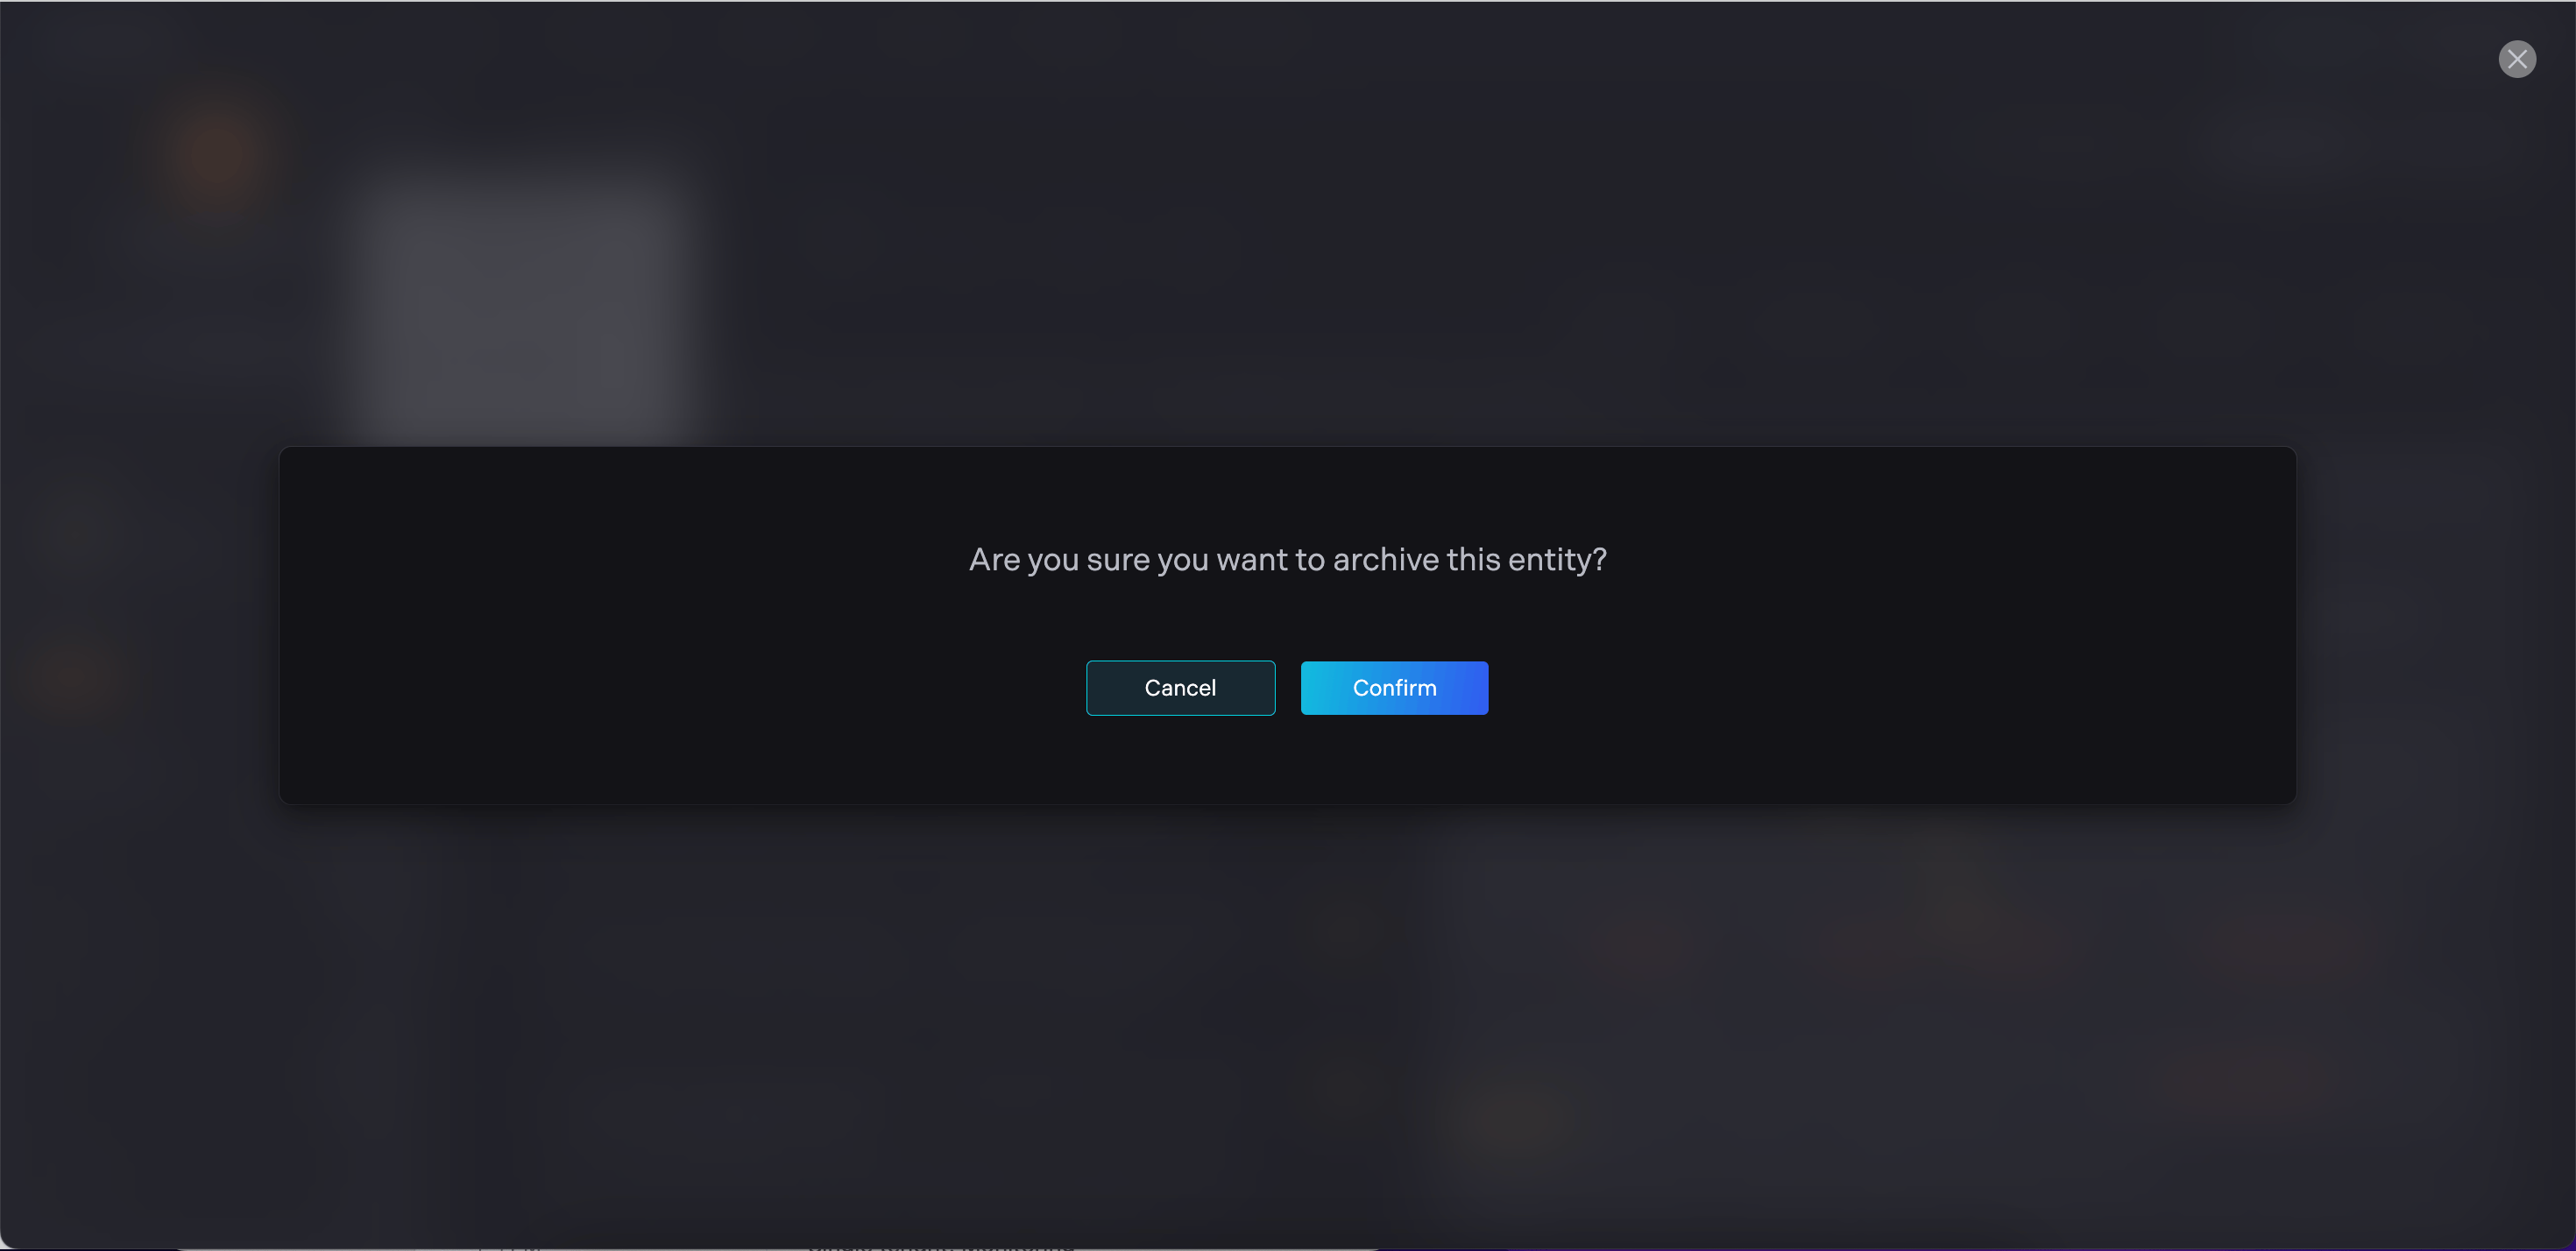
Archive functionality allows users to organize their Entities list and remove Entities that are no longer relevant. Users can archive a single Entity, by clicking on Control menu and choose "Archive Entity" option.
After Confirmation, Entity will be archived and moved to Archived Entities Tab.
All Archived Entities are displayed on separate Archived Entities Tab.
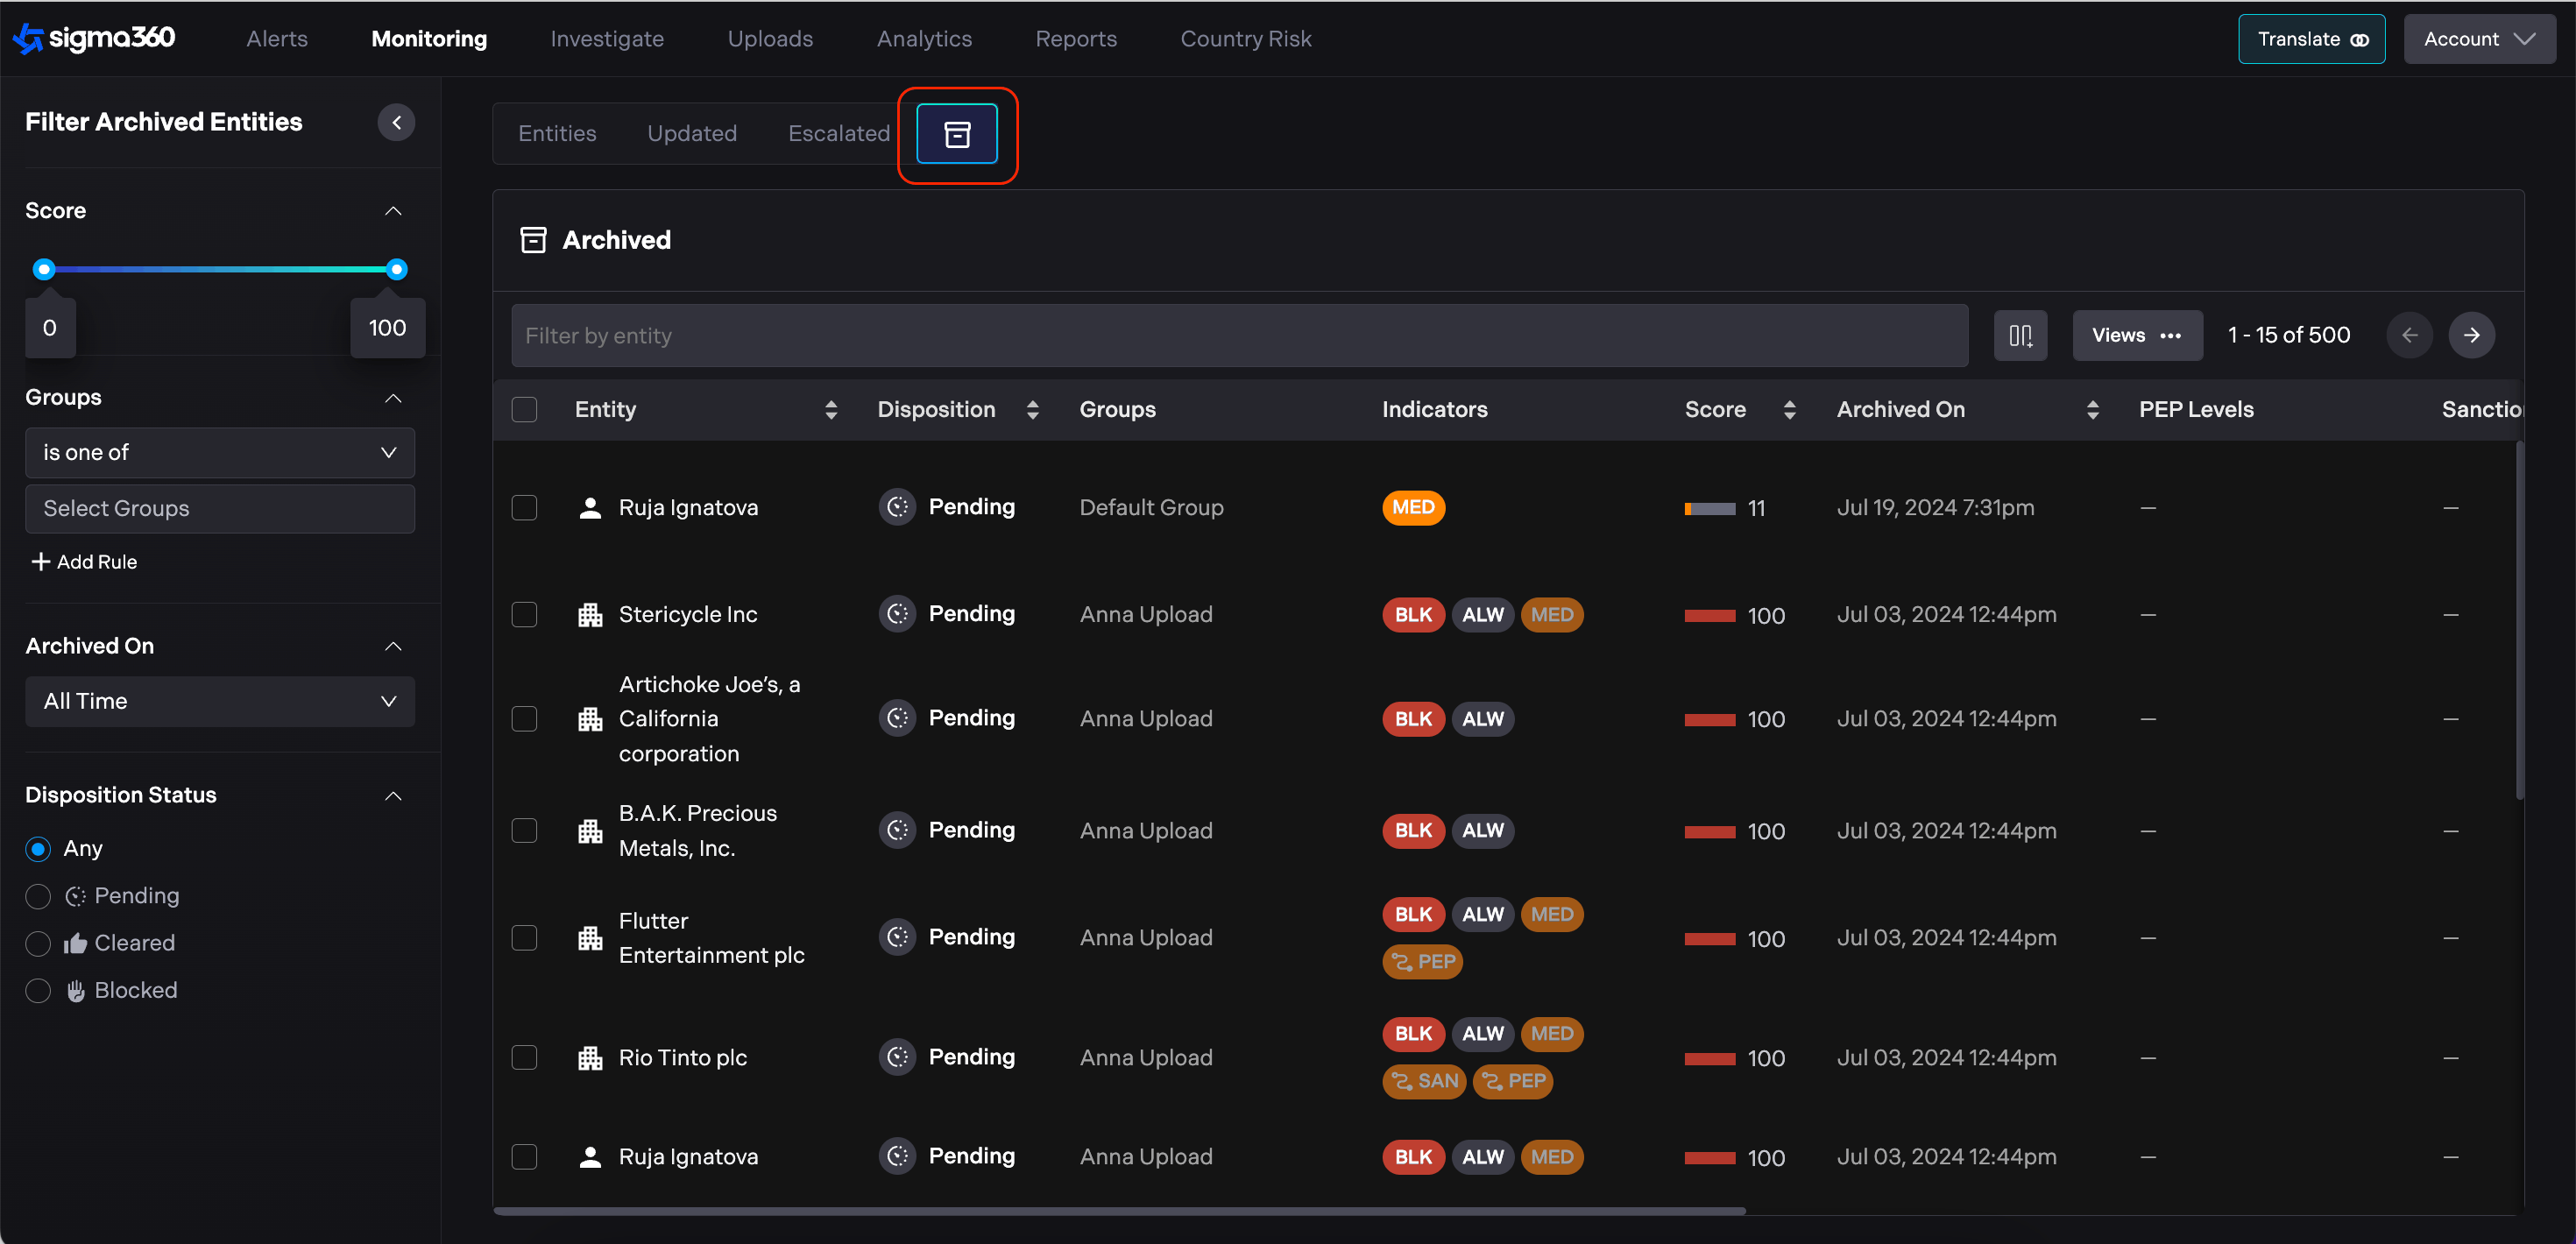
While on Monitoring page, users can archive multiple Entities.
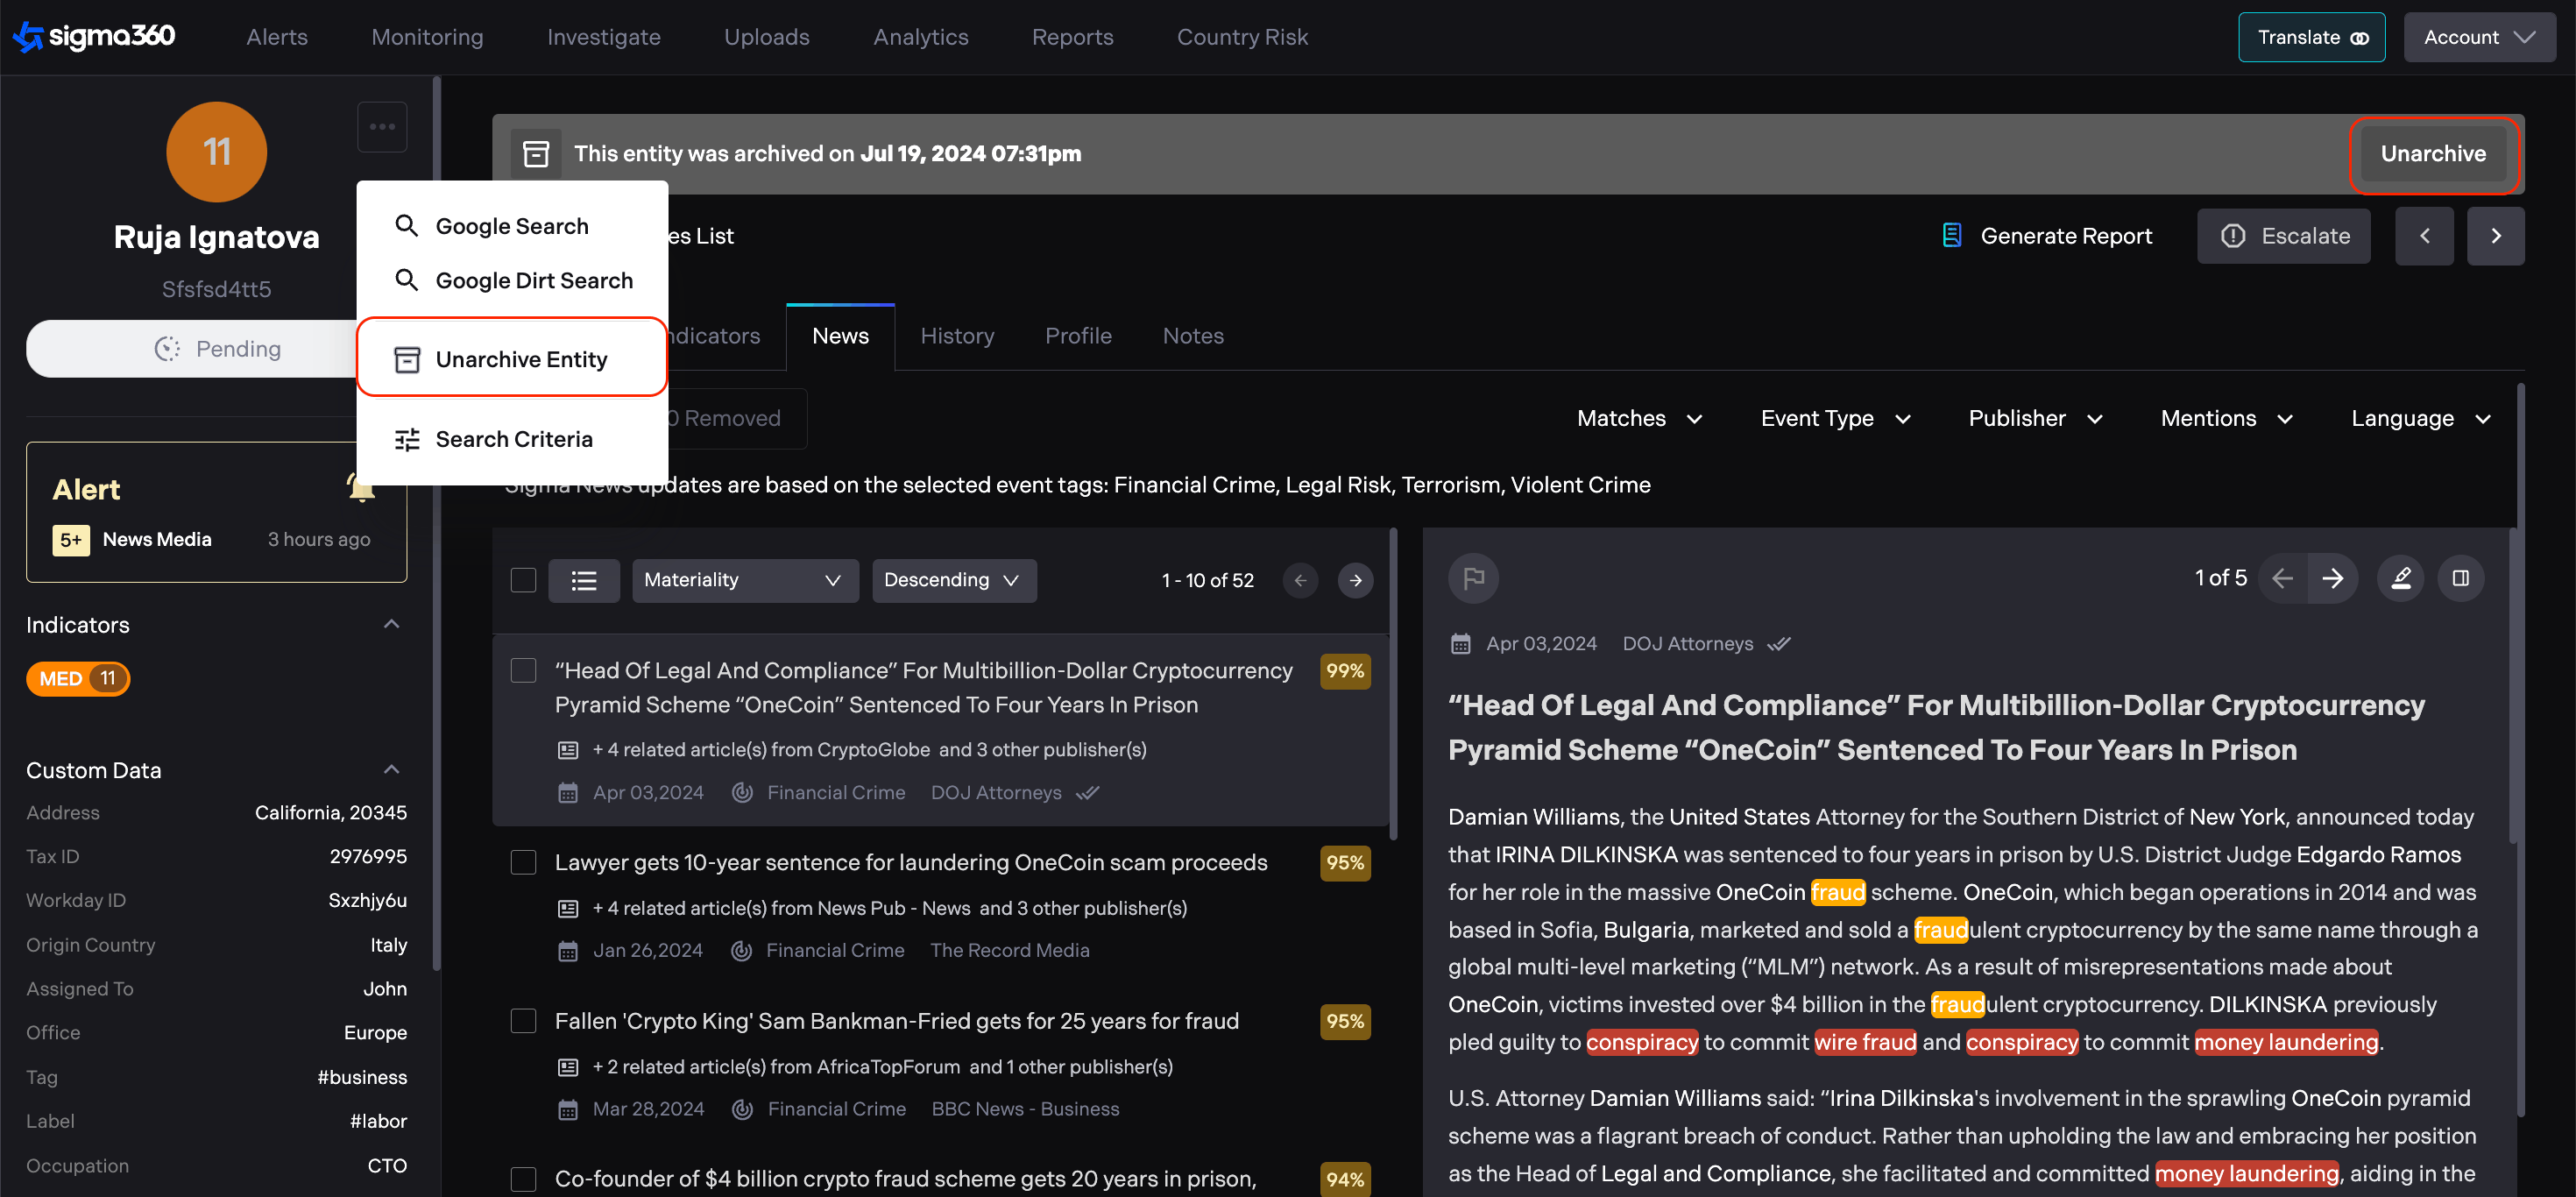
Entity can be unarchived simply by clicking "Unarchive Entity" in Control menu or in the Banner, Entity will be moved to Monitoring page.
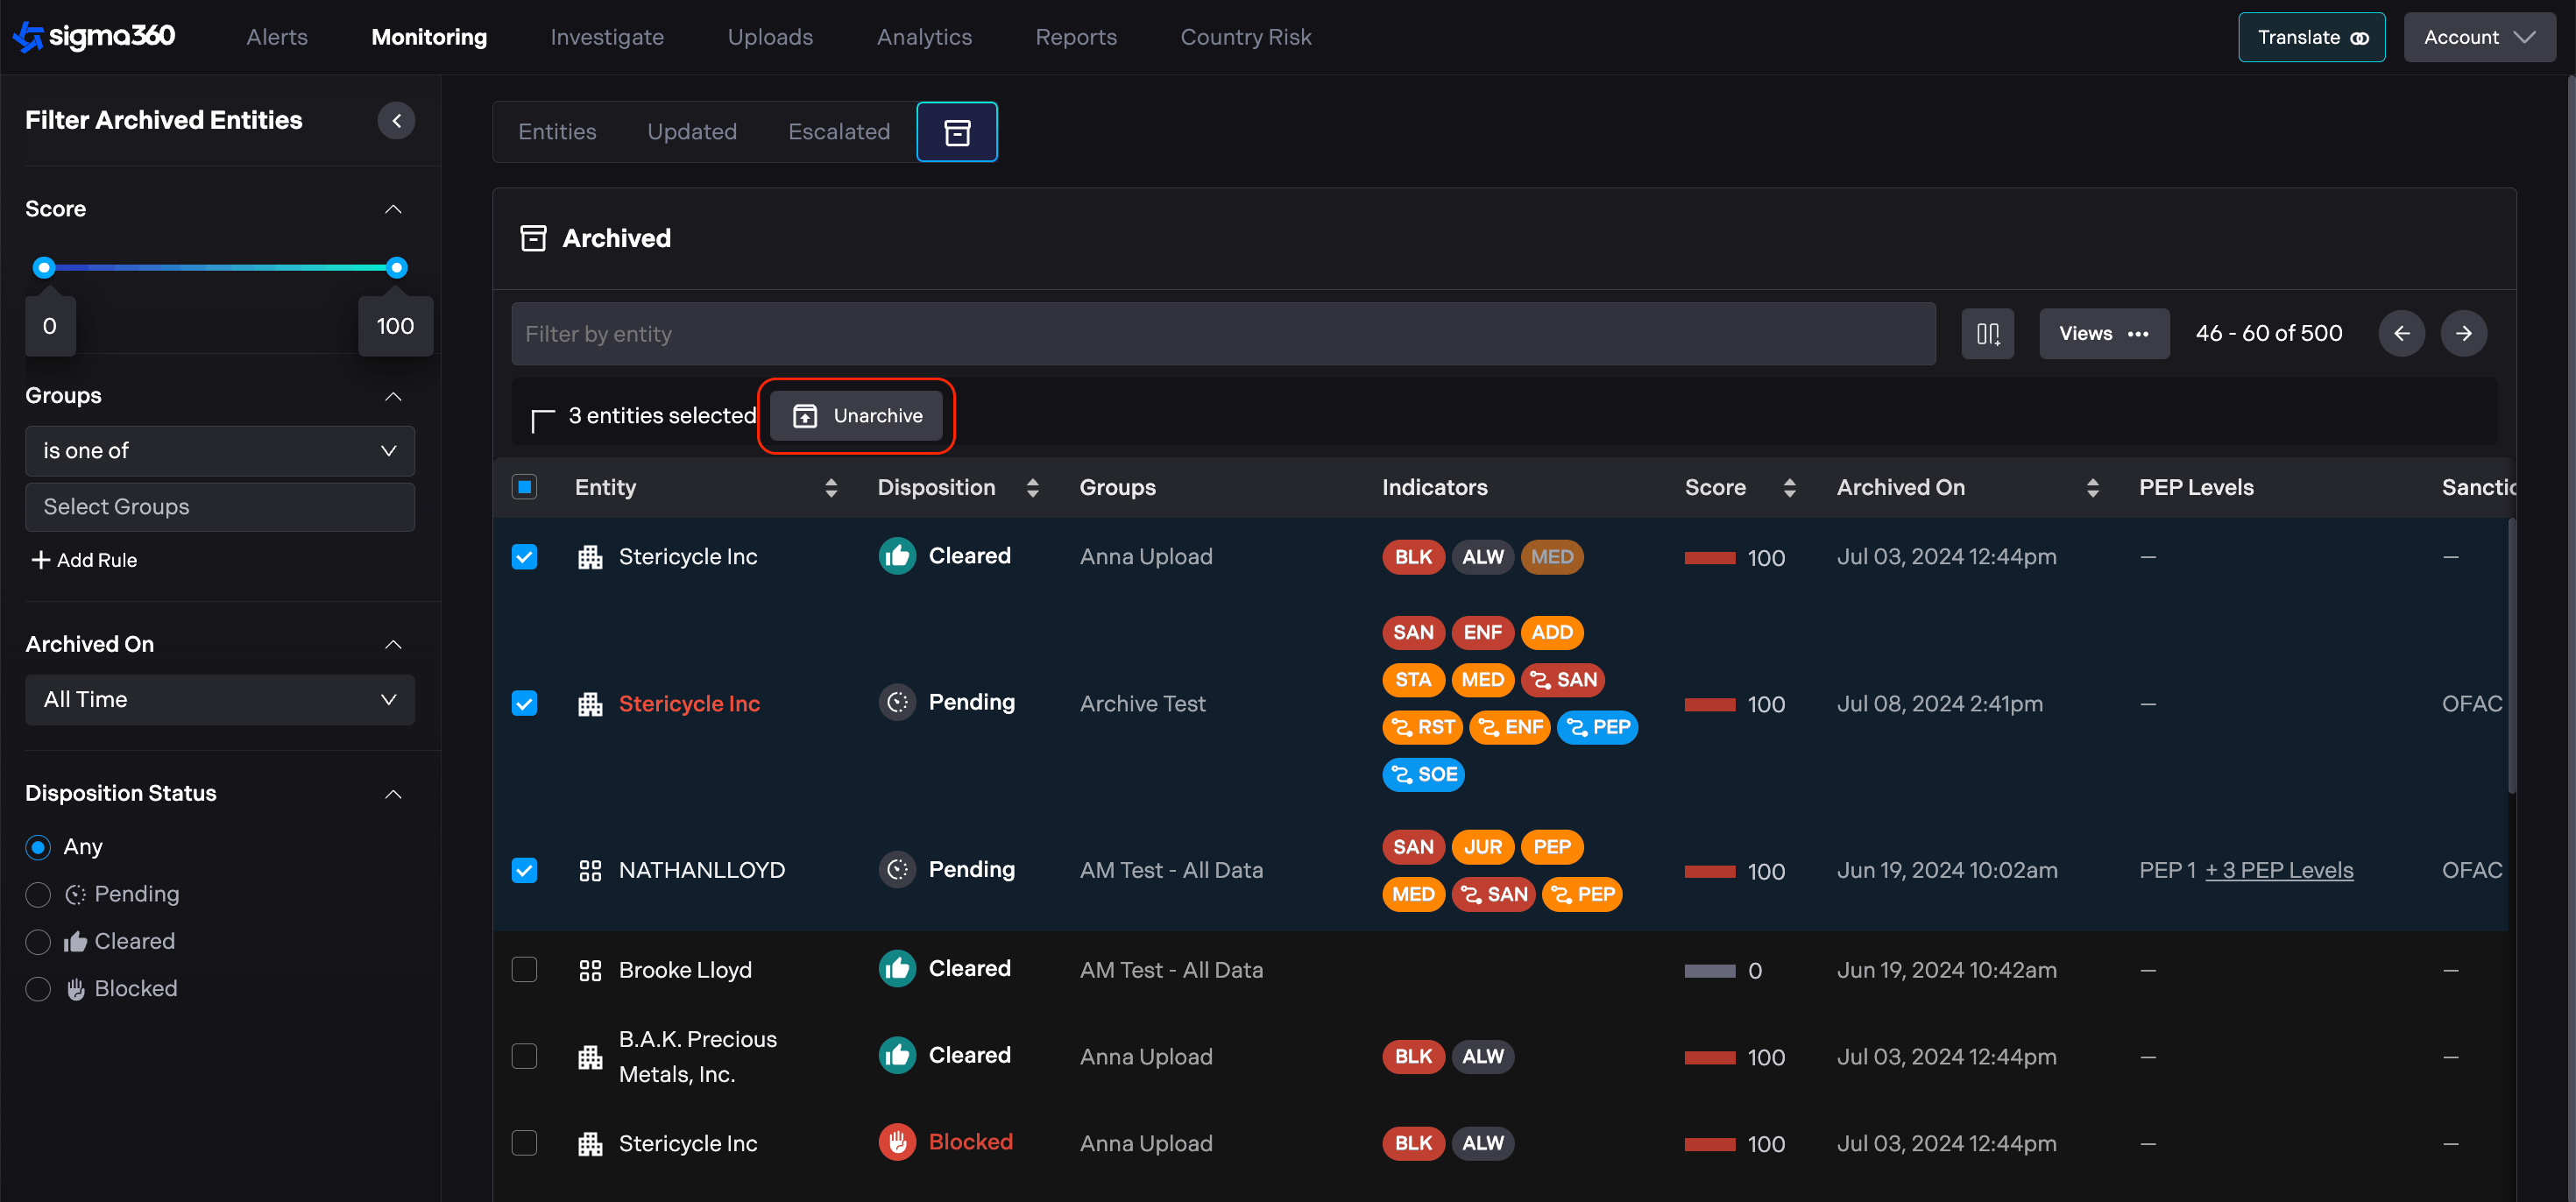
While on Archived Entities Tab, users can unarchive multiple Entities.
Note: While Entity is archived, escalation of Entity is not possible, as well as the group or filter set changes. User can generate report for archived Entity.